Hero Asset, Part 1
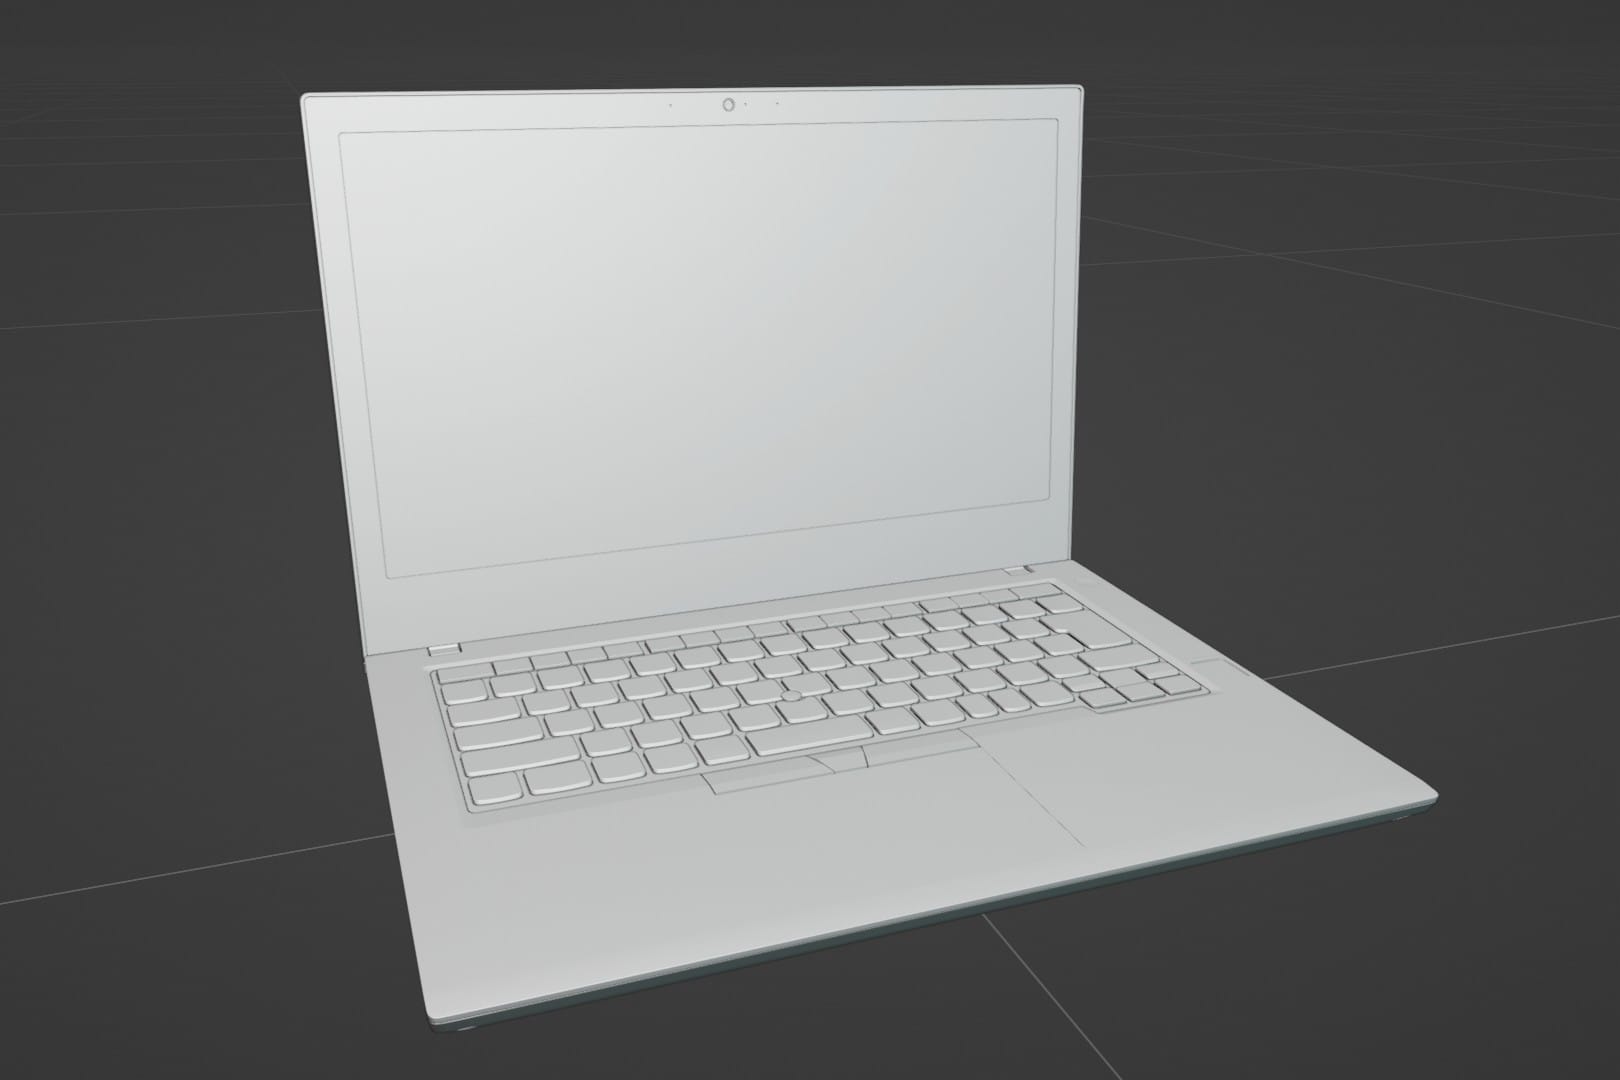
After the MetaHuman characters, the two most important assets in this movie are the cluster-computer and the laptop. These two objects have a lot of screen time and plenty of closeups. I haven't quite nailed down the design for the cluster-computer monstrosity, but the laptop is straightforward. I have a ThinkPad that I bought back when I still planned on making a live-action movie. Now, I need a 3D replica of the ThinkPad.
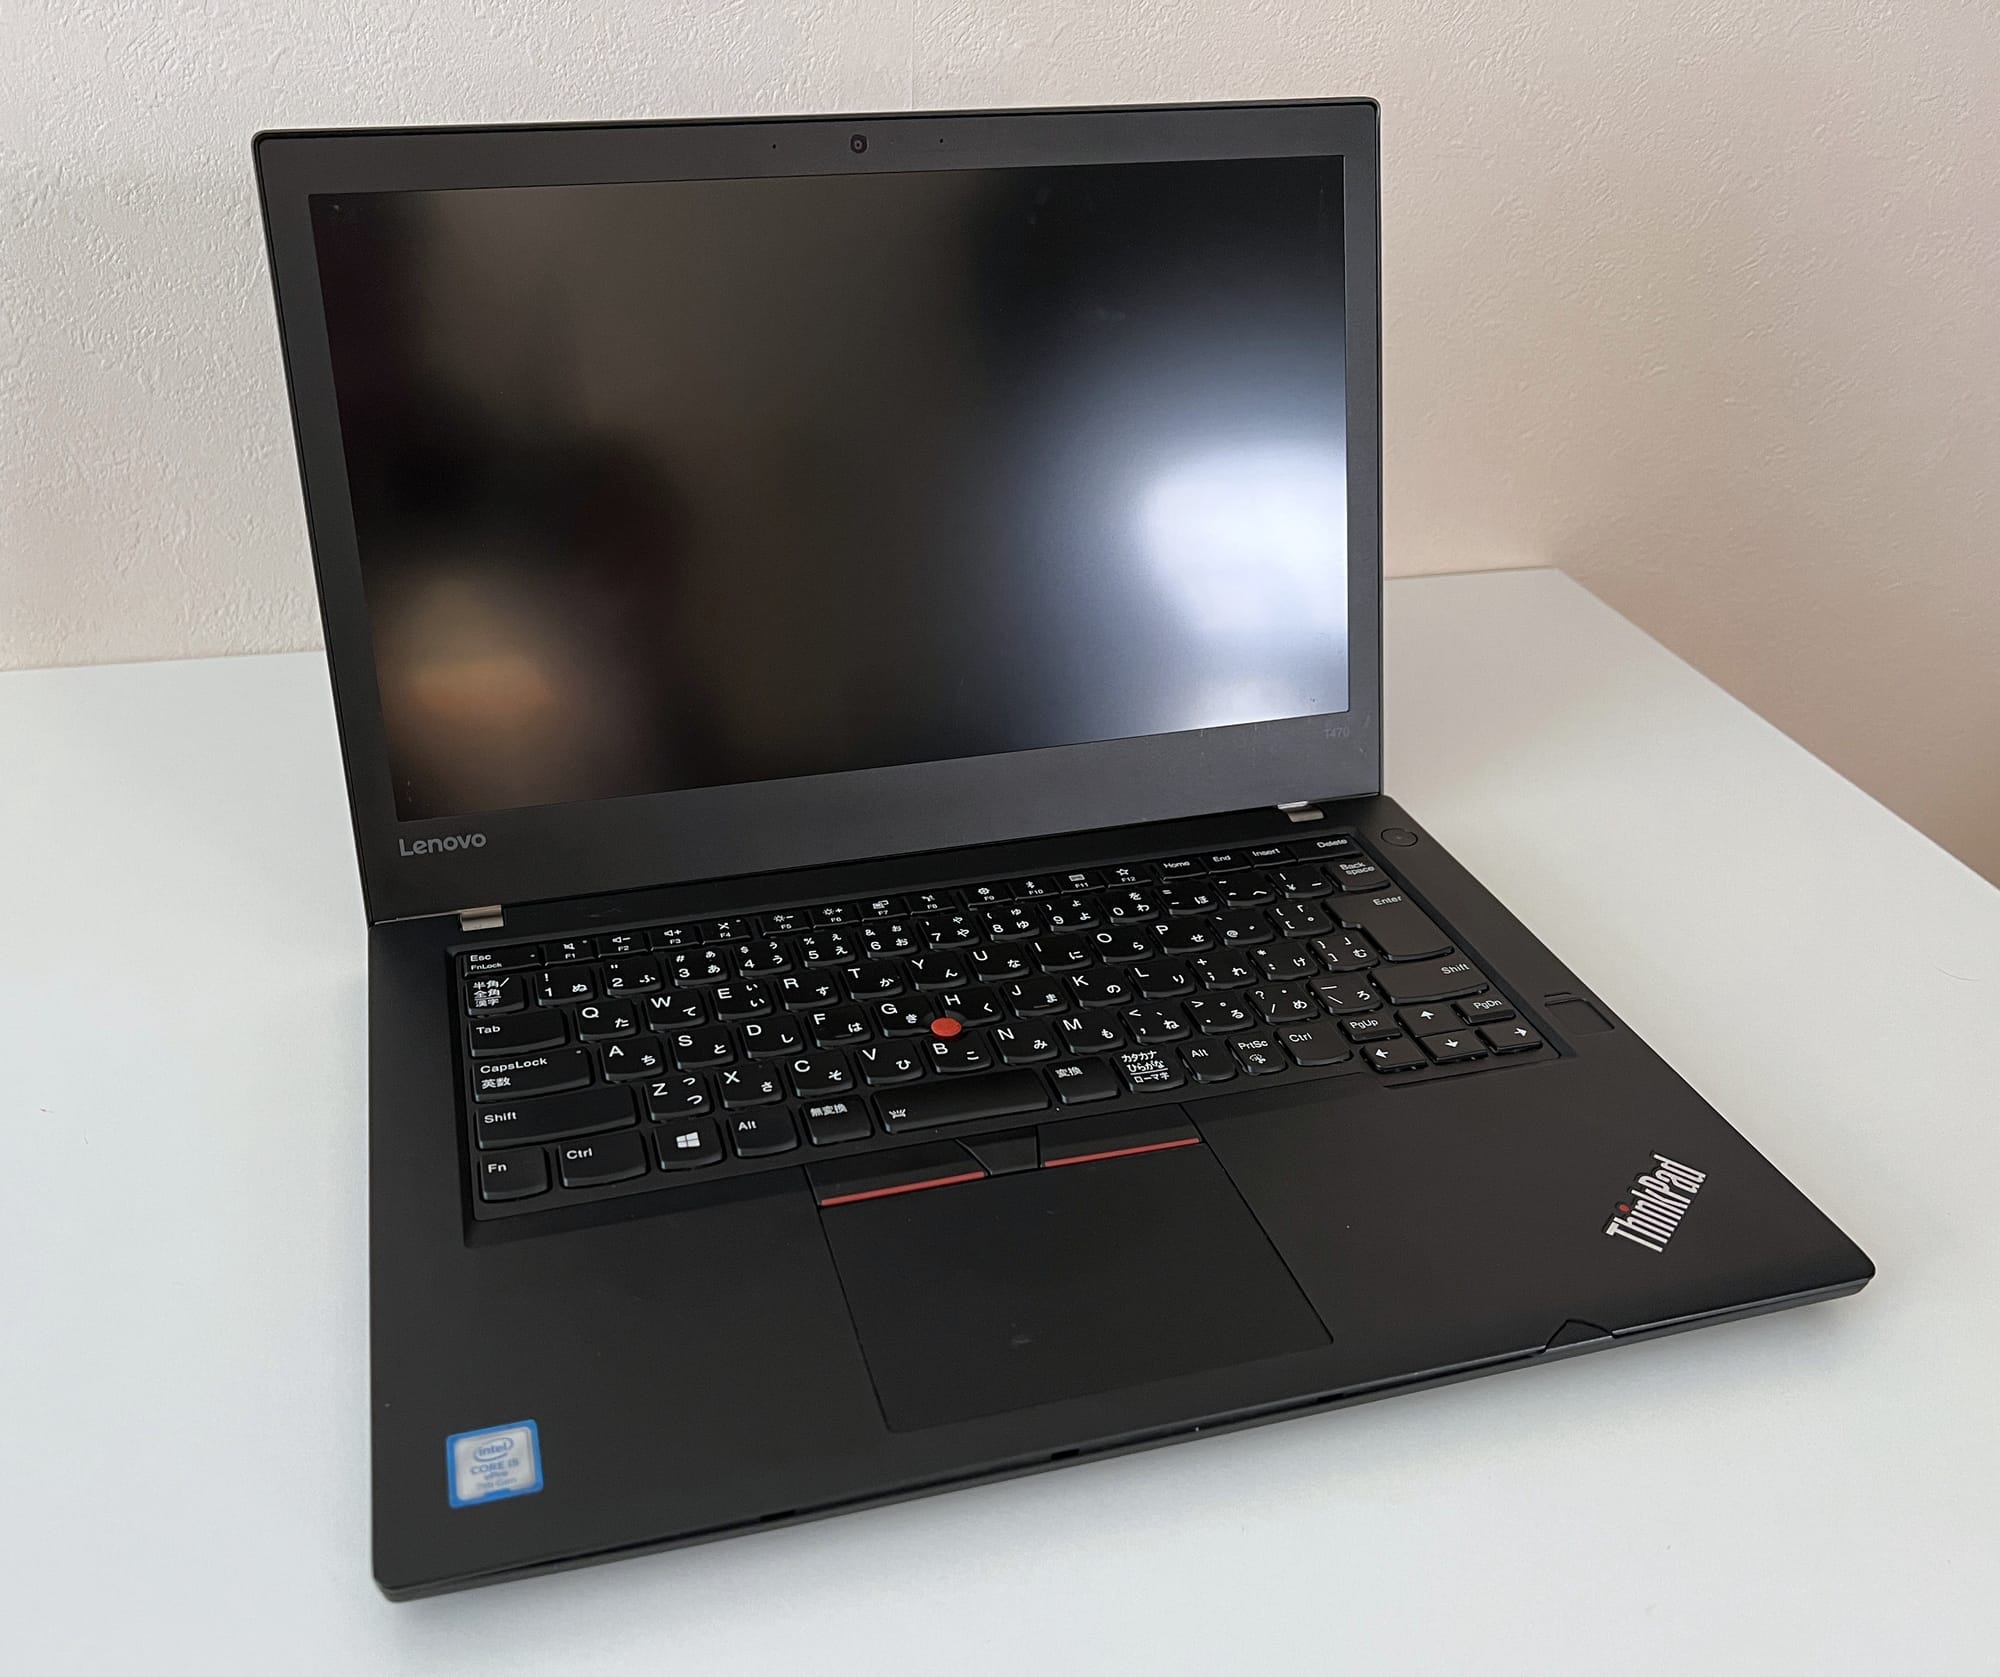
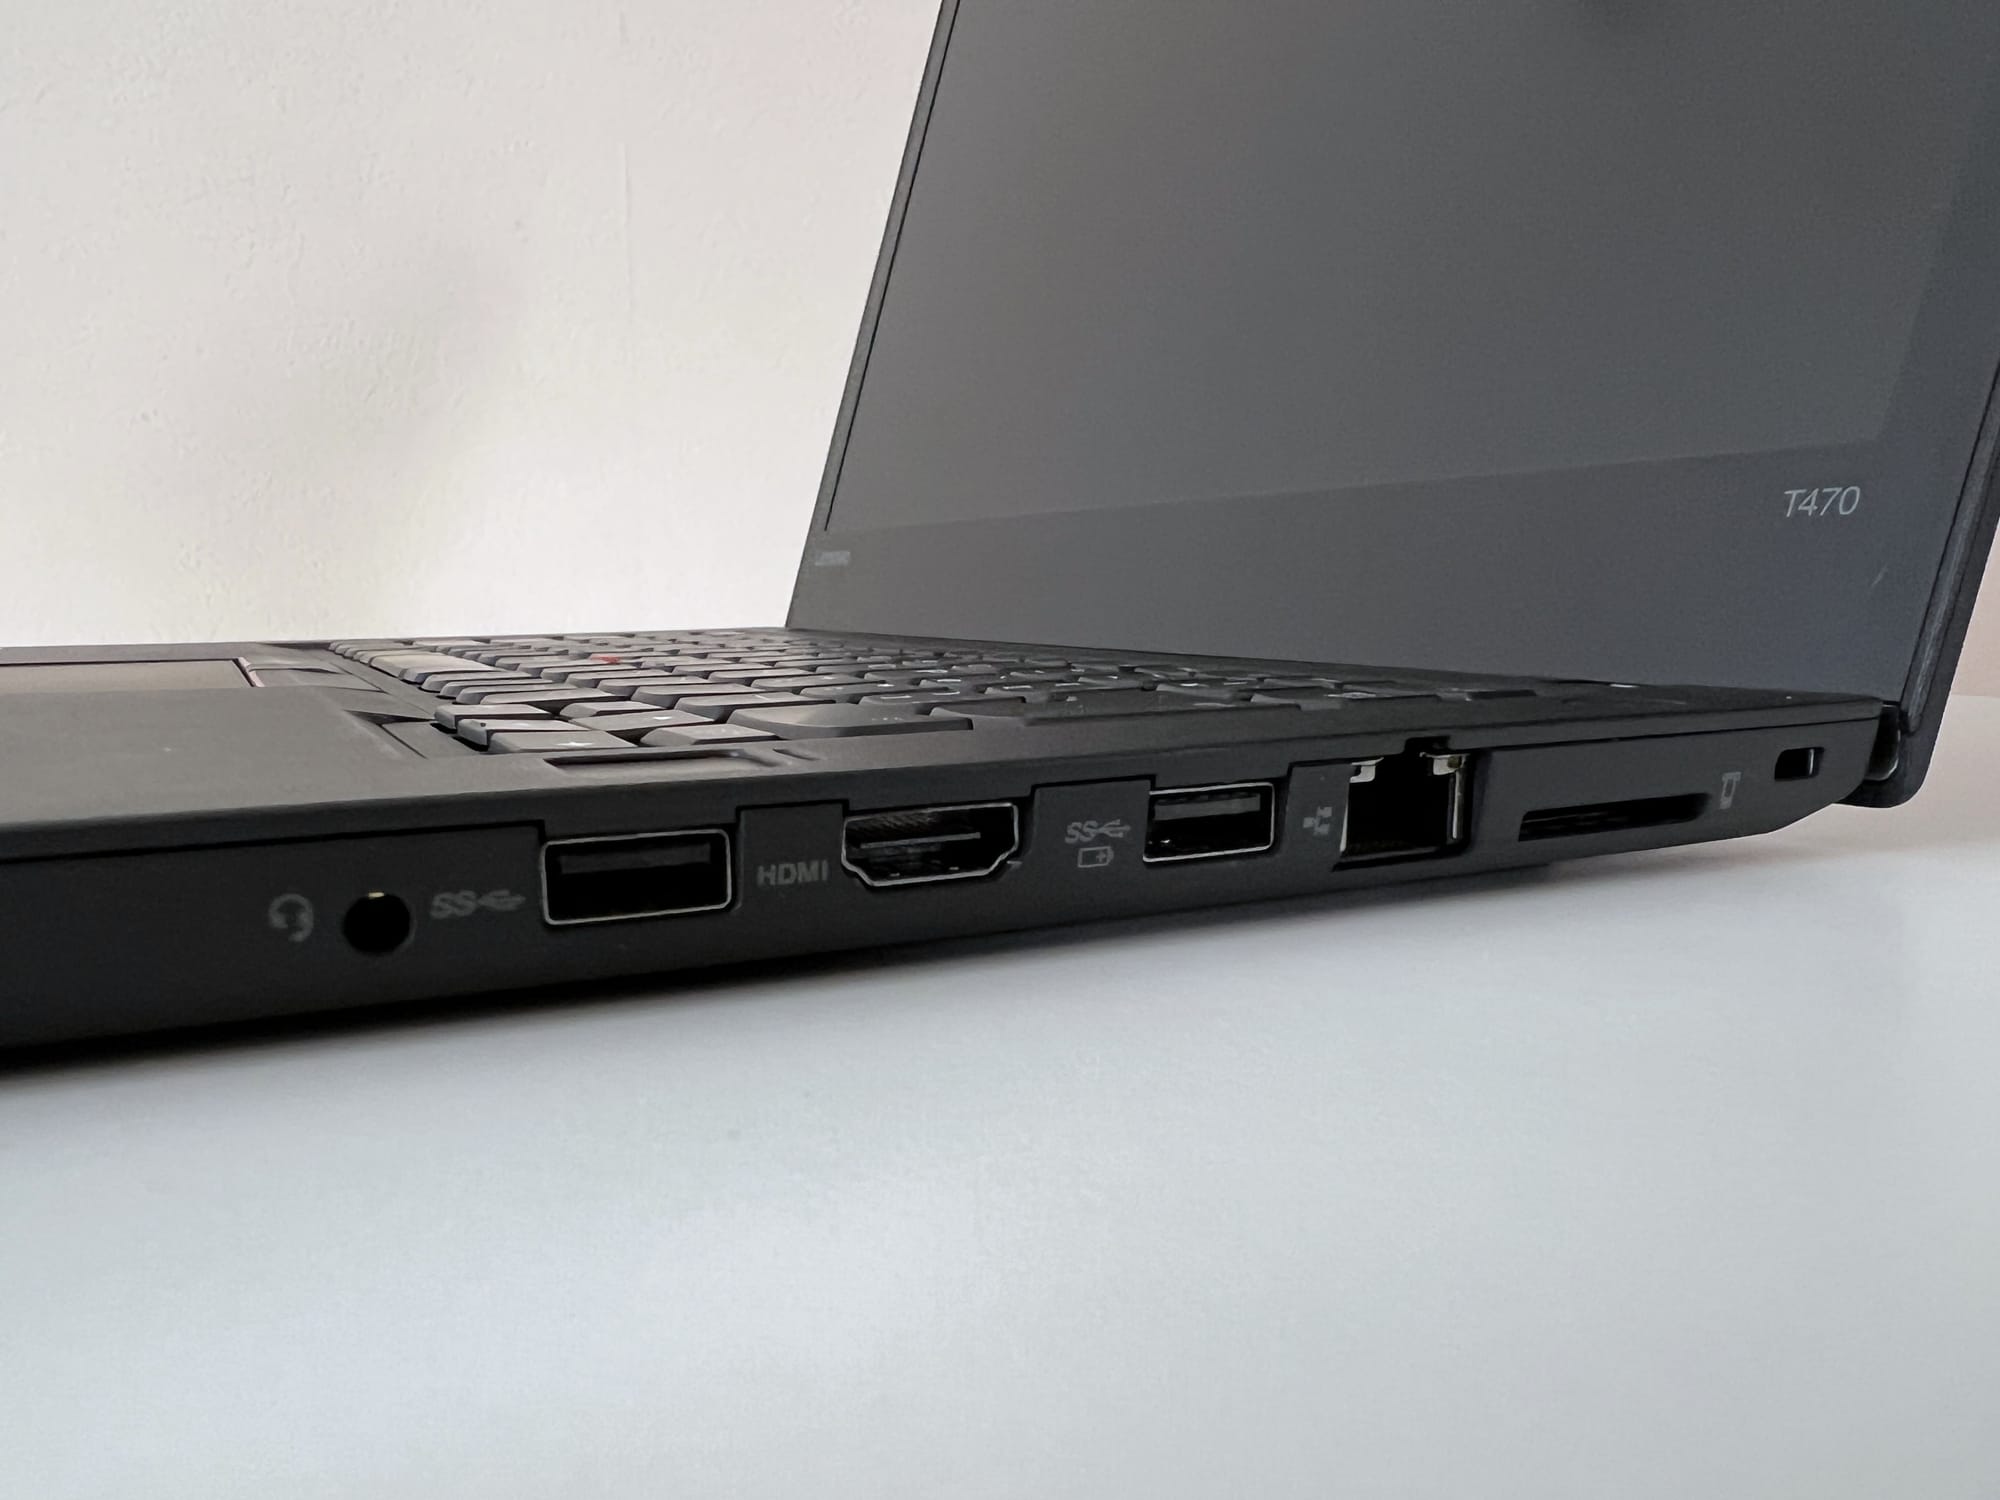
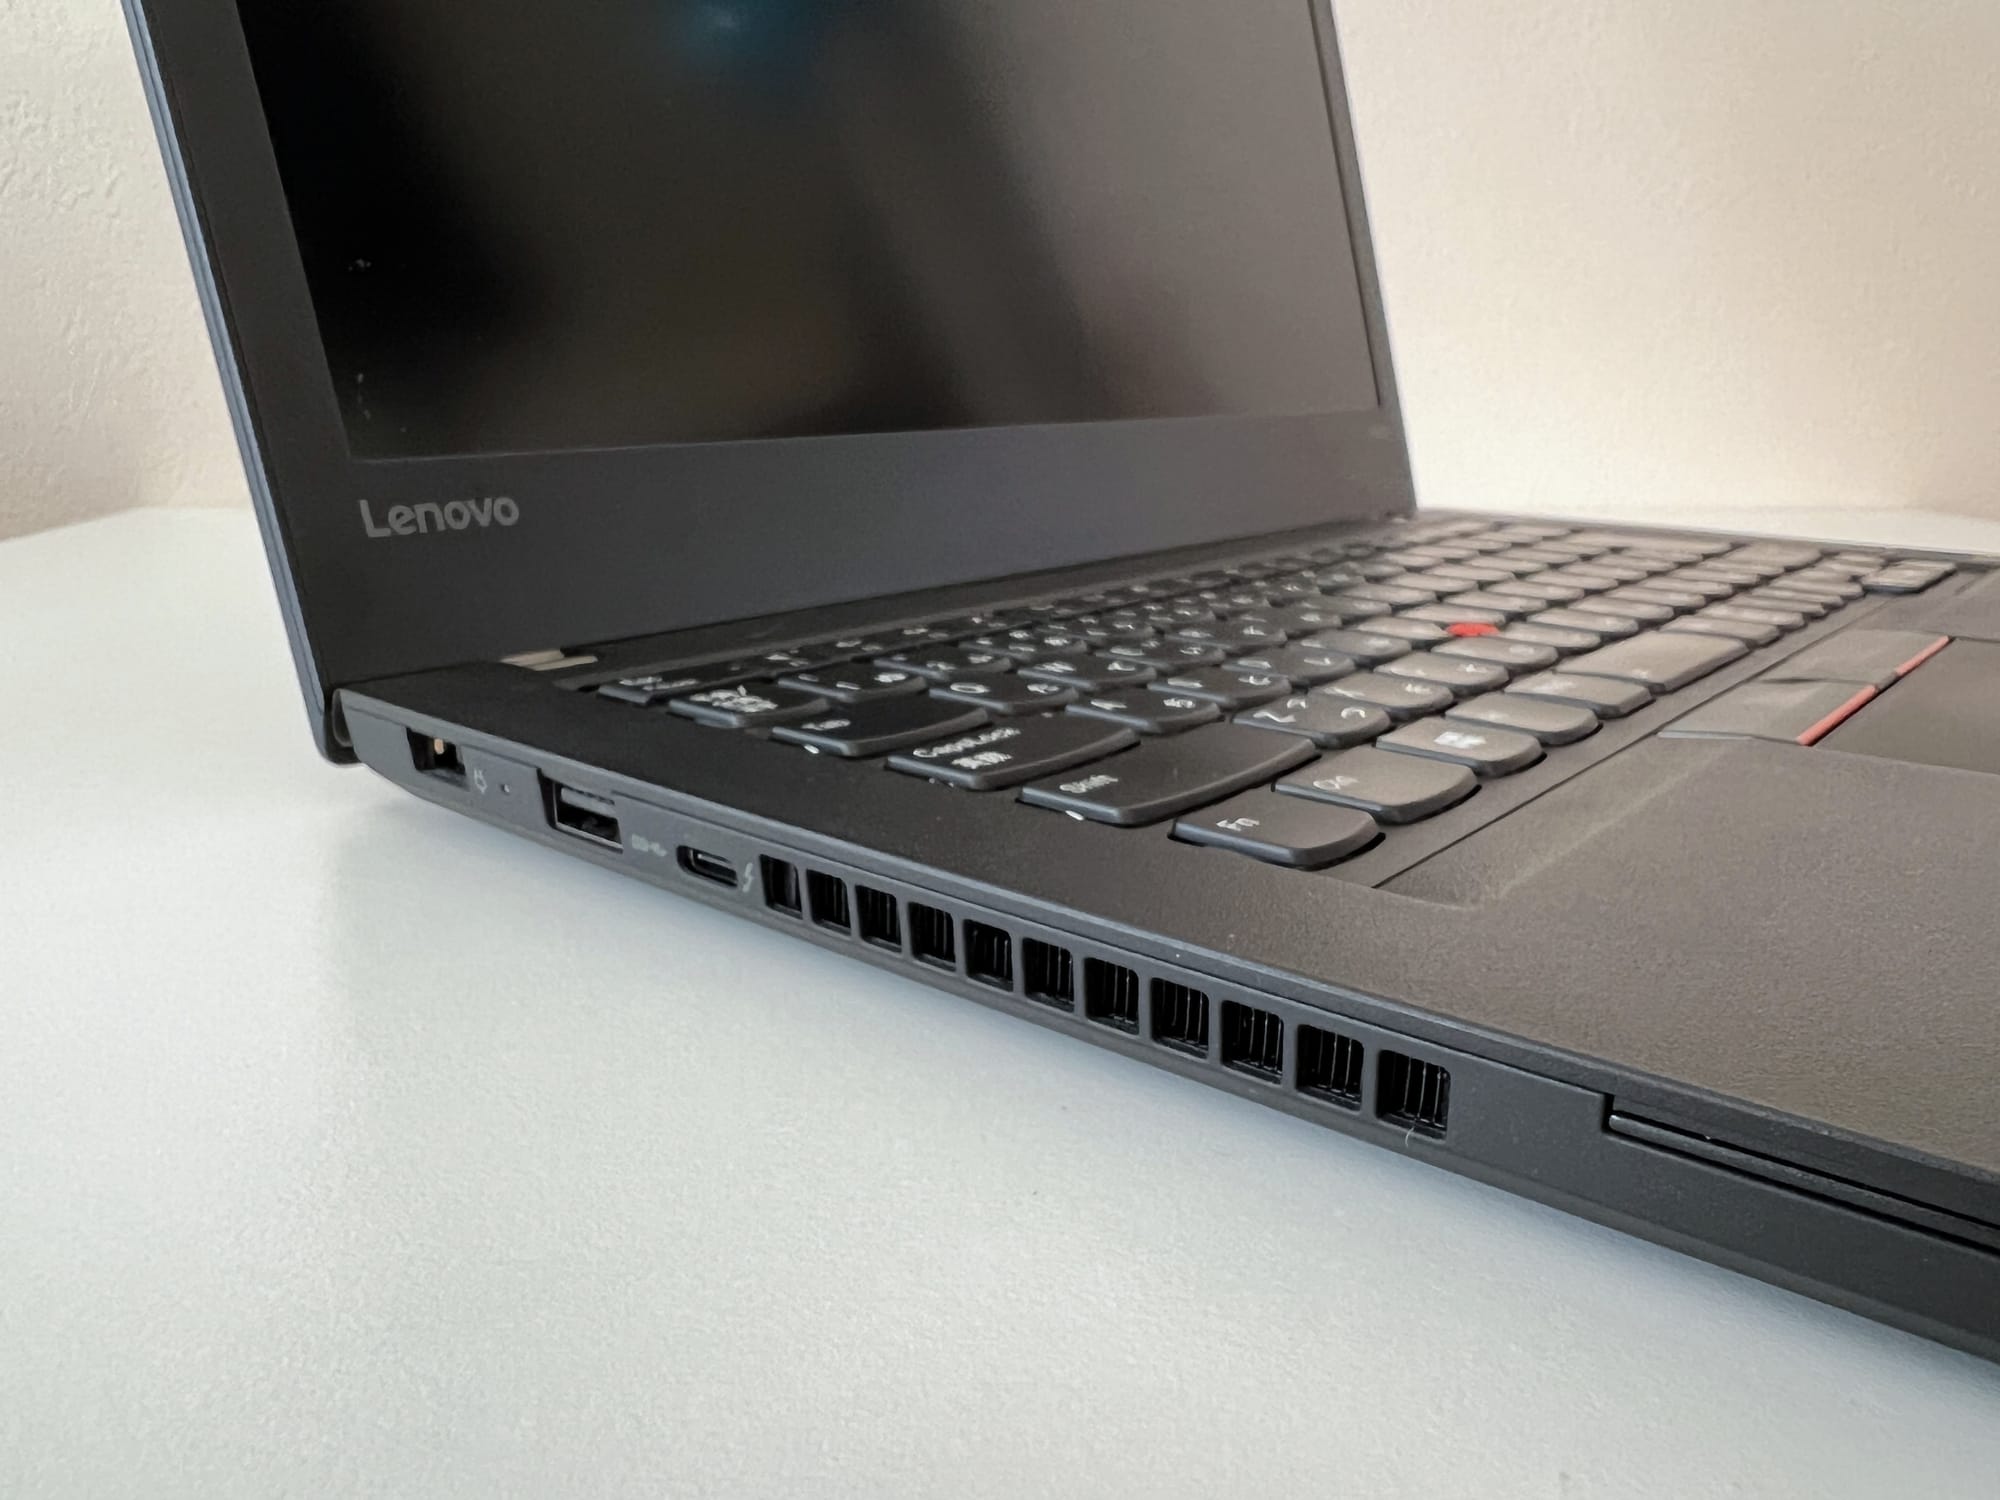
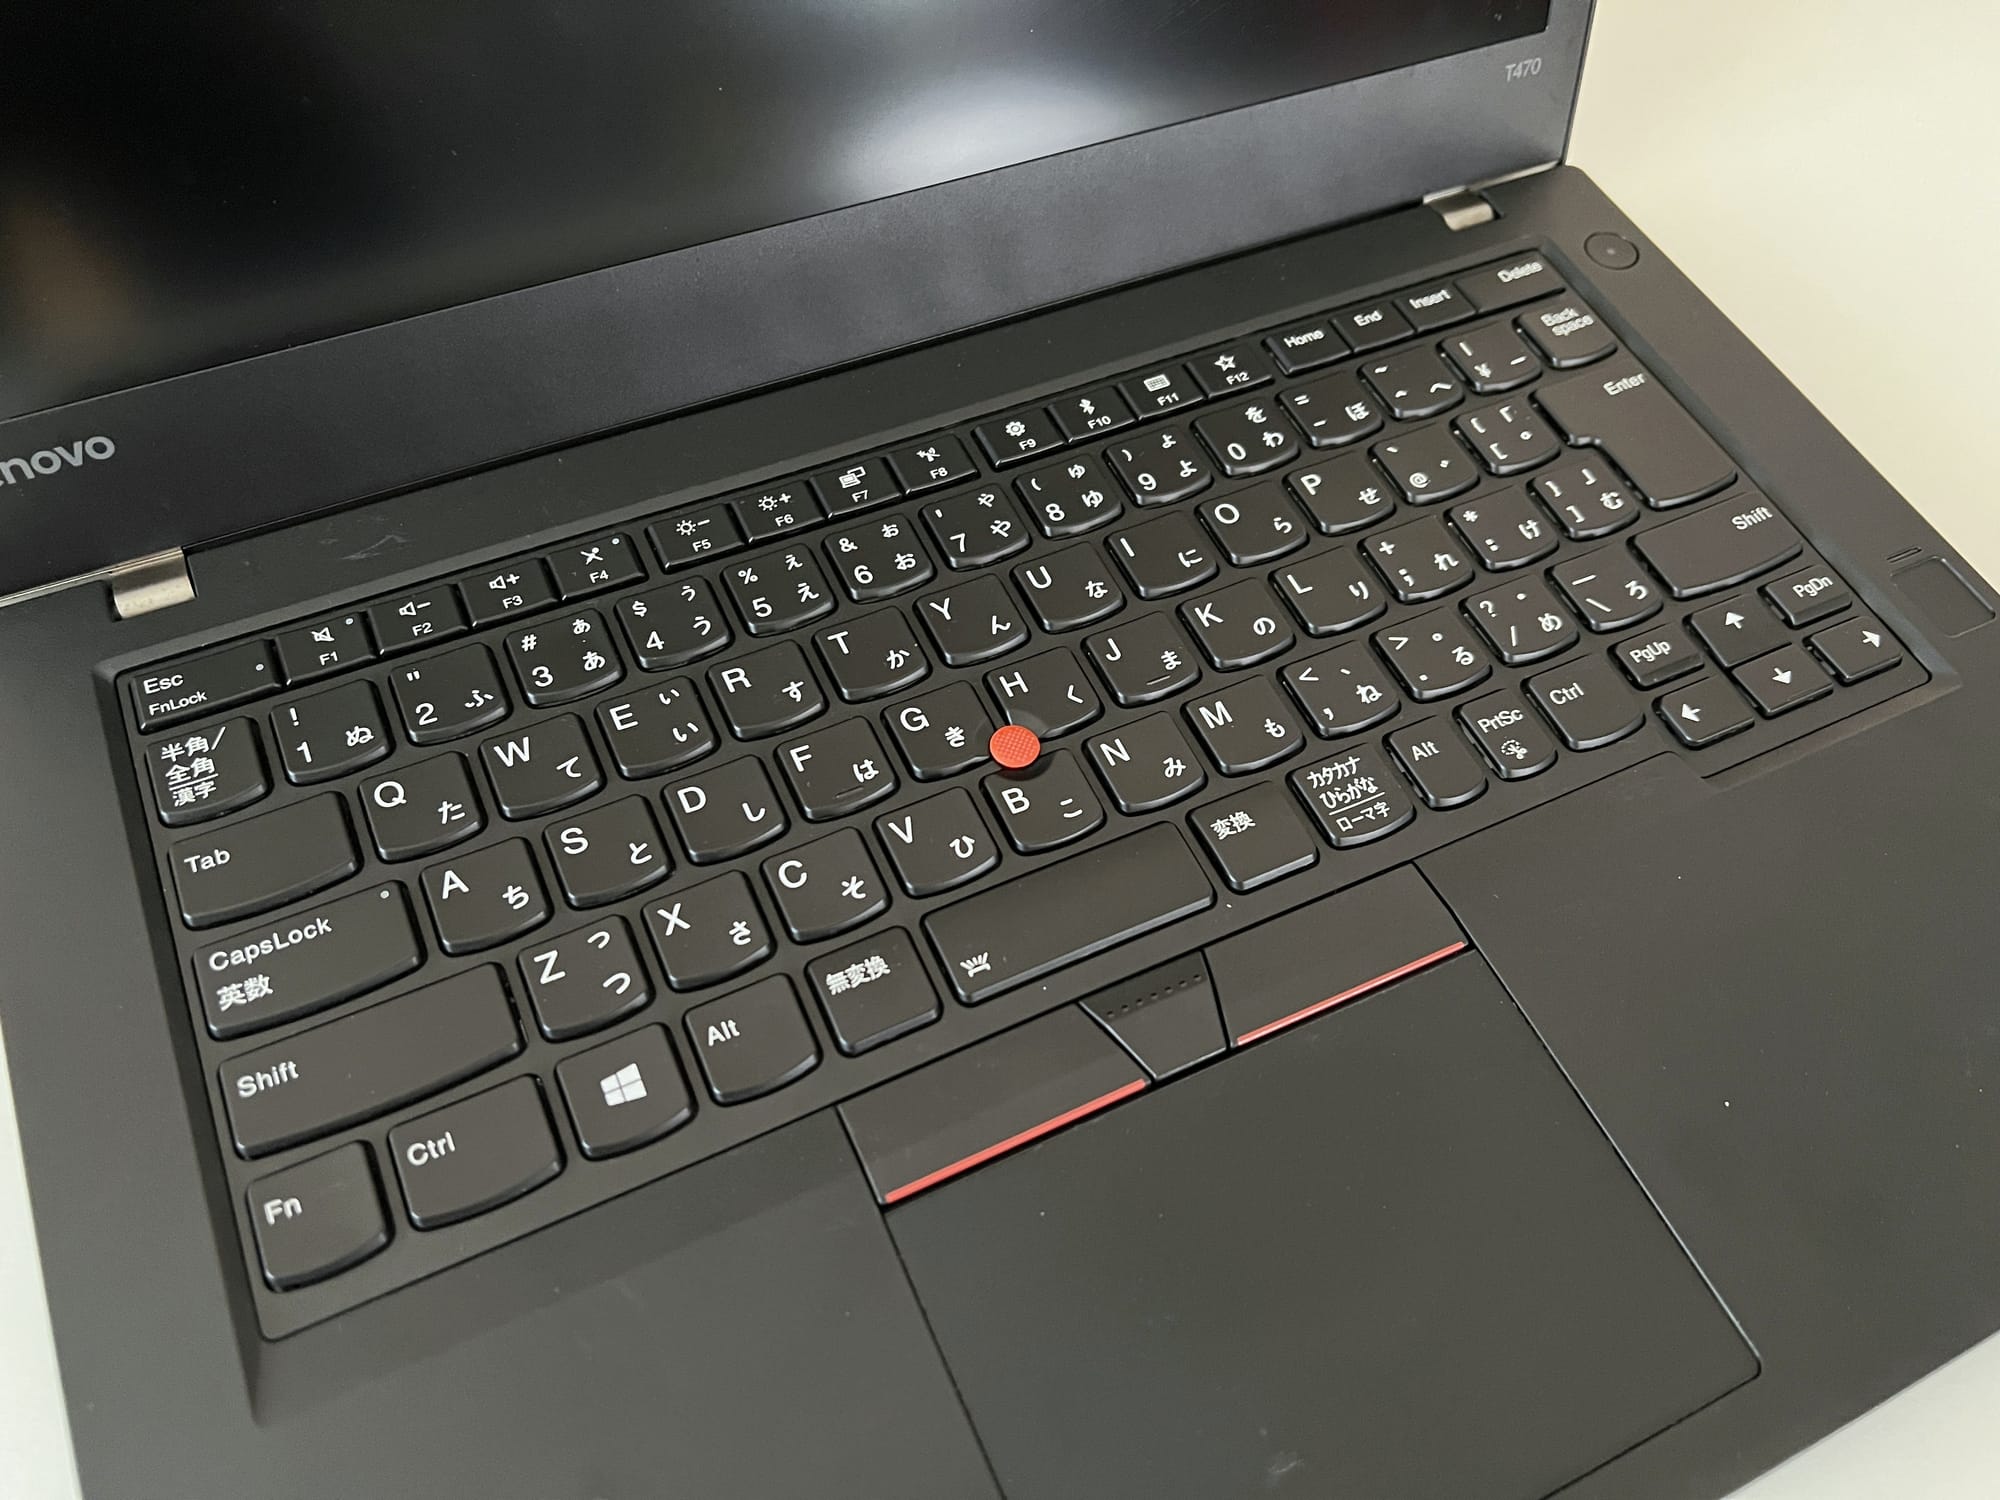
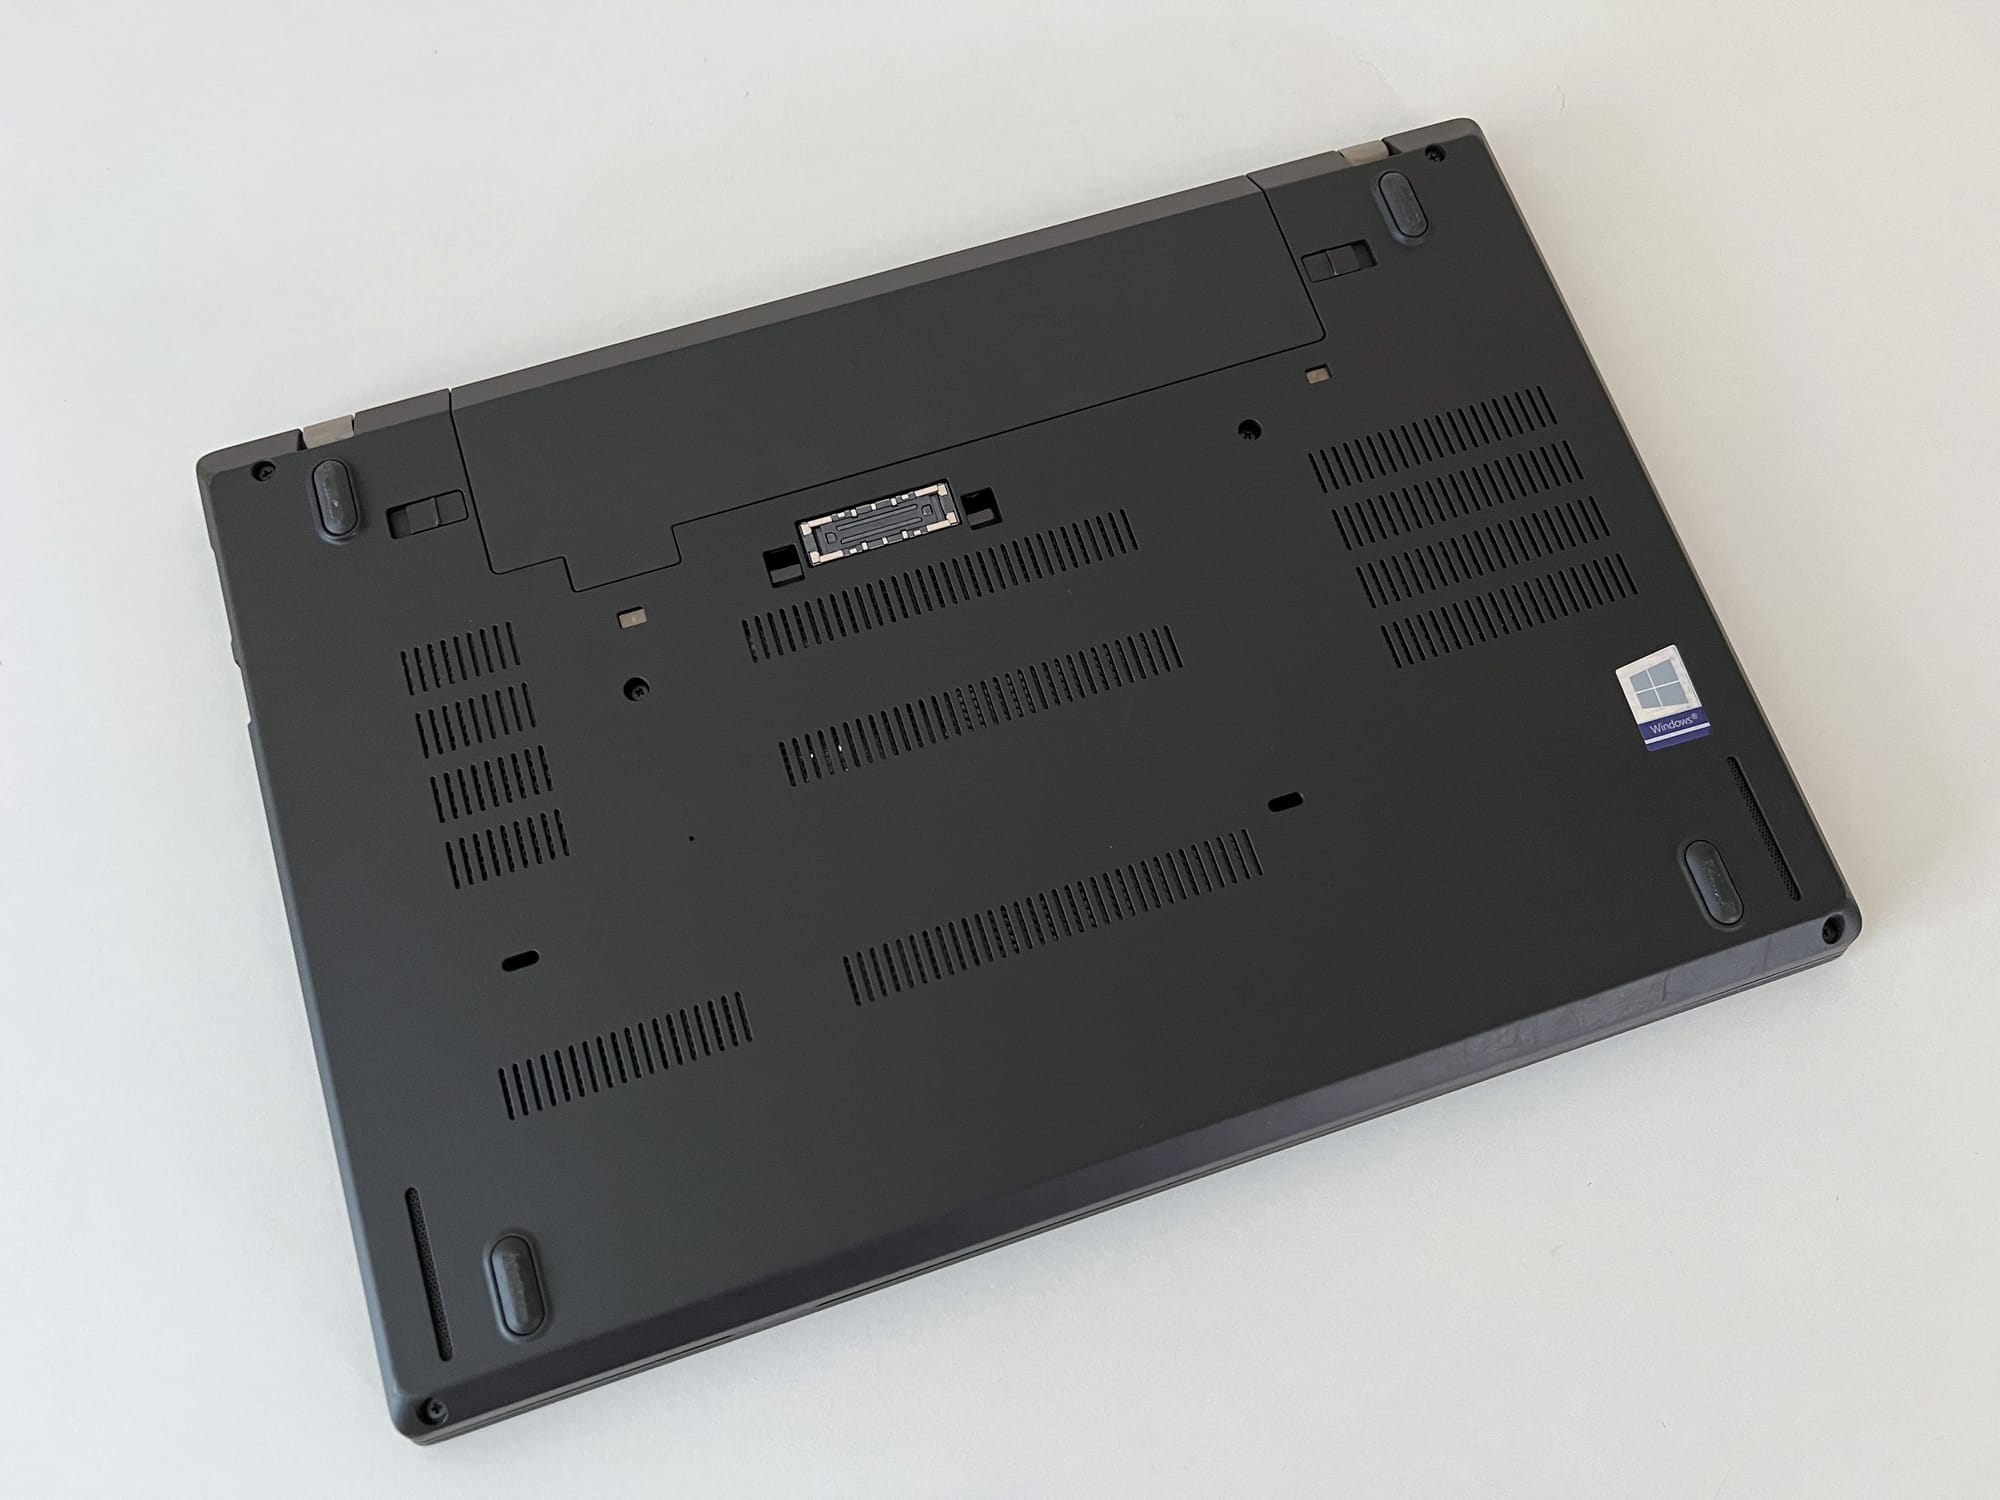
Photographs of the real thing.
There are a number of 3D laptops for sale on Fab or other digital asset stores, but none have aesthetics or the cinematic level of detail that I'm looking for. Either way, making it myself is a chance to get more experience with Blender and Substance Painter.
Building a hard-surface object like a laptop in Blender is relatively simple. Even for a total beginner, completing one of the Blender Bros' longer videos would provide the techniques necessary to tackle a model like this one, assuming you have a good reference. For me, having the actual ThinkPad on hand was crucial. It meant I never had to wonder how to shape the laptop, I just studied and measured every facet of the real object, and built the mesh to those measurements.
My biggest question for this project was: how should I do the topology? Should I use all quads, or go wild with n-gons? The most intuitive way for a beginner to model a laptop would be to liberally use bevels and booleans, and these inevitably create n-gons. I've been learning 3D long enough to have encountered the quads vs n-gons debate, but I never fully understood it. Many people say n-gons should be avoided, while others counter that they are fine, depending on the context. I figured I should at least grasp the reasoning behind a "quads only" philosophy before deciding how to approach this project.
From what I've read, people advise against using n-gons for a handful of reasons:
Subdivision
Usually, the easiest way to add detail to your mesh is to subdivide all or some of the faces using Loop Cut, Subdivide, or the Subdivision Surface Modifier.
These tools work cleanly with quads, but not with n-gons. Loop Cut and Subdivide won't cut through an n-gon, because they can't calculate where to put the edges:
The Loop Cut tool gets blocked by n-gons.
The Subdivision Surface Modifier can be applied to a mesh with n-gons, but it will often result in messy geometry. In the online discussions I found, Subdivision Surface was probably the most commonly given reason for avoiding n-gons. "SubD" is a powerful tool, widely used in 3D workflows, so it is worth understanding. In part two of the Blender Guru donut tutorial, he describes the basics of the Subdivision Surface Modifier:
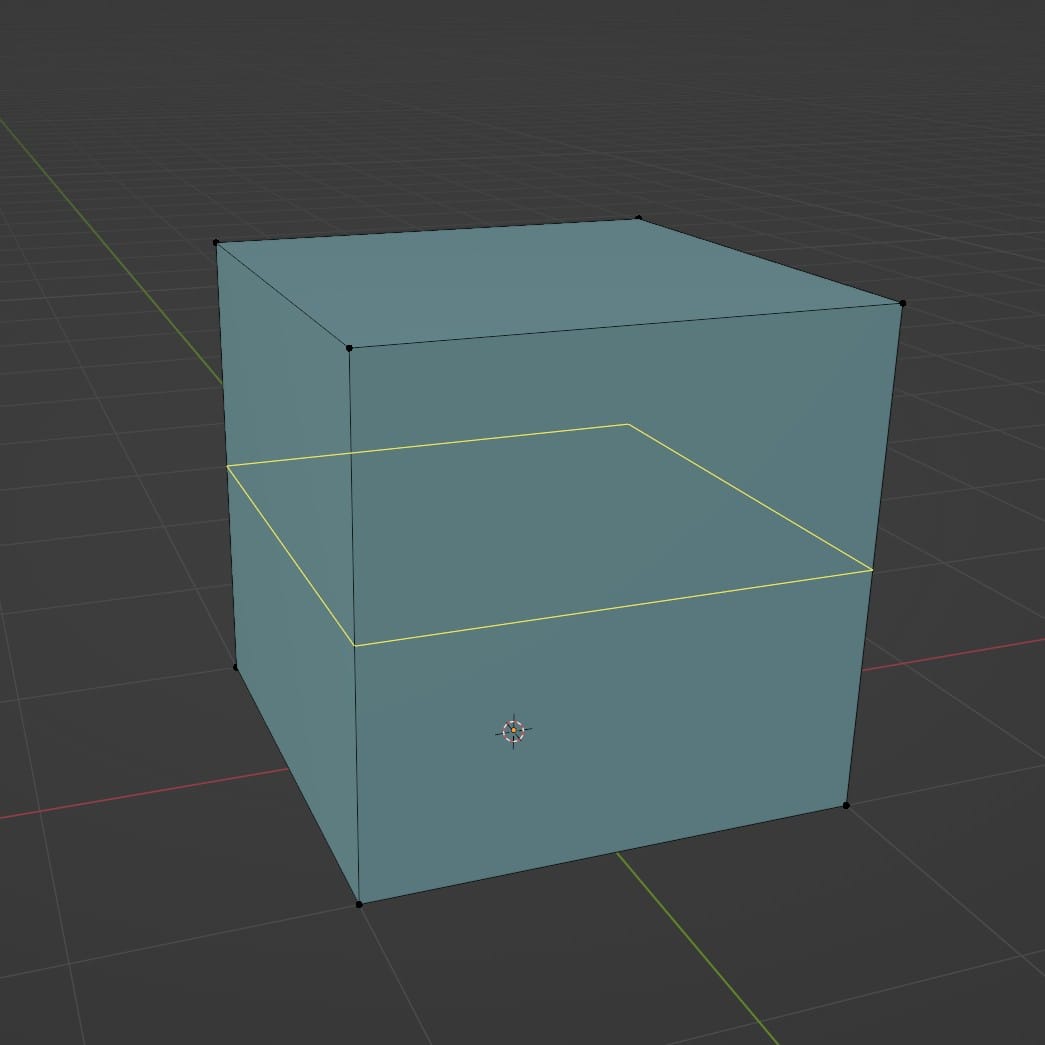
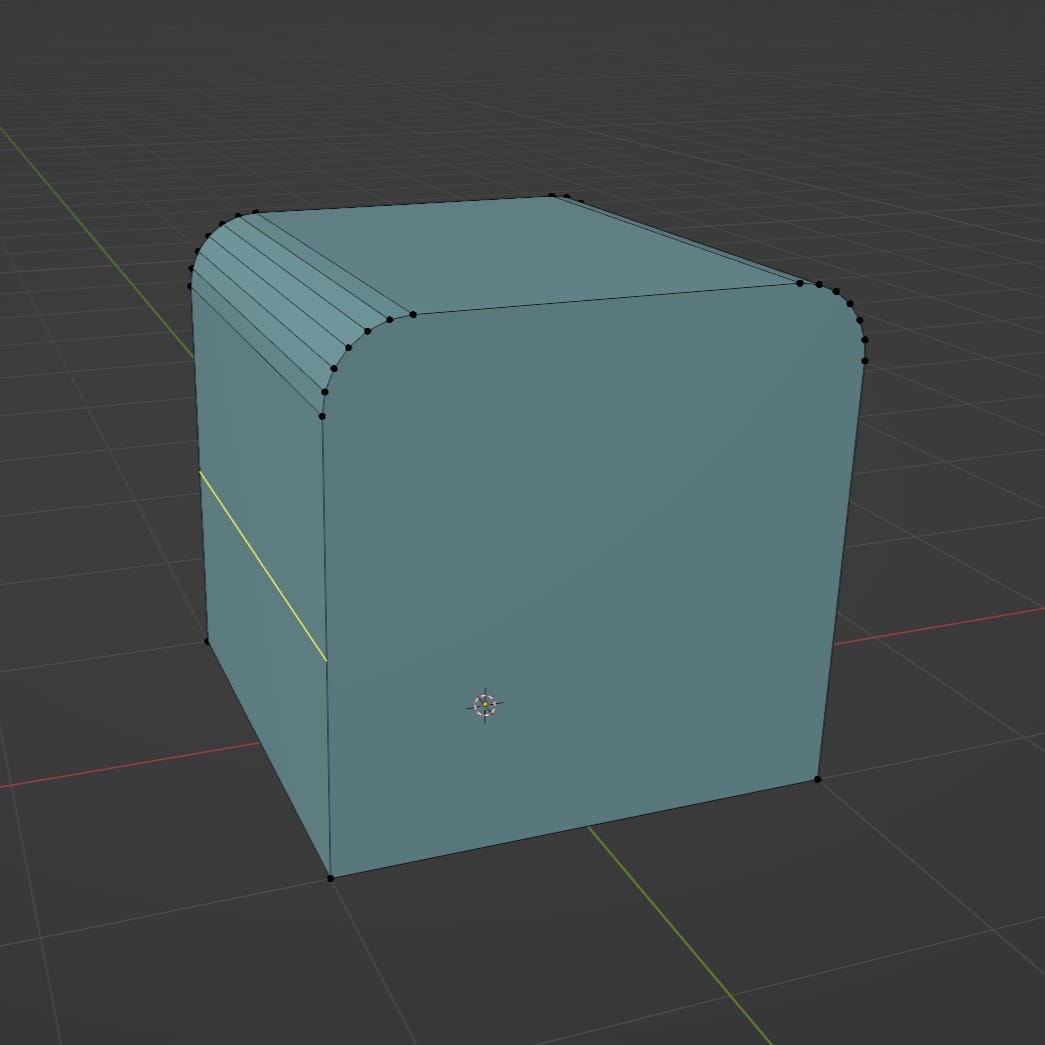
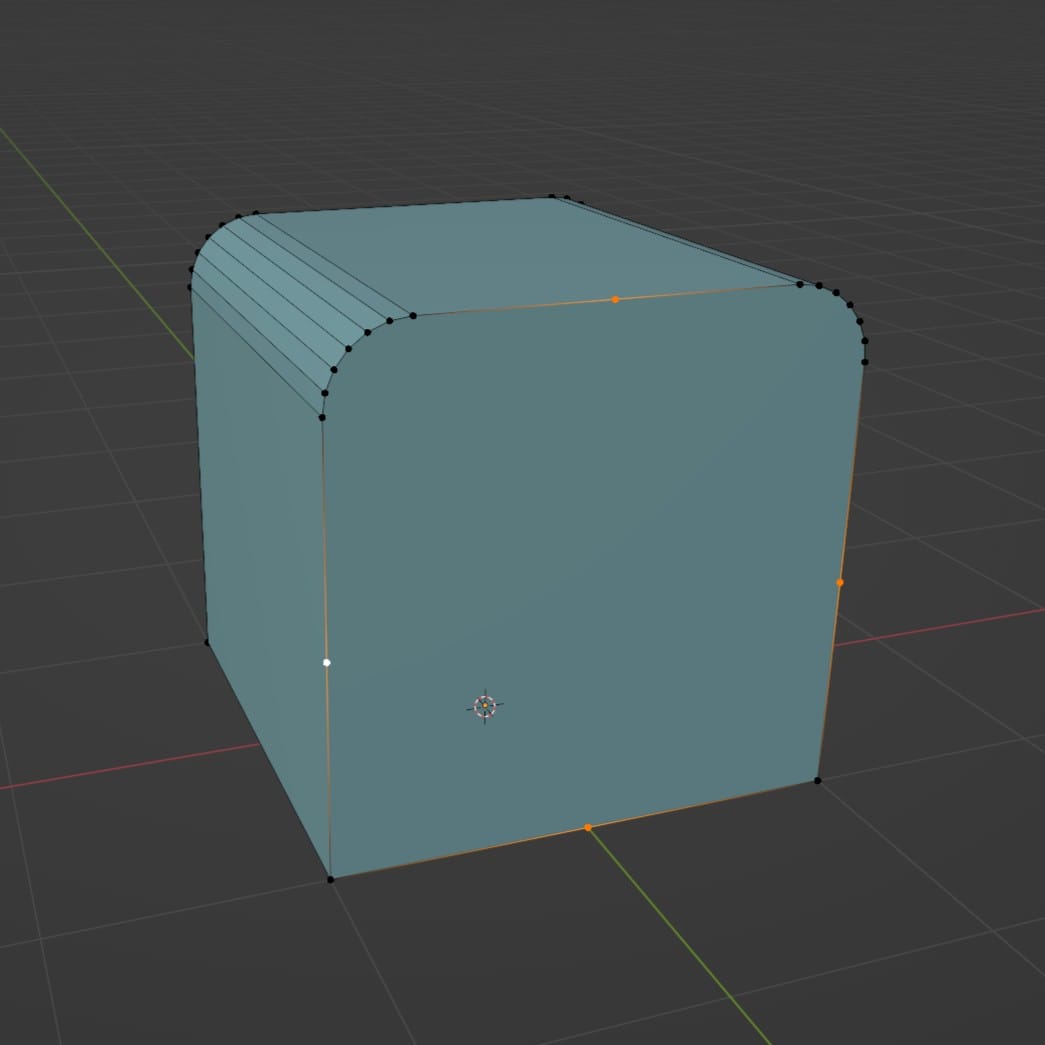
For this laptop, I used pure quads and SubD on the main base component, but most of the other mesh objects were full of n-gons. This caused some occasional headaches, like when I beveled the corners of a cube and then realized I couldn't easily subdivide the front face, because it was now an n-gon. But, I could still add additional geometry with the Knife tool. Another option was to use Subdivide on the edges rather than the face, which would add extra vertices, and then manually join the vertices.
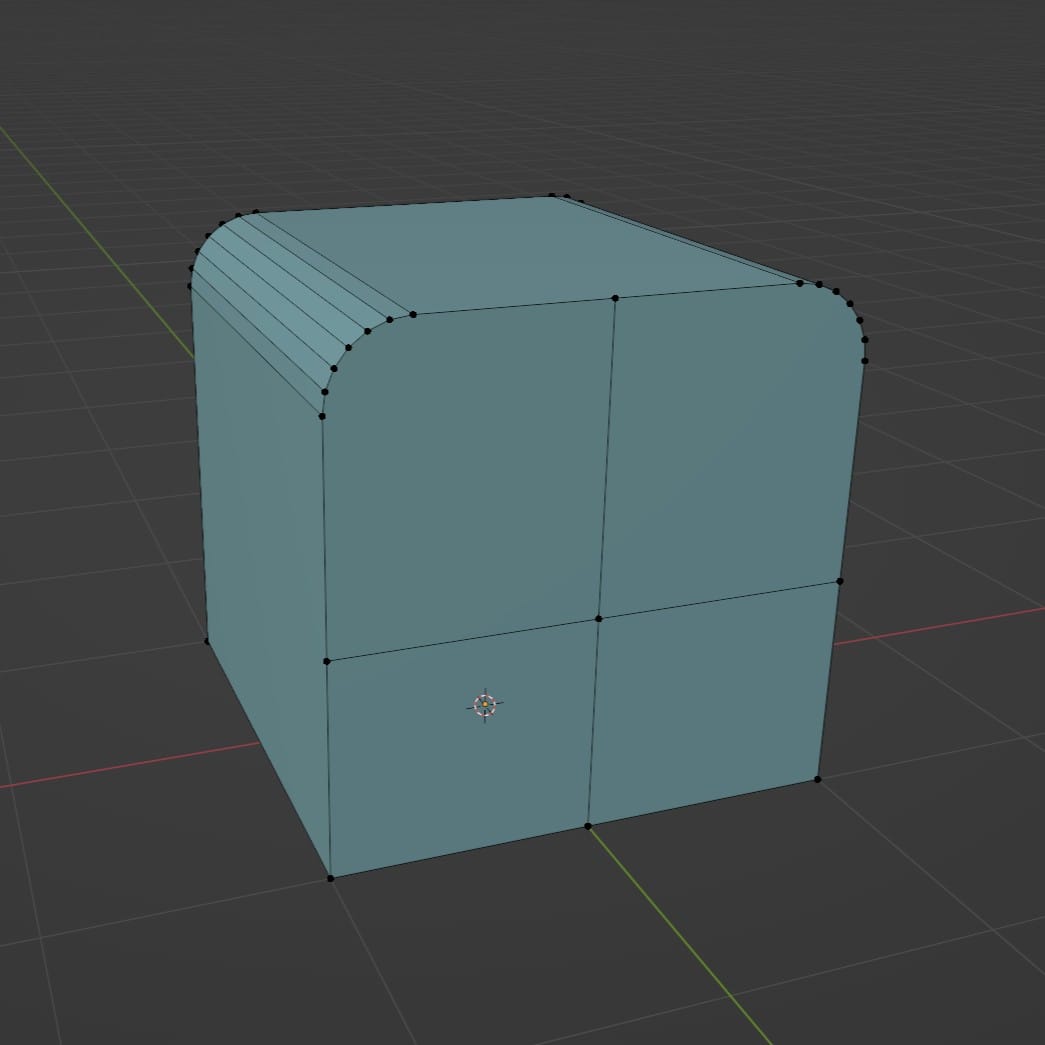
One way to add faces to an n-gon. Not pretty, but doable.
So, on this particular project, these subdivision issues were worth thinking about, but not enough to make me avoid n-gons entirely.
Smooth Shading
A common issue with n-gons, especially on curved surfaces, is that they can break the smooth-shading algorithm:
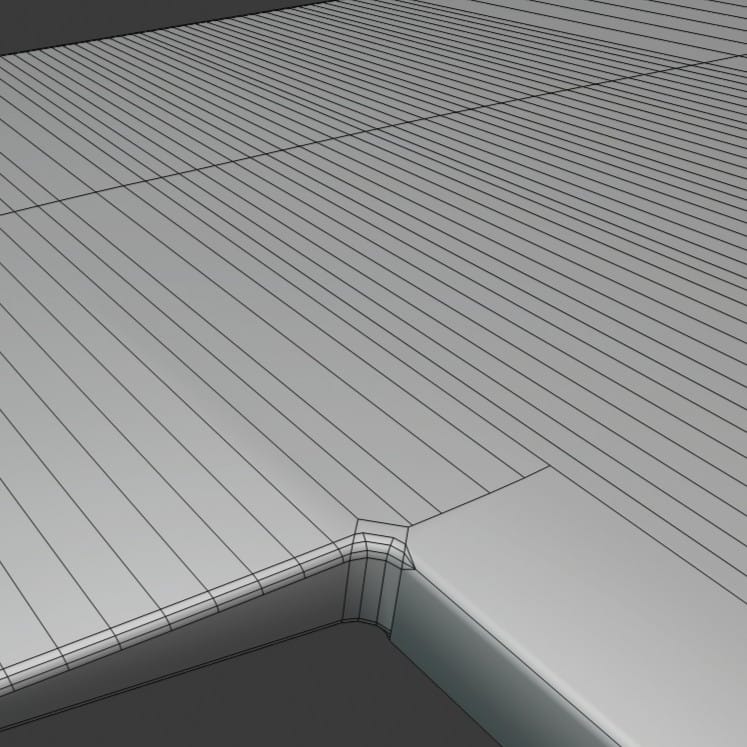
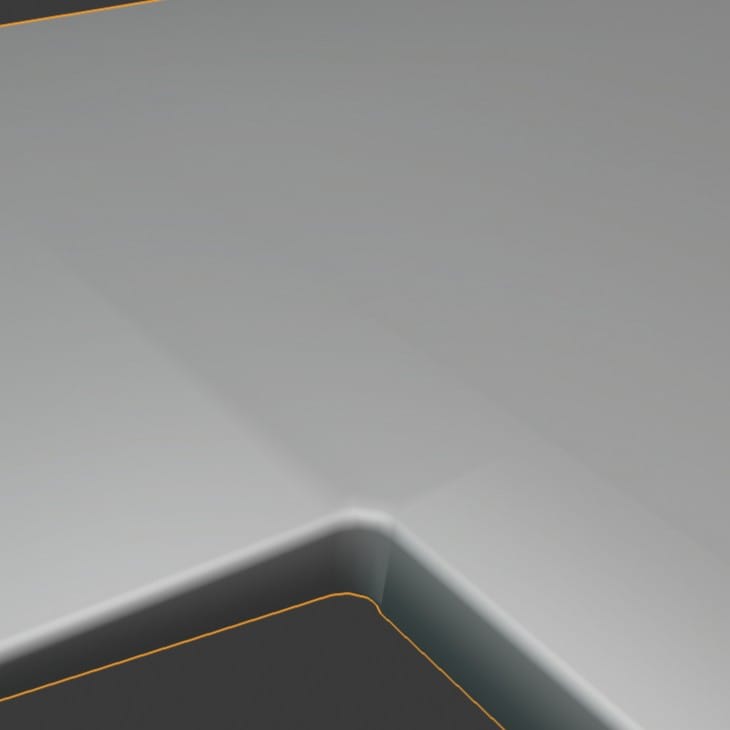
Some rough topology and the uneven shading it caused.
YouTube is full of tutorials on how to alleviate these shading issues. There are a variety of methods, like adjusting the topology so that the n-gons don't fall on curved surfaces, or simply minimizing the size of n-gons so the broken shading becomes less noticeable, or adjusting the normals directly.
These videos helped me better understand these shading errors and how to fix them:
Many of the surfaces on this laptop are completely flat, so using n-gons was no problem. For curved sections, the methods covered in the videos above were enough to clean up and isolate the shading problems to barely visible regions.
Mesh Deformation
I have no first hand experience with this, but apparently evenly-distributed quads are important for animation, because they ensure the mesh will cleanly deform as its vertices are pulled around. N-gons can cause visible stretching.
Fortunately, none of this laptop's mesh will ever be deformed. I will rig the keys and mouse buttons to move up and down, and the monitor hinge to open and close, but none of these animations involve deforming the mesh geometry.
I think this will be a non-issue.
Compatibility
Most professional 3D artists work on large teams or part of a workflow chain involving multiple teams, using a variety of software and production methods. Not all 3D software handles n-gons the same way, so a mesh including n-gons may look fine in one application but break when it is imported in another application.
I won't be sending this laptop mesh to any other person or team, but I will be sending it from Blender to Substance Painter and Unreal Engine. Both UE and Substance triangulate meshes on import (meaning they convert all faces to triangles), and while this is easy to do for a quad, n-gons can be tricky. UE and Substance can triangulate n-gons, but based on my limited experience, n-gons of certain shapes and sizes will break the triangulation algorithm and destroy parts of the mesh. In my case, this occurred in a couple objects that had densely-packed boolean cuts. Interestingly, the portions of these objects that broke were different in Substance Painter and Unreal Engine.
This lead me to do two things: Make sure my topology was as tidy as possible, even if I permitted n-gons, and to triangulate in Blender before exporting to UE and Substance. This way, I could create the "ground truth" triangulated mesh in Blender and not have to worry about the auto-triangulation in Unreal or Substance.
Topology Intuition
Here are some other videos I found useful. These cover a lot of the same subject matter from slightly different angles, so watching all of them gives a solid picture of the range of questions and perspectives on topology issues.
Nothing beats hands-on experience, but I was glad that I immersed myself in videos like these before progressing too far with the laptop model. Watching them let me know what to look out for, and as I did the actual work, I could return to them to find solutions and reinforce my knowledge.
- Change Your Understanding of Topology In Six Minutes
- Become a Topology PRO with these Five Tips
- 7 Topology Tips Every 3D Artist Should Know
- Our FAVORITE sub-d modeling strategies
I particularly recommend this next video, and the PzThree YouTube channel in general, for building up topology intuition:
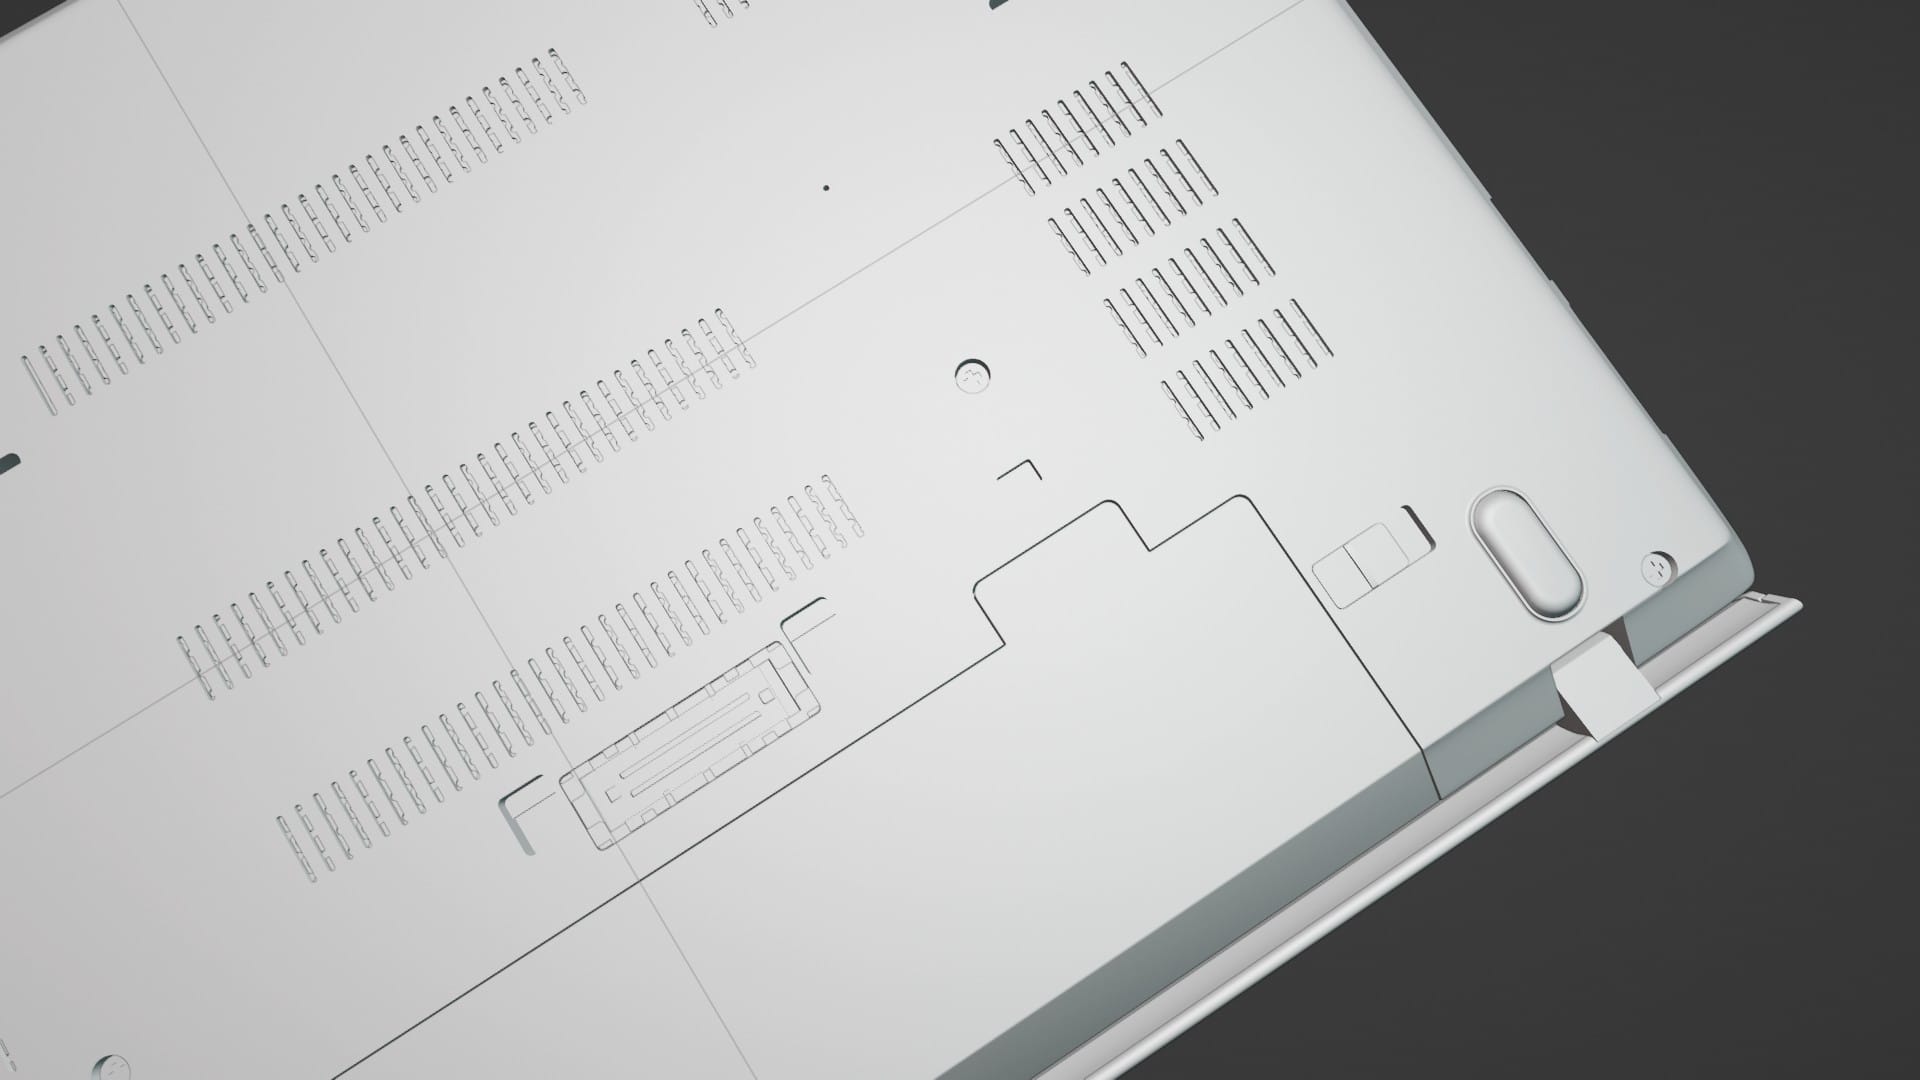
Honestly, watching this last video made me want to redo the entire base portion of the laptop, below the keyboard. I modeled the original shape with all quads and Subdivision Surface, but then I massacred the topology on two sides, using booleans to cut holes for USB ports. I was able to clean up the worst areas, but it's still not perfect.
We'll see. Right now, I think the mesh is good enough to texture and use in the movie. But, I also want to try selling the finished product on Fab. There is something sexy about pure-quad topology, and the obsessive-compulsive part of my brain might not be able to leave this mesh as it is.
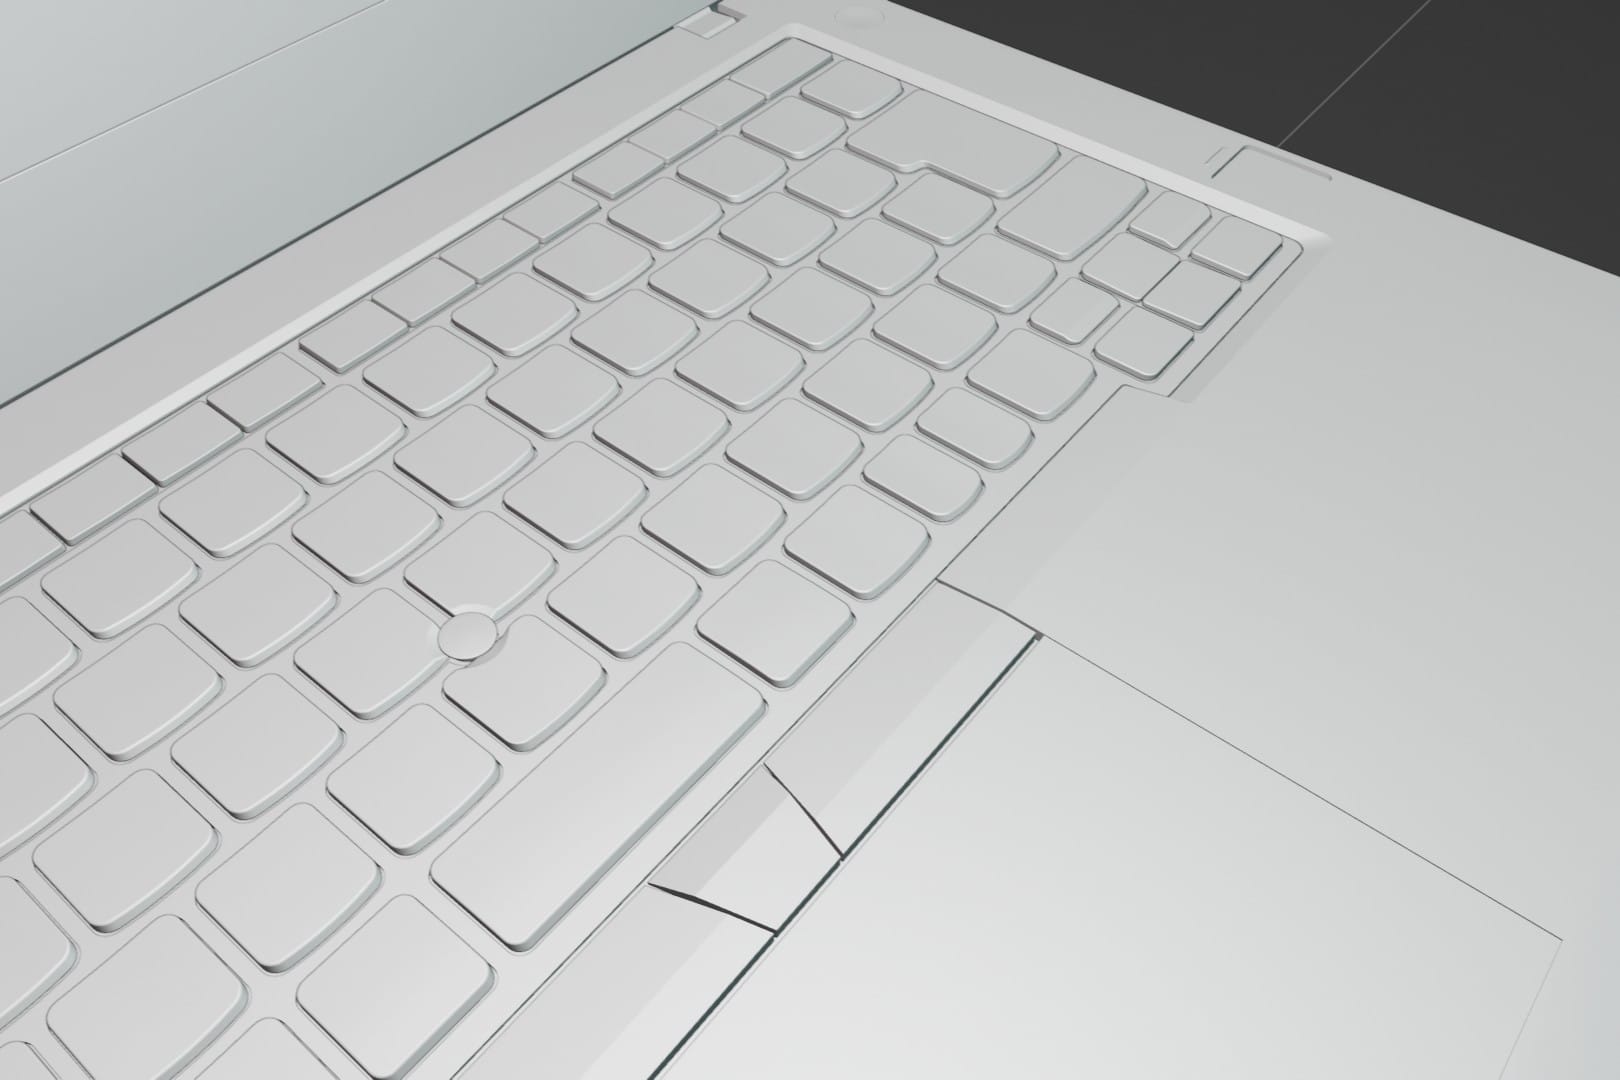
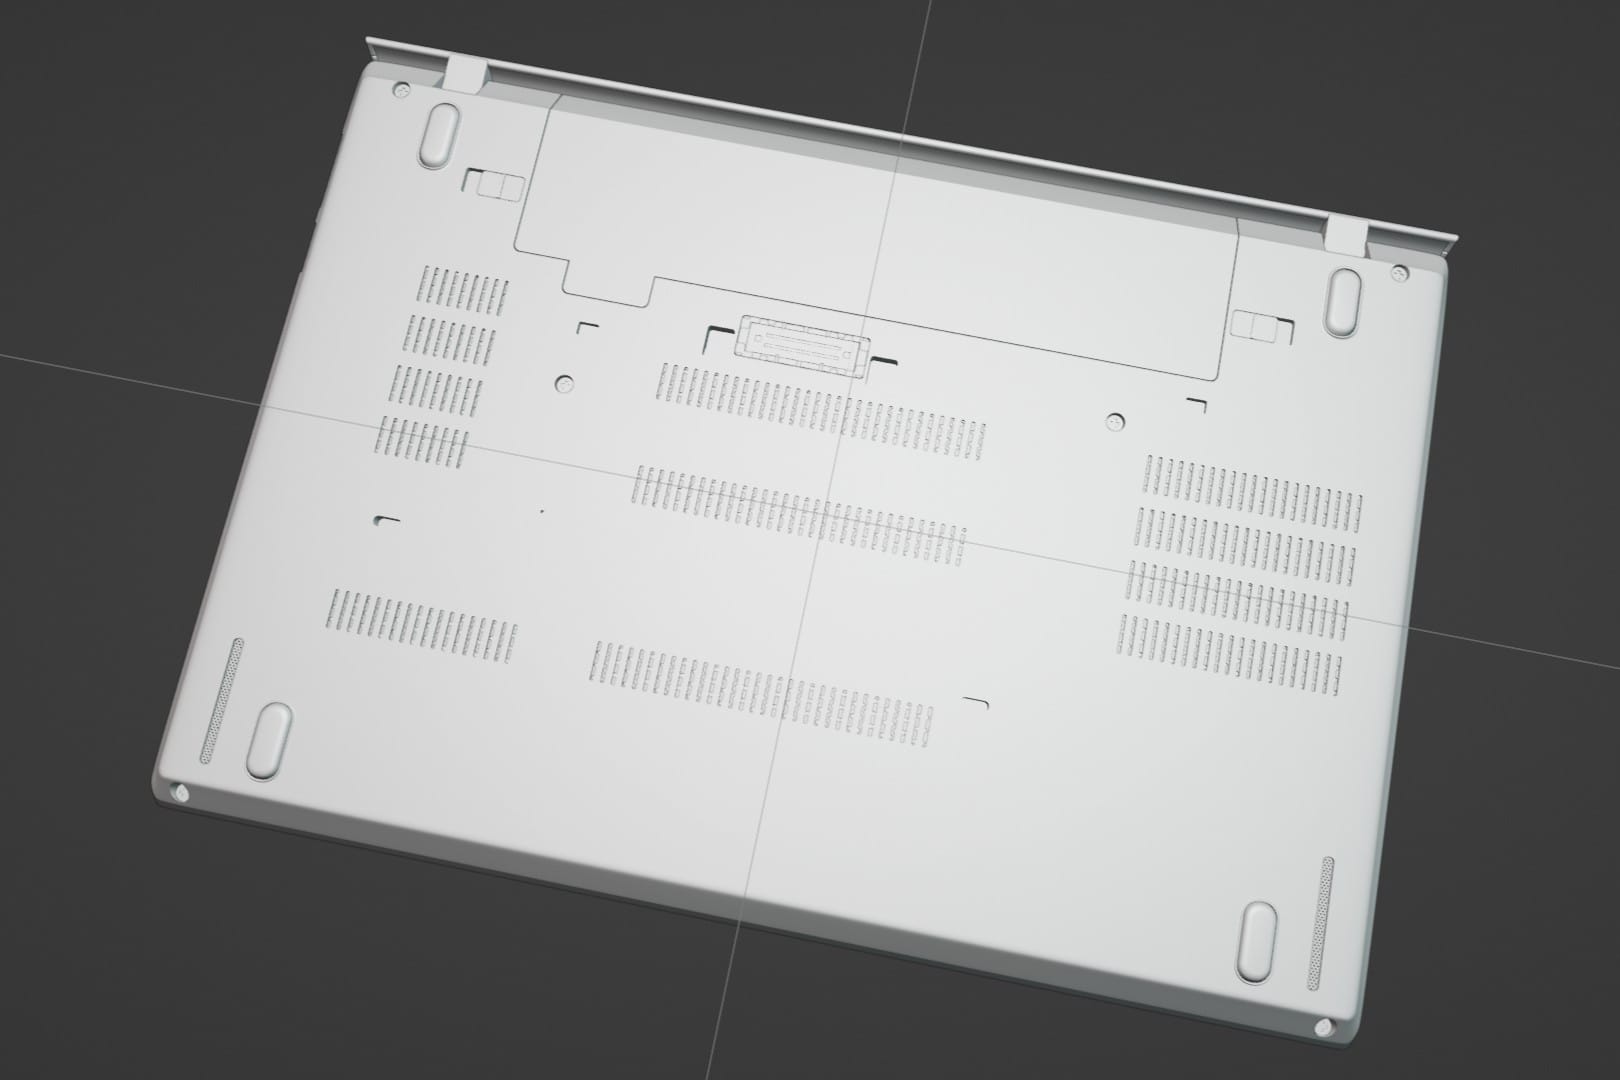
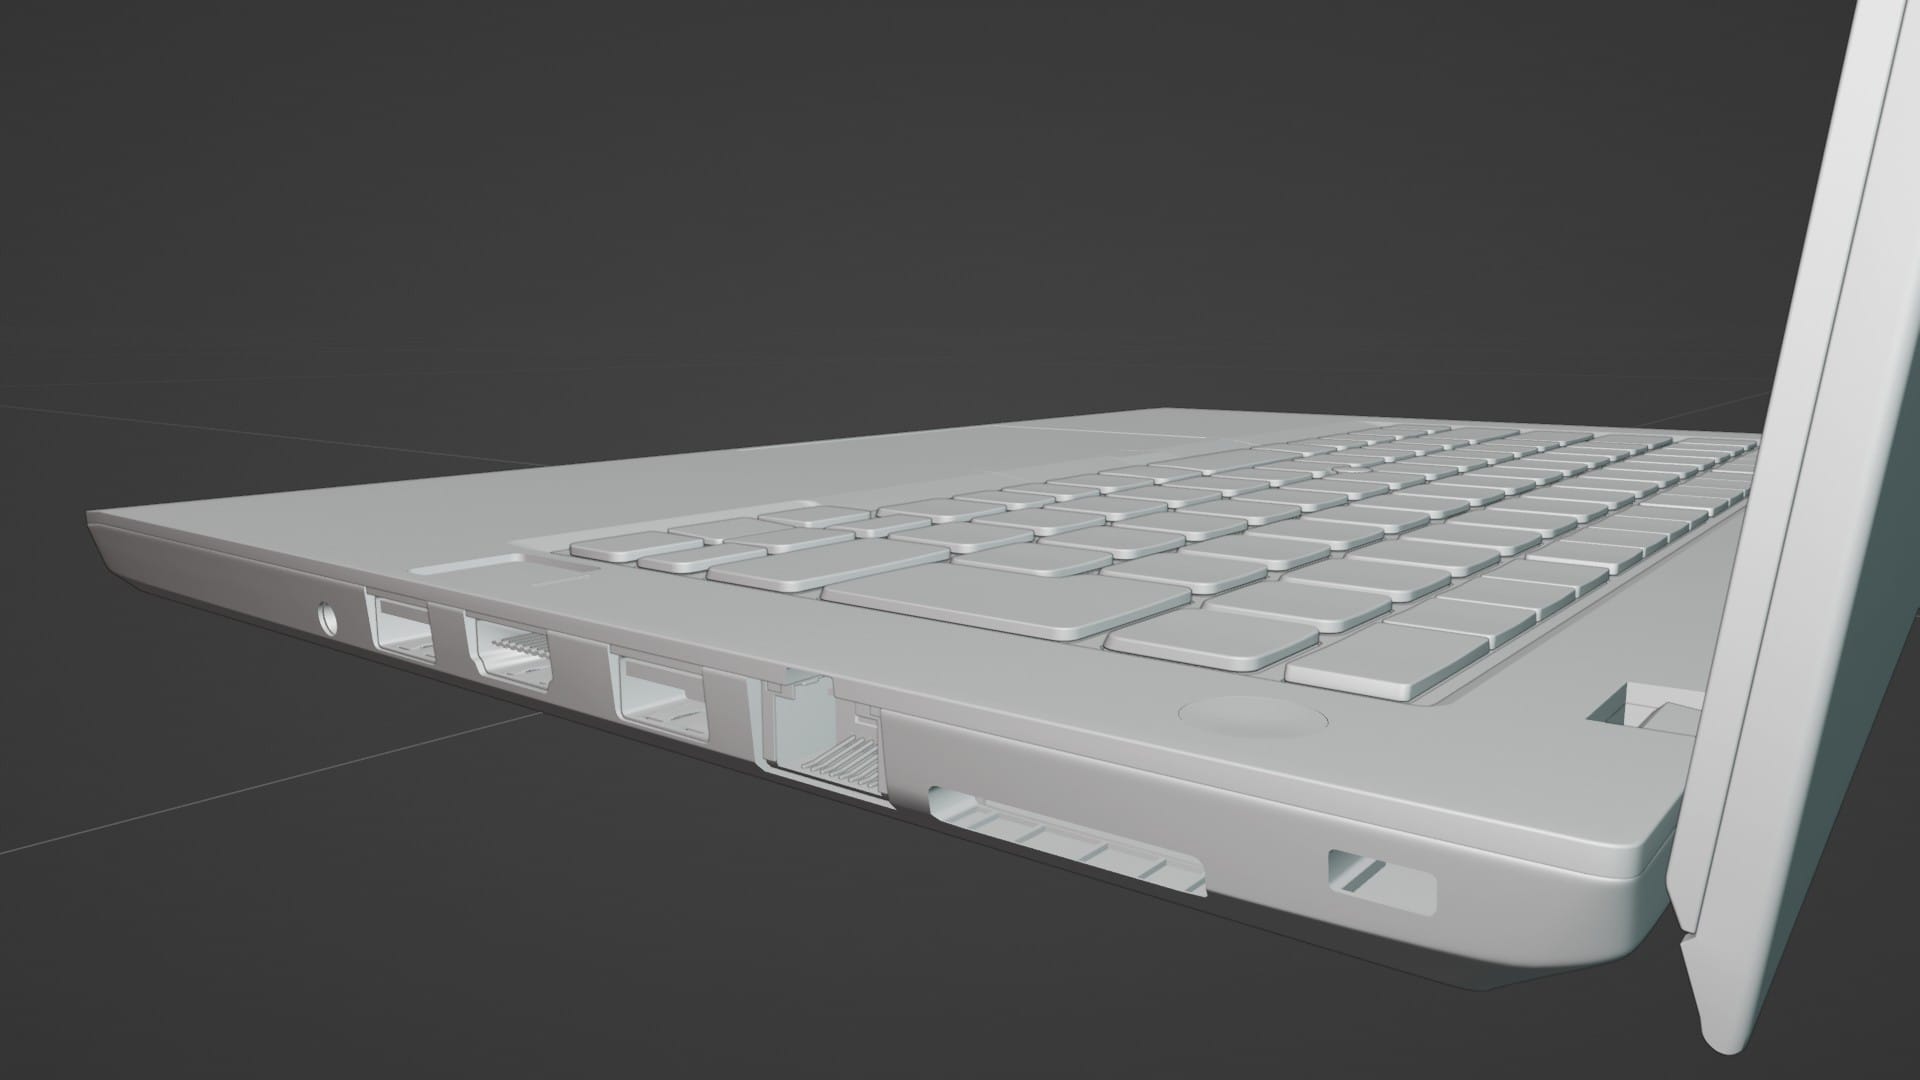
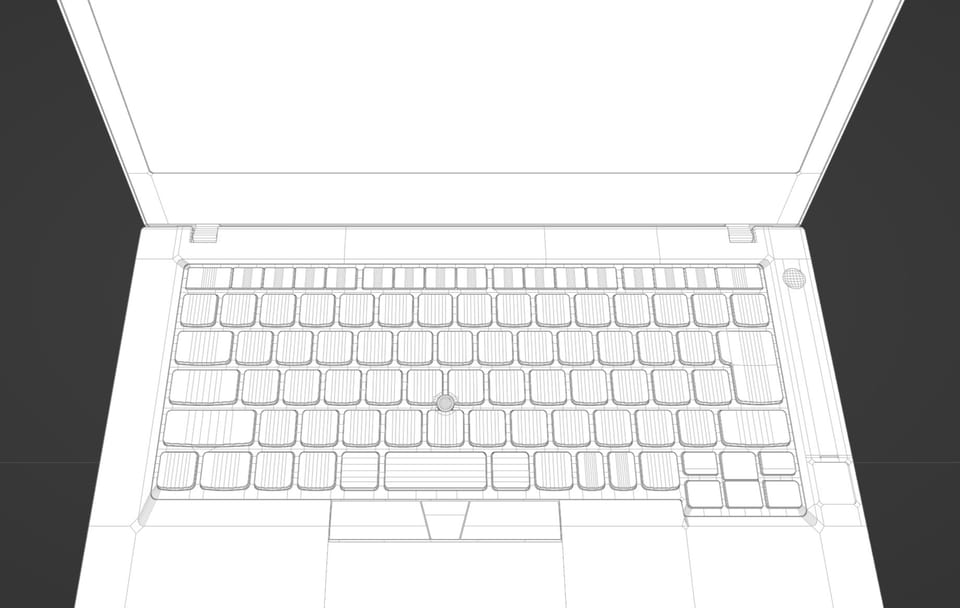
MatCap view in Blender.
In Part 2, I'll do all the texturing in Substance Painter. And, if I decide to re-topologize the base, there might be a Part 1.5...