Primitive Shapes
Now that I have my shot list, I want to get into animating the characters as quickly as possible. My loose plan is to do a motion capture pass for every shot, then start the process of tweaking the animations and adding detail to the environment and props. Adding a cinematic level of detail and polish will be time consuming, so I want to limit that effort to the most prominent objects in the shots. There's no point creating a custom texture in Substance Painter for a prop that sits in the background, out of focus.
But, the apartment environment and the props need to have a basic level of quality before I can evaluate the shots at all. If the background of a setup is gray and empty, it will always look wrong, no matter how much I improve the framing or the animation.
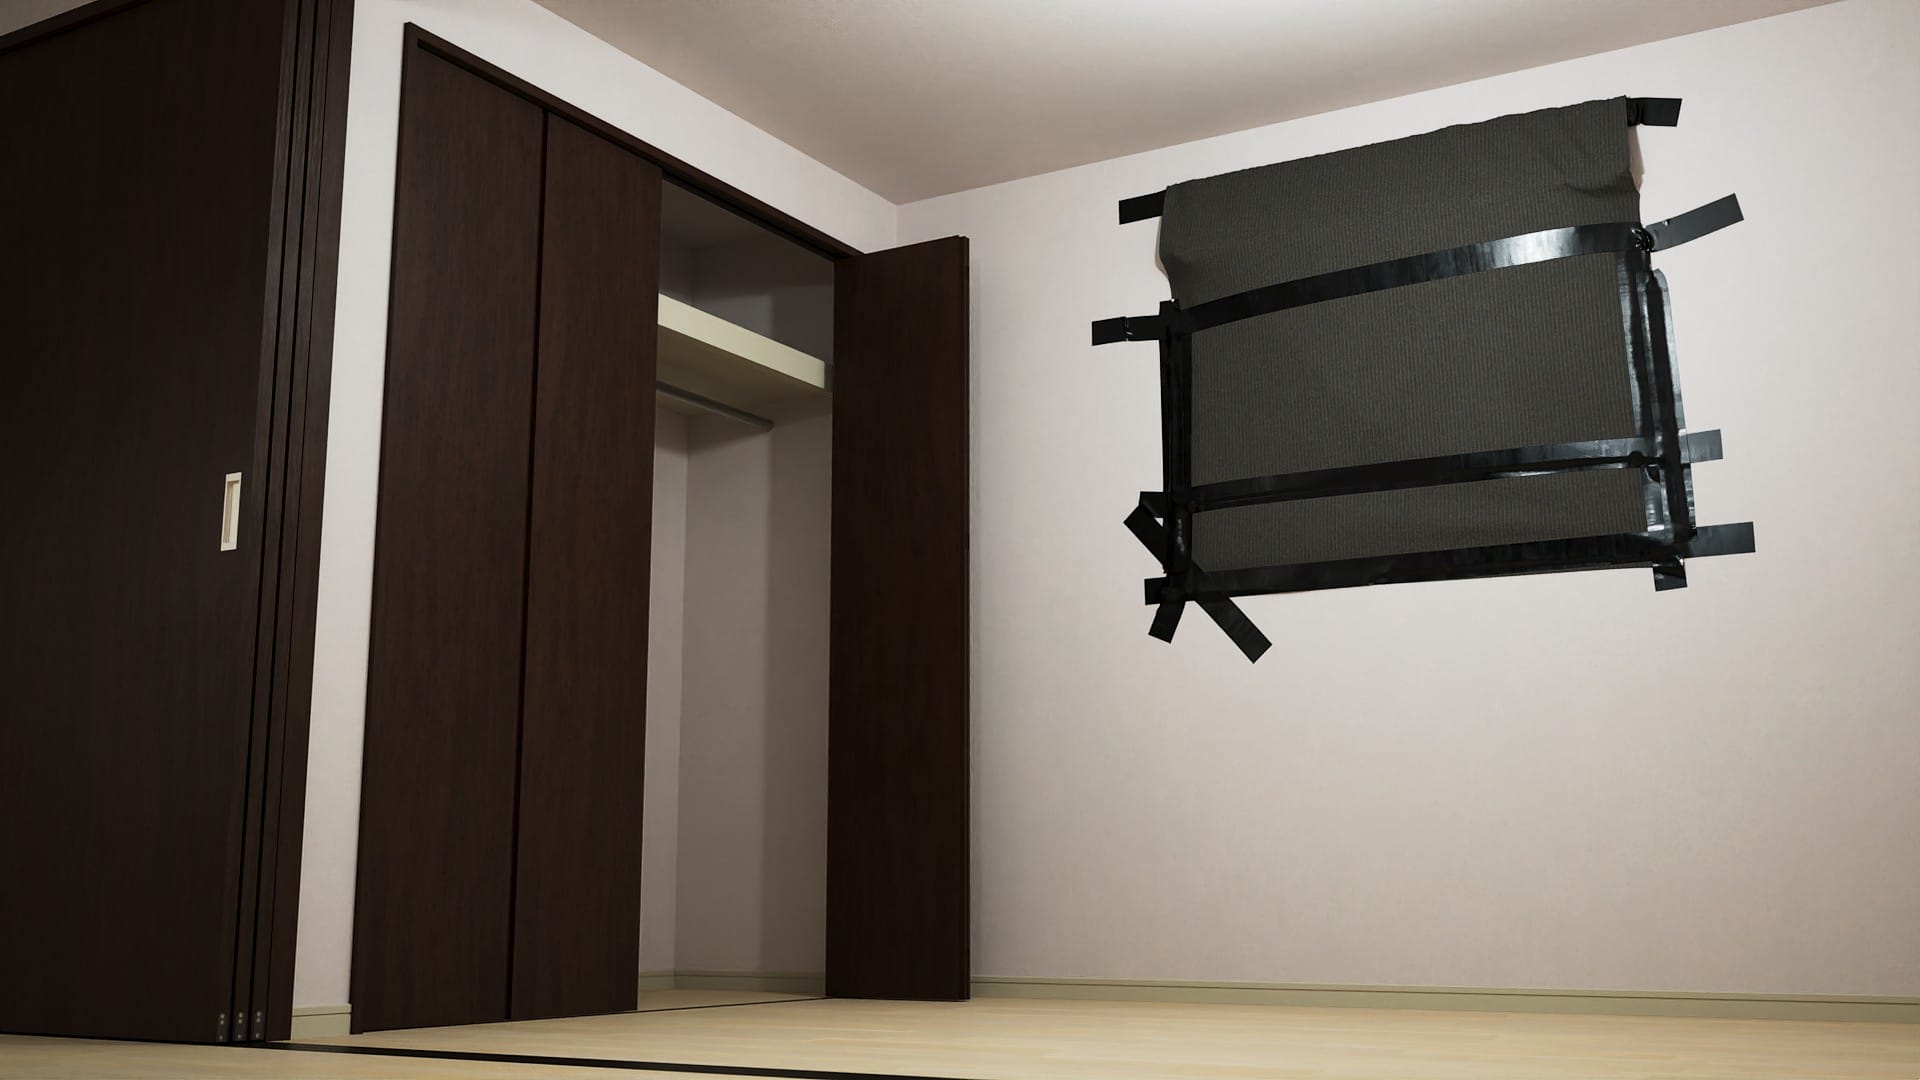
I need to build a set that looks good enough to make judgement calls, but avoid sinking too much time into it up front. I'm going to build the simpler objects myself, in Blender. These are the walls, doors, windows. The kitchen cabinets. I'll use Marvelous Designer to make the living room curtains and the blanket that is taped over the window in the work room. For more complex objects I'll use photogrammetry, whenever possible. We'll see. Not all objects lend themselves to photogrammetry.
This article focuses on the work I did in Blender. I'm an amateur, but fortunately the internet is piled high with learning resources. The most famous guide for beginners is probably this one. I haven't done the donut tutorial myself. I learned the Blender basics while following a MetaHuman customization guide.
Speaking of MetaHuman customization, in an earlier piece I promised a write-up that I still haven't delivered. That's mostly because Epic has been continually updating MetaHumans and improving their functionality, so the plan for my custom characters keeps changing. That article is still on the horizon.
Why Not Build Everything in Unreal Engine?
My original plan was to do all the modeling in UE. The UE modeling tools are relatively new, but they have powerful features. I also liked the idea of keeping as much of my work as possible in one application. But, after giving it a go, I yearned for the comfiness of Blender. The view modes and controls are more pleasing for modeling, the colors of selected vertices, edges, and faces look better, UV mapping is easier, quads vs tris, etc. Unreal Engine wasn't built from the ground up for 3D modeling. It is what it is.
Blender Units
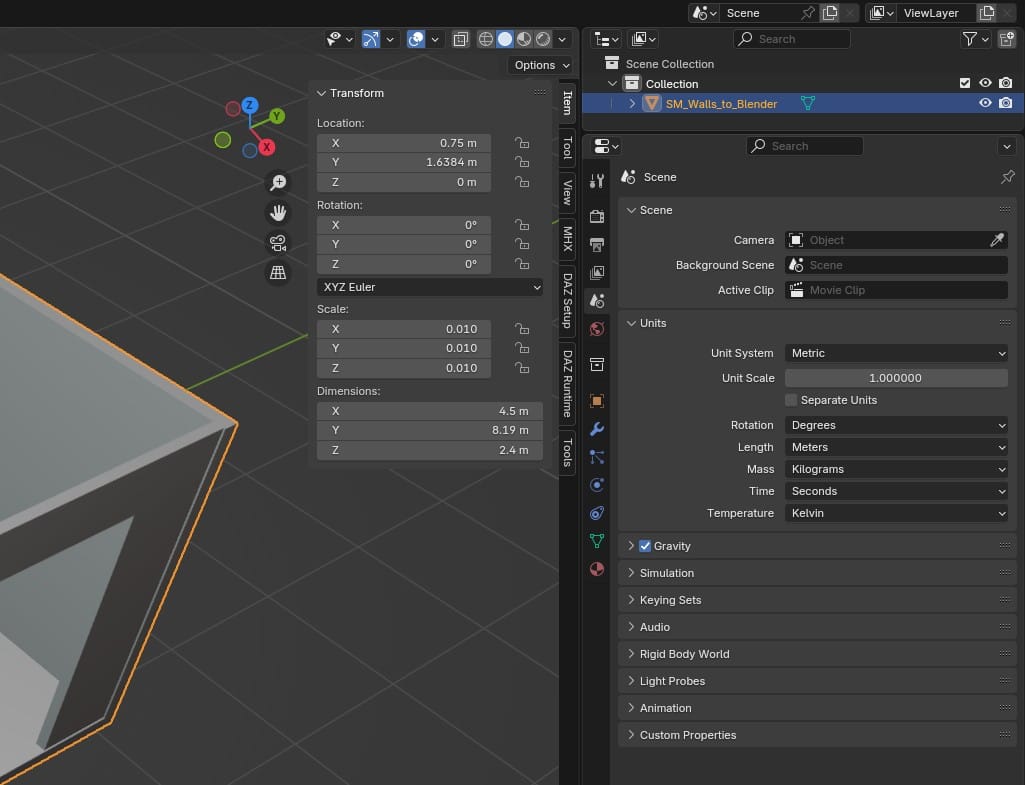
I already had a bare bones apartment built in UE, but I wanted to redo everything in Blender. To use as a reference, I decided to export the apartment walls from Unreal. A strange thing I noticed, after importing the walls in Blender, was their scale. They were automatically scaled down by a factor of 0.01. But, for some reason, their dimensions matched the dimensions in Unreal Engine. In UE, the walls were 240cm tall, and Blender had them at 2.4m. Why was Blender showing that as being 0.01 scale?
In the Blender "Scene" settings, I changed the length unit to centimeters, but that simply changed the walls' height to 240cm, without affecting the scale. I then changed the scale of the walls from 0.01 to 1.0, and they jumped to 24,000cm in height.

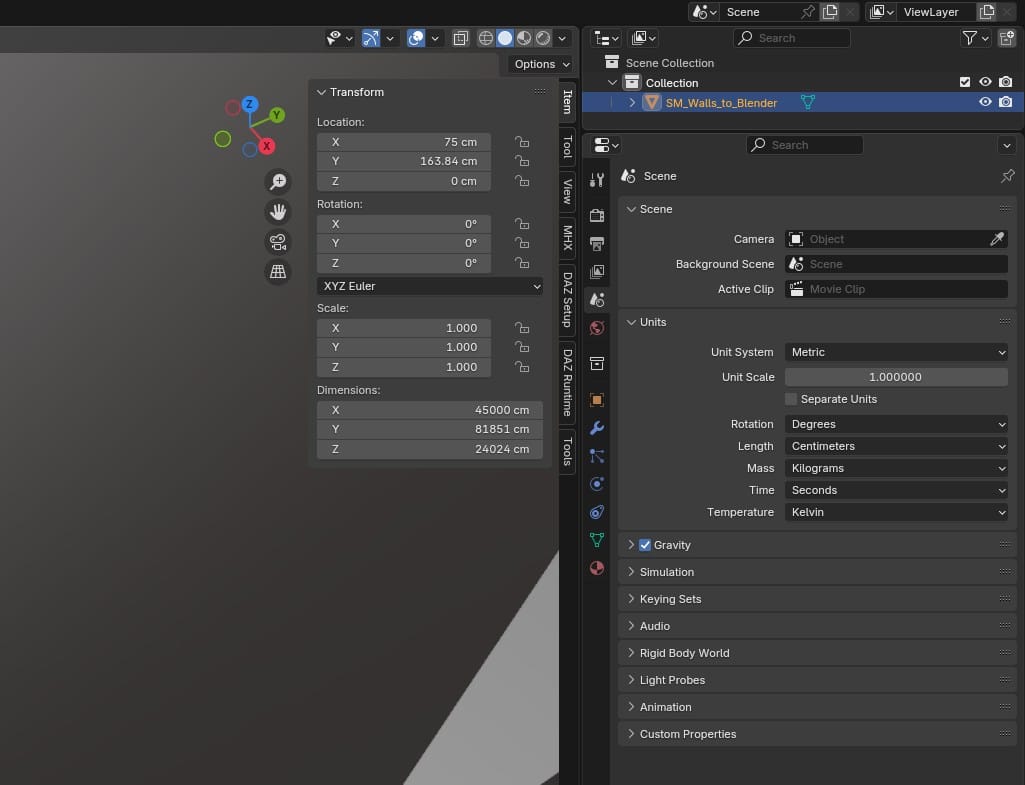
I had never really considered the units of measurement in Unreal Engine or Blender. By default, UE calls its units centimeters and Blender calls them meters, but they are really just Unreal units and Blender units, spaces on their XYZ grids:
My theory is that, when I send an object that is 240 "units" tall from UE to Blender, Blender just sees 240 units. Then, Blender calls those units "meters" and my 240cm wall shows up as 240m tall. But, something in the FBX file alerts Blender that it was exported from Unreal Engine and therefore expecting centimeters, so Blender divides the object's scale by 100 to give me 2.4 meters.
Interestingly, this problem doesn't happen when sending an FBX from Blender to UE. If I create a basic 2m (2 Blender units) cube in Blender, it imports in UE as 200cm (200 Unreal units), without any scale alterations. I don't know. These unit/dimension systems feel pretty arbitrary.
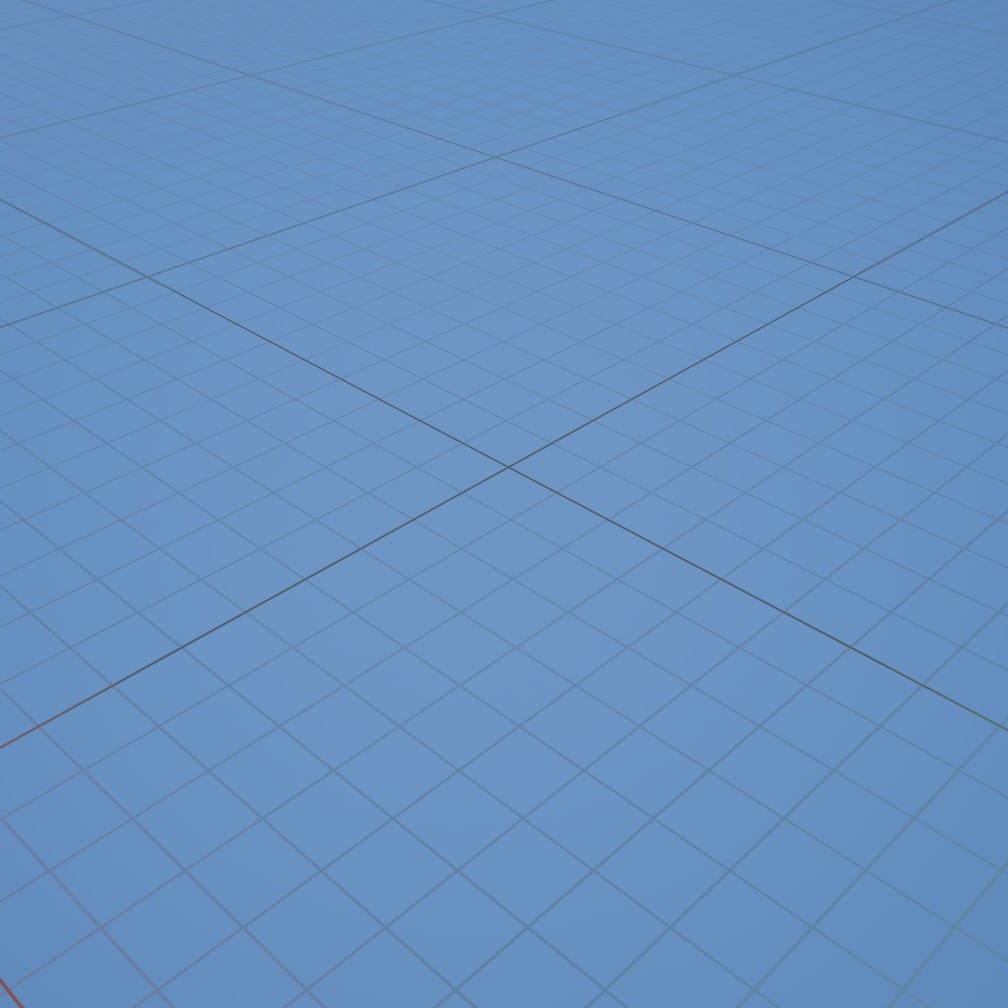
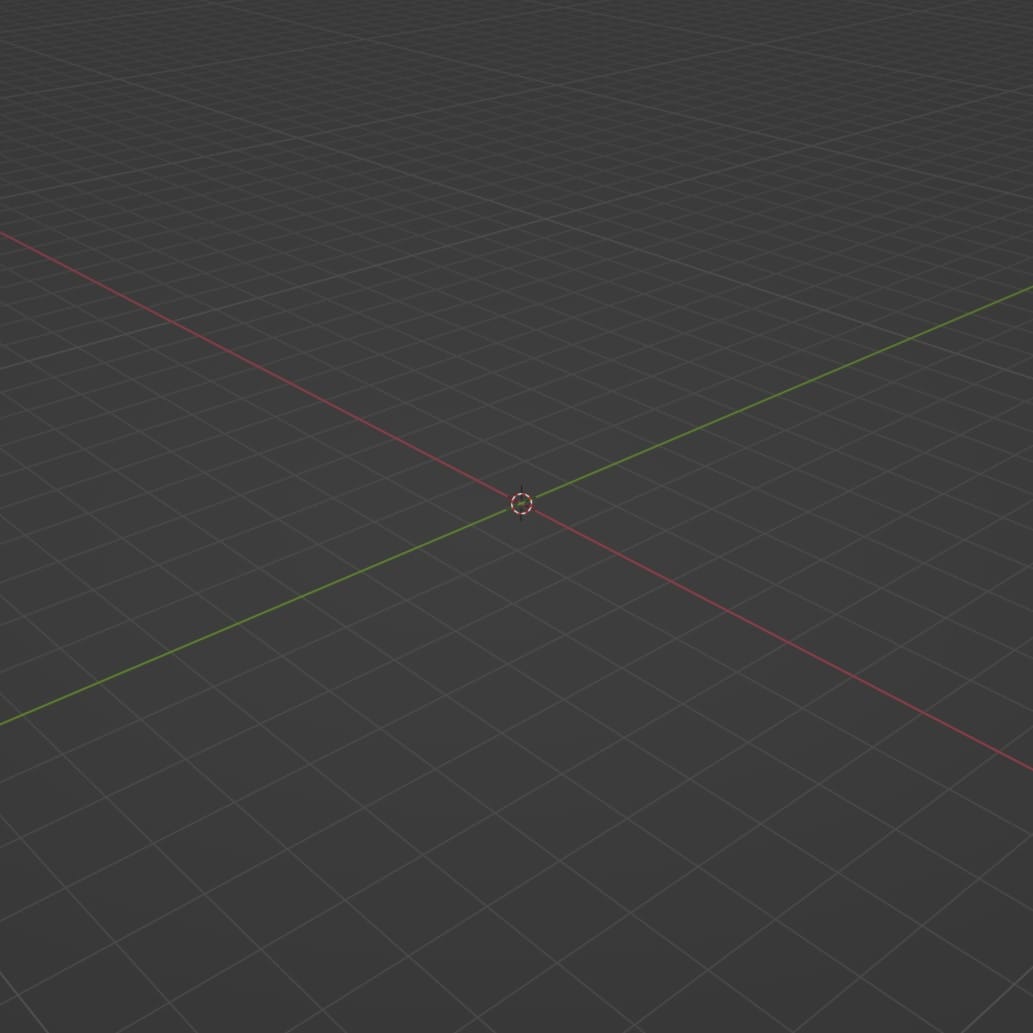
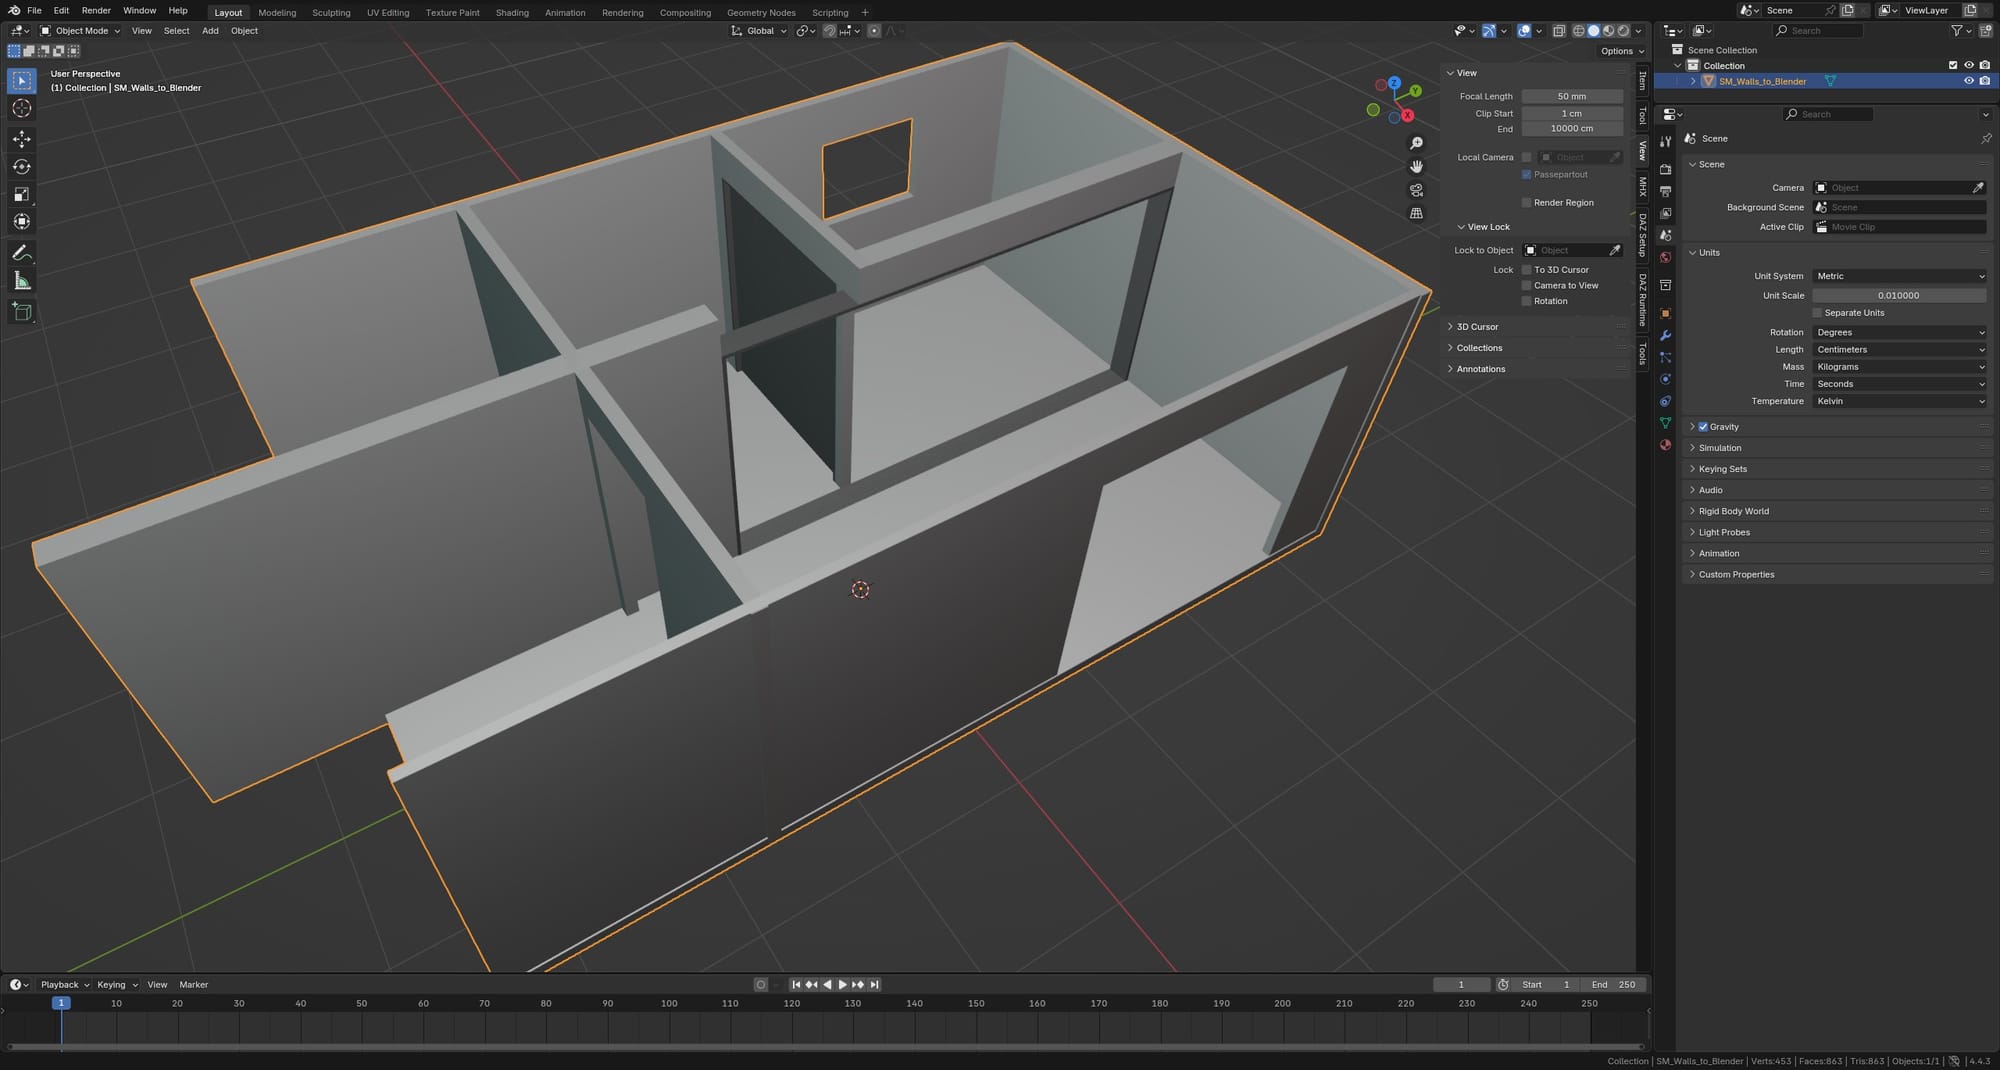
In hindsight, the simplest solution for my 0.01 scale walls was probably to just use "Apply Scale" to bake in the scale adjustment and move on. But, at the time, my bright idea was to manually up the scale to 1.0, making my walls 24,000cm tall, and then change the Unit Scale for the entire scene to 0.01. This created a new problem. When I zoomed out to view the whole mesh, it appeared to break. I eventually realized this was a viewport problem, and could be solved by changing the Clip Start/End values:

Do What Works
I aim for simplicity: to get what I need with as few edits and as few polygons as possible. As I cut my teeth in Blender I experimented with a number of tools, but I gradually realized that nearly everything I wanted to build for the apartment could be done with basic shapes, Extrude/Inset, Bevel, and Shade Smooth.
Like with the units/dimensions, a lot of my learning in this phase was superficial. I discovered some tricks to get the results I needed, but I don't fully understand why these tricks work, or if they are good practice.
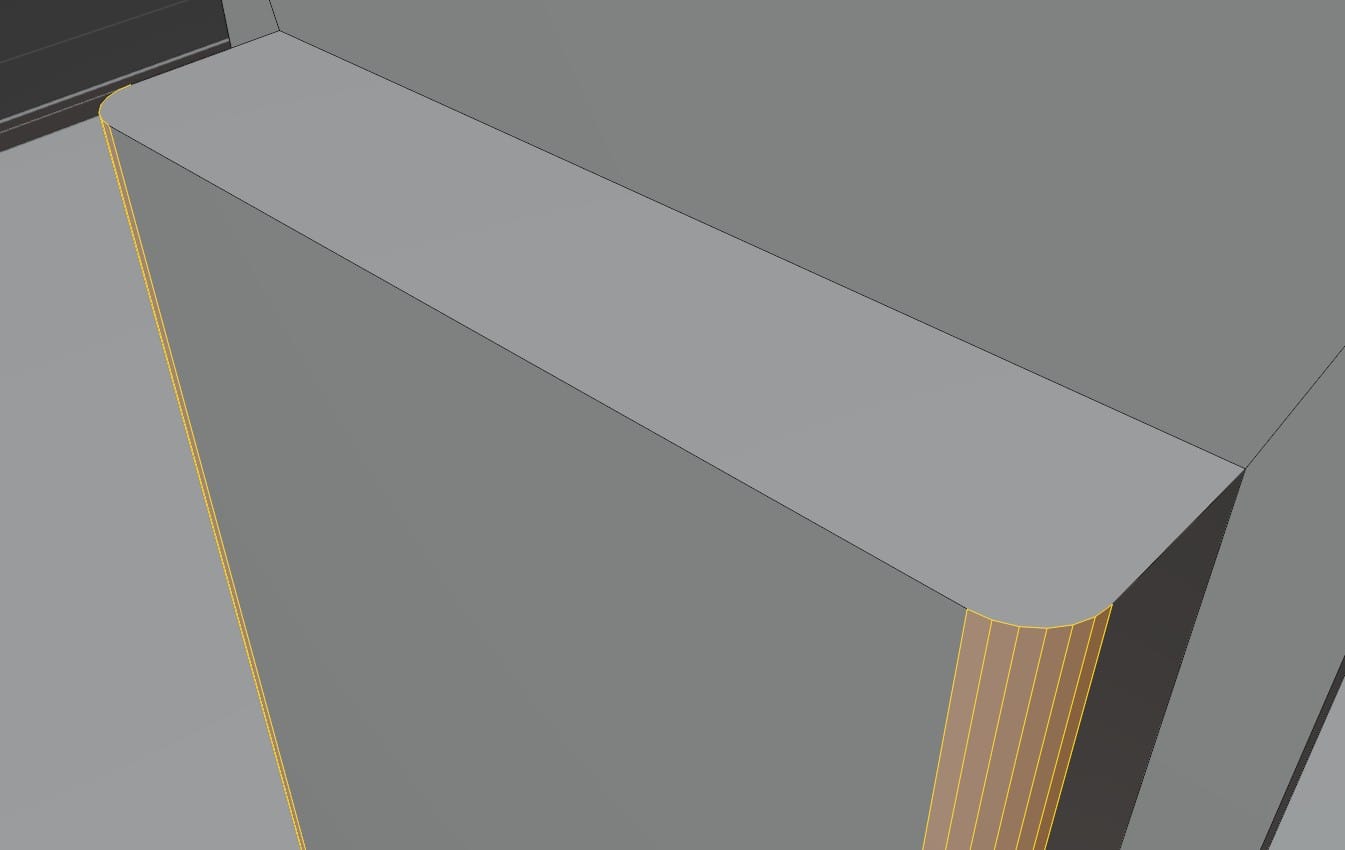
For example, sometimes the Bevel tool would only slope one side of an edge:
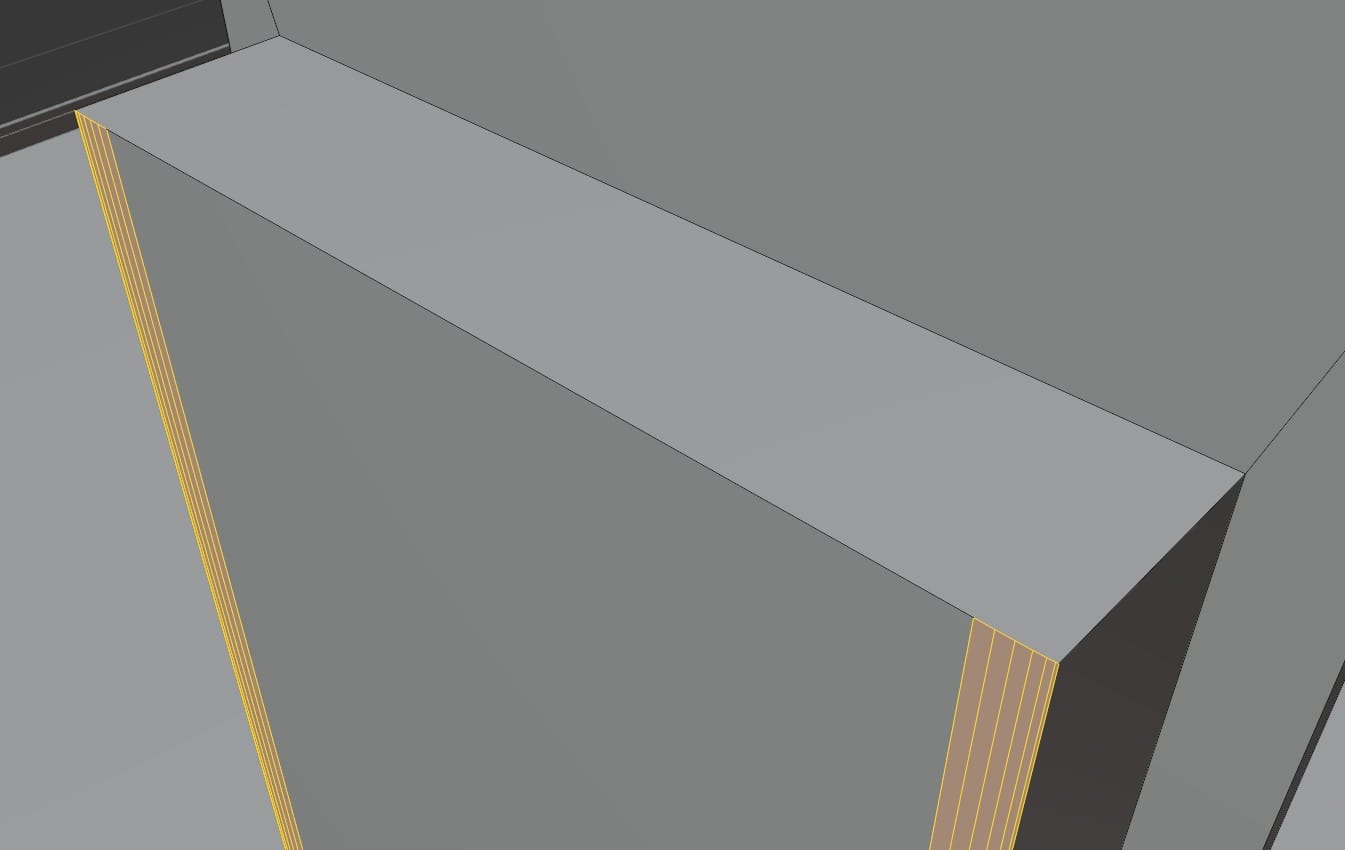
I discovered that this was often because the object had a non-uniform scale, which could be fixed with Apply Scale. Then, if it still didn't work, another option was to go into Edit Mode, select all, and do a Merge by Distance to clear some overlapping vertices.
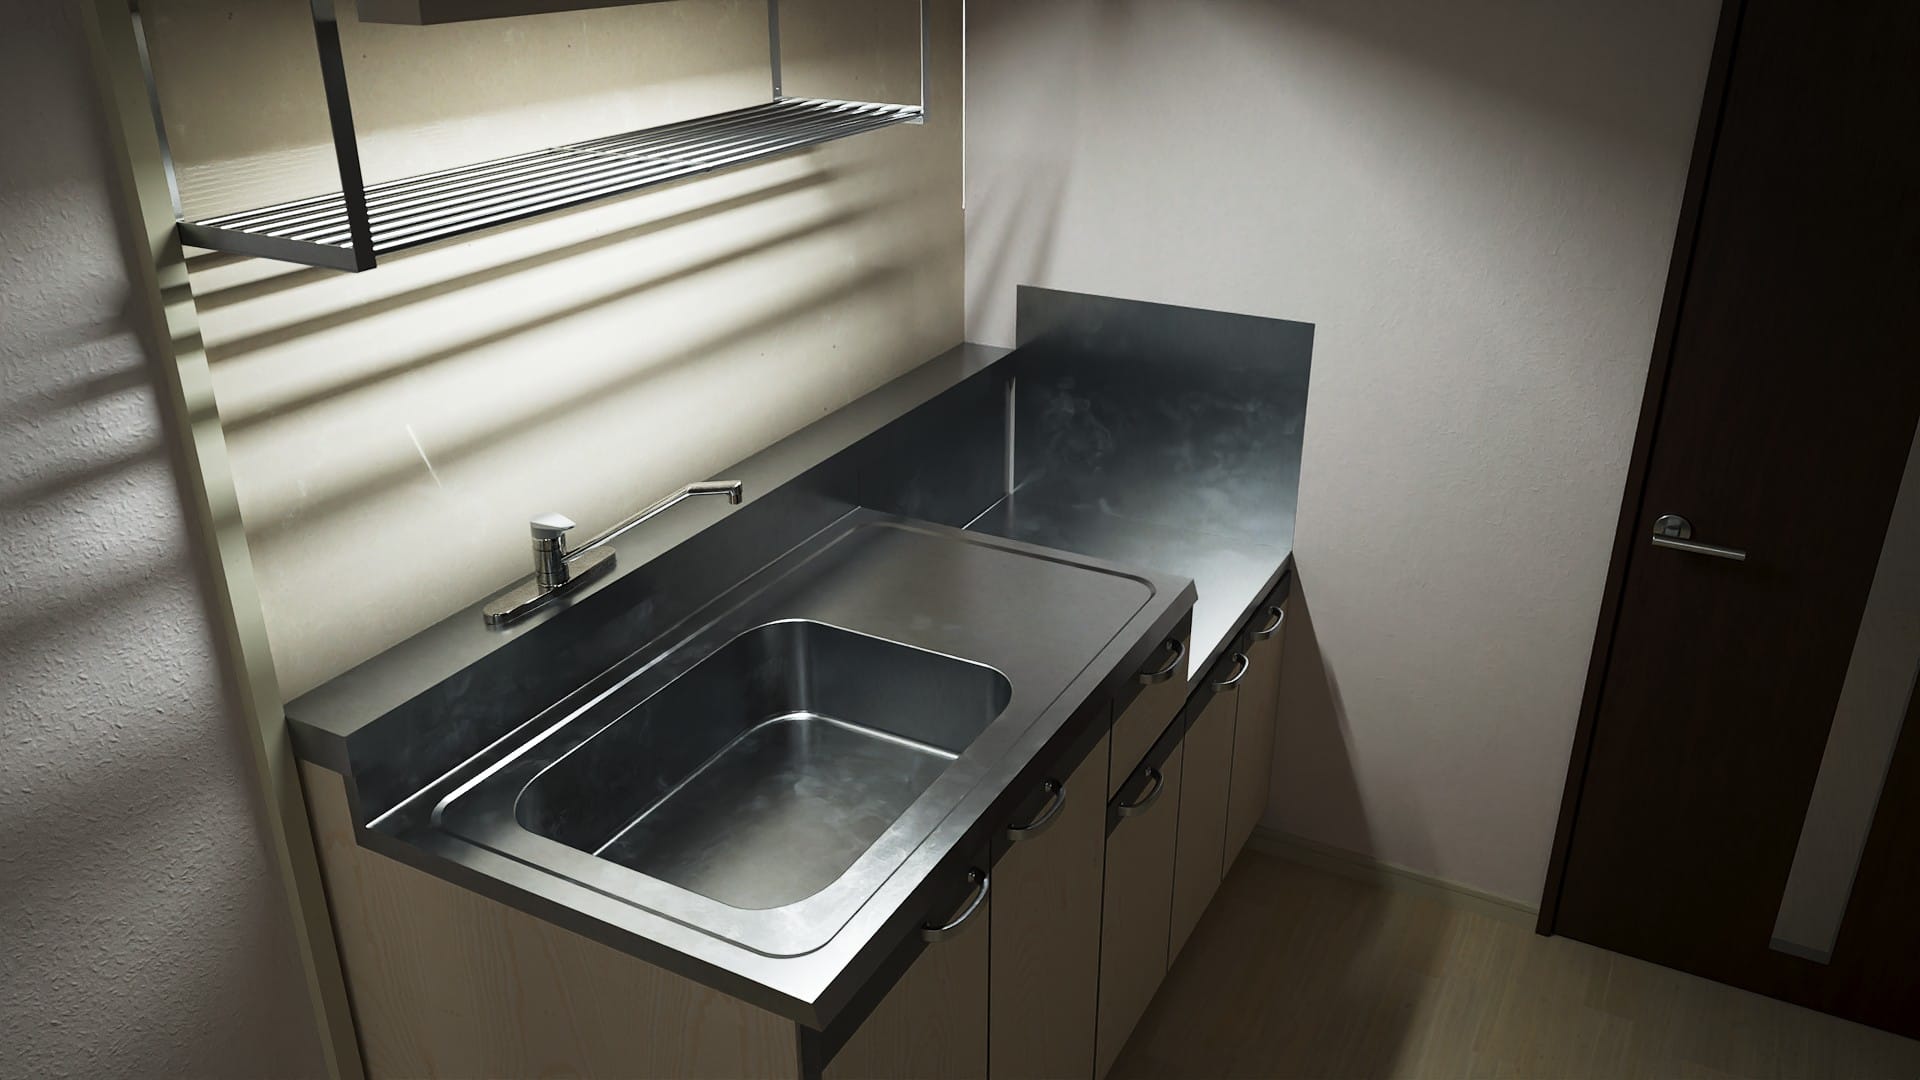
Then, there was my problem with smooth-shading objects while preserving the more subtle features. With the kitchen counter, Shade Smooth flattened everything:
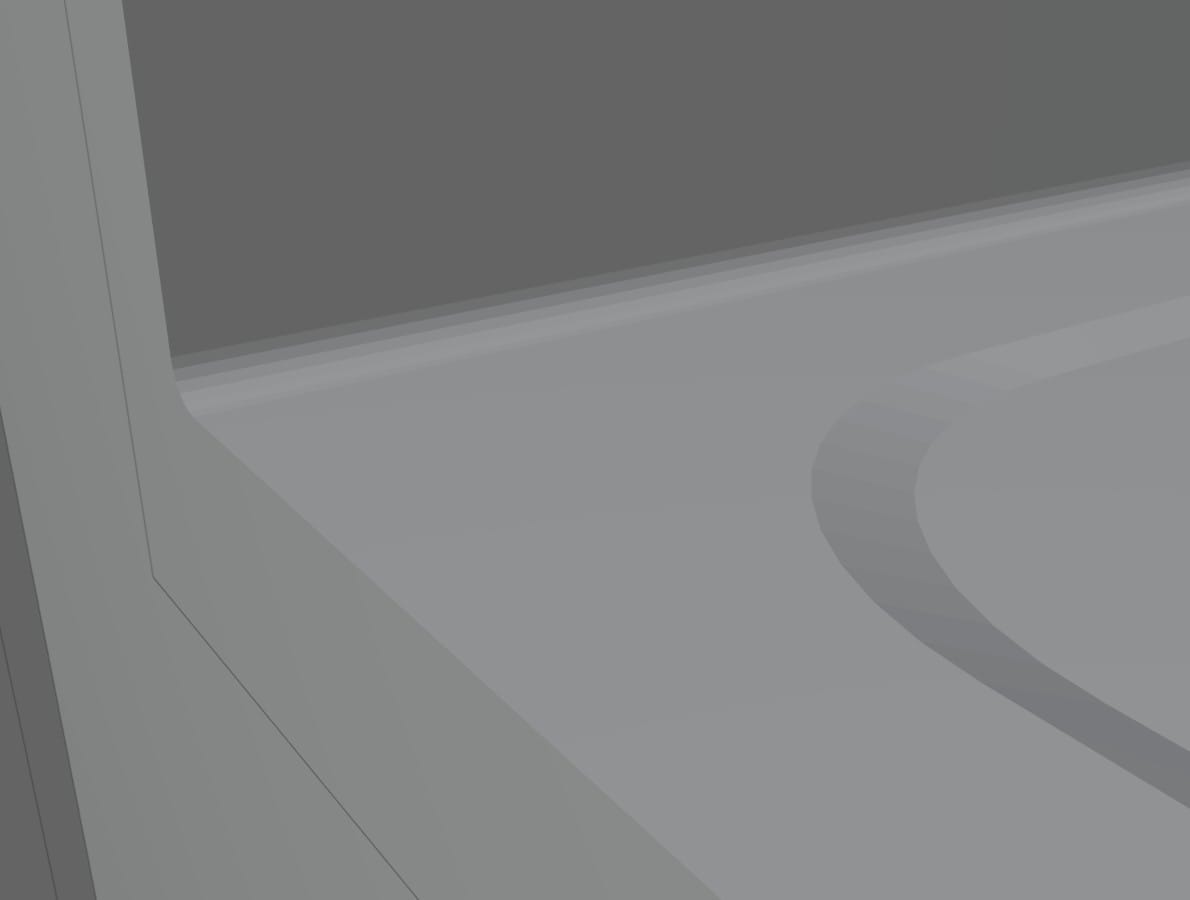
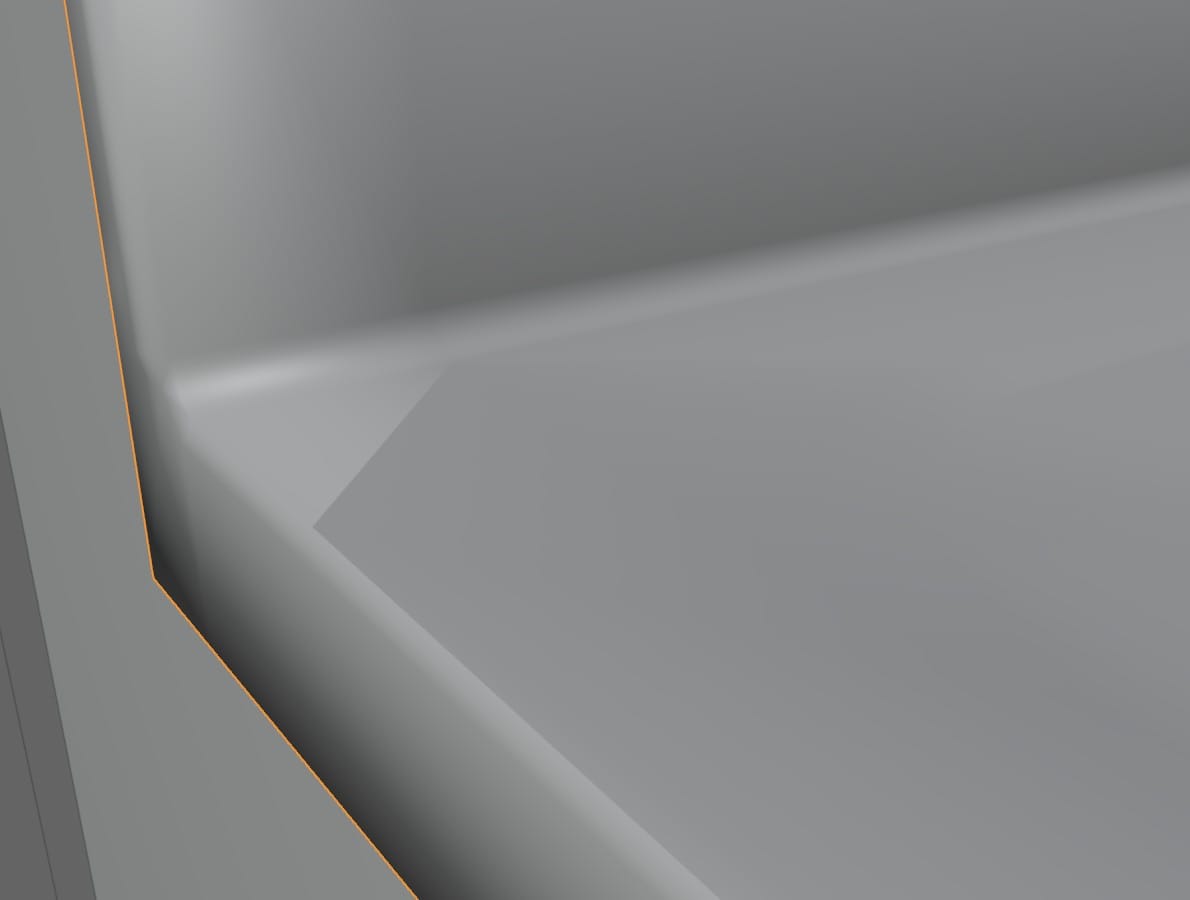
Shade Flat vs Shade Smooth
For some reason, I completely ignored Shade Auto Smooth. My eyes/brain just passed over it. In my newbie mind, if Shade Smooth didn't give me what I wanted, anything related to Shade Smooth could be ignored. I ended up screwing around with Subdivision Surface and adding edge loops and a lot of other nonsense until, I don't recall when exactly, I clicked Shade Auto Smooth and noticed that I could input an angle value. The Blender documentation describes this value's function as the "Maximum angle between face normals that will be considered as smooth." For me, the easier description is that smaller angle values will allow more edges to stay sharp, and only smooth the subtlest features.
For more information on normals and smooth shading, the first section of this guide is worth reading:
Later on, I noticed that the objects with Shade Auto Smooth applied needed to have their normals fixed after importing to Unreal Engine. This problem might be solvable with the FBX's export/import settings, but I did it with the modeling tools in UE. While in Modeling mode, the tool is found under Attribs > Normals.

I also had problems with UV mapping. I wrote about UVs previously and felt I had a solid understanding of them, but in the process of actually building something, I uncovered fundamentals that I had never considered.
My object's geometry was simple, so I found that Smart UV Project worked well. And, like a good 3D modeler (I thought), I used Scale to Bounds to utilize the whole UV space:
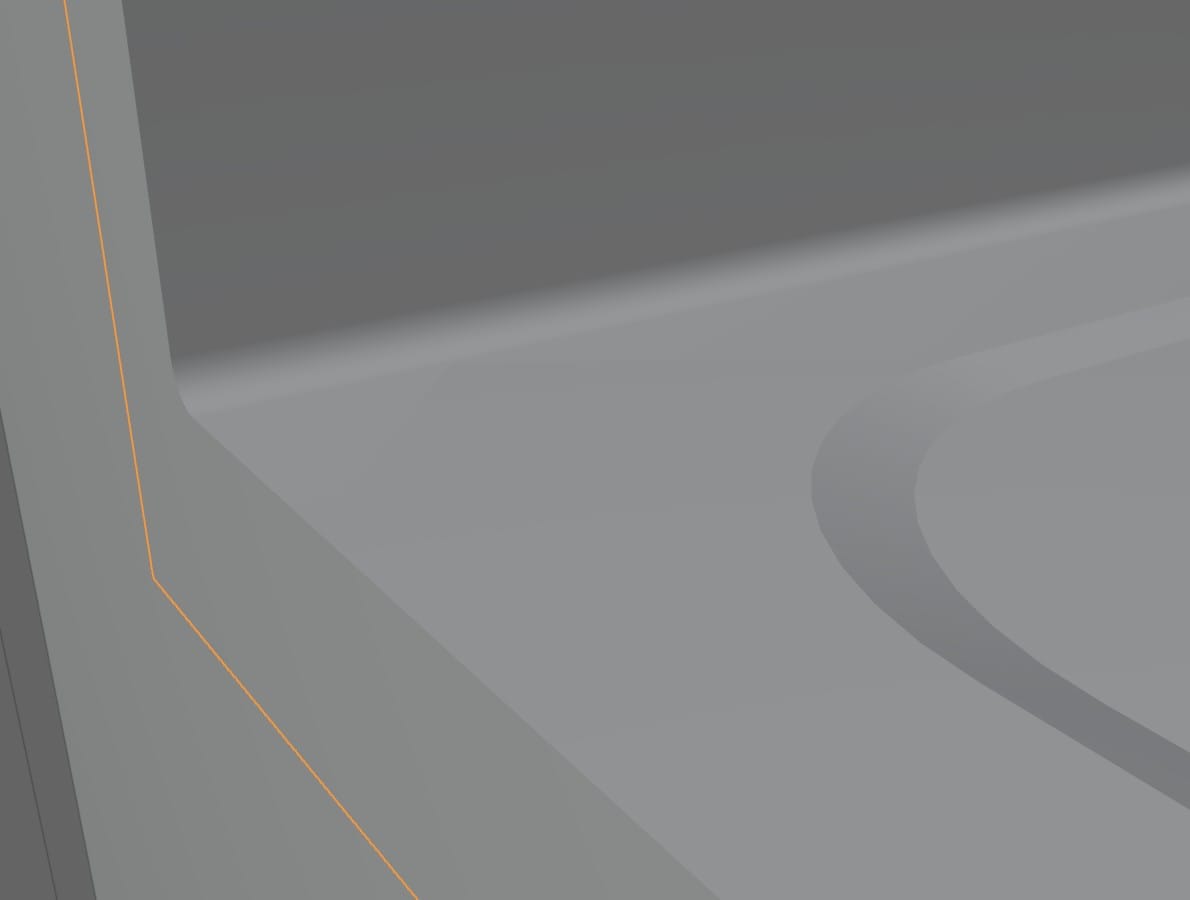
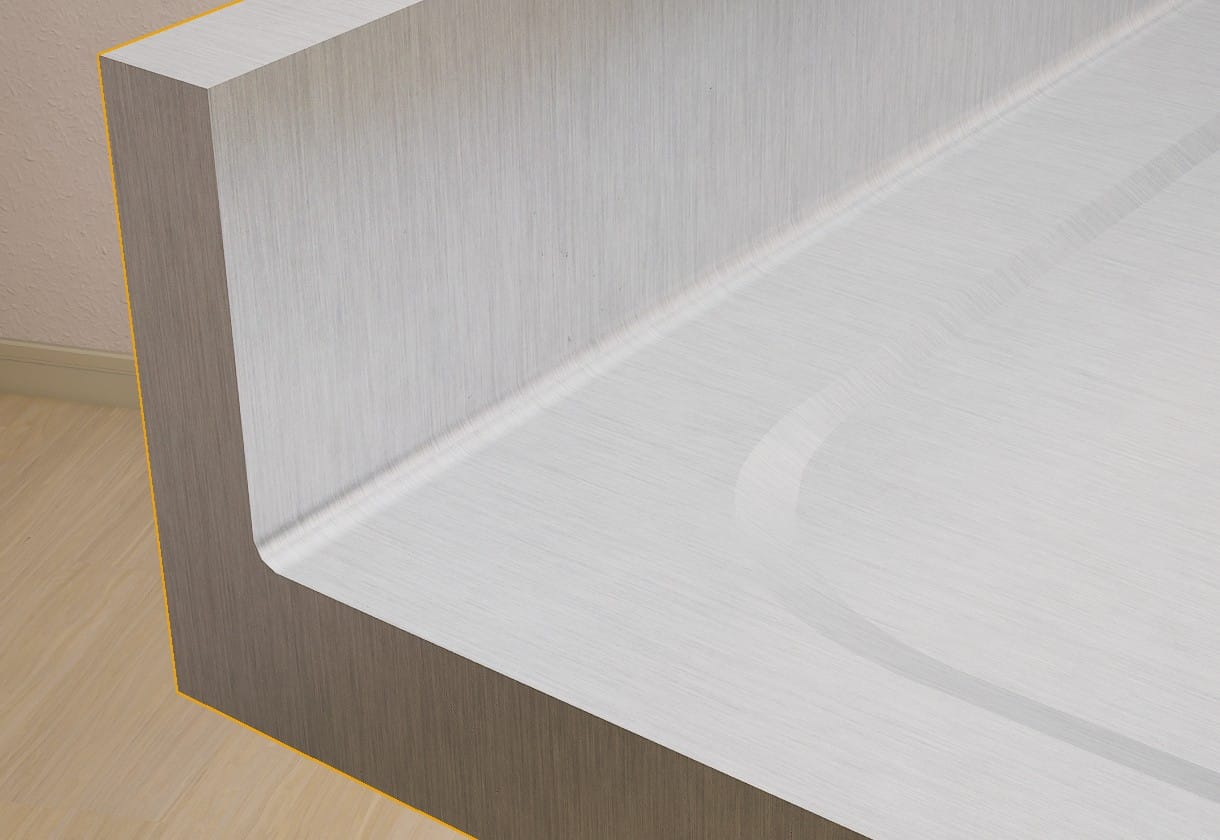
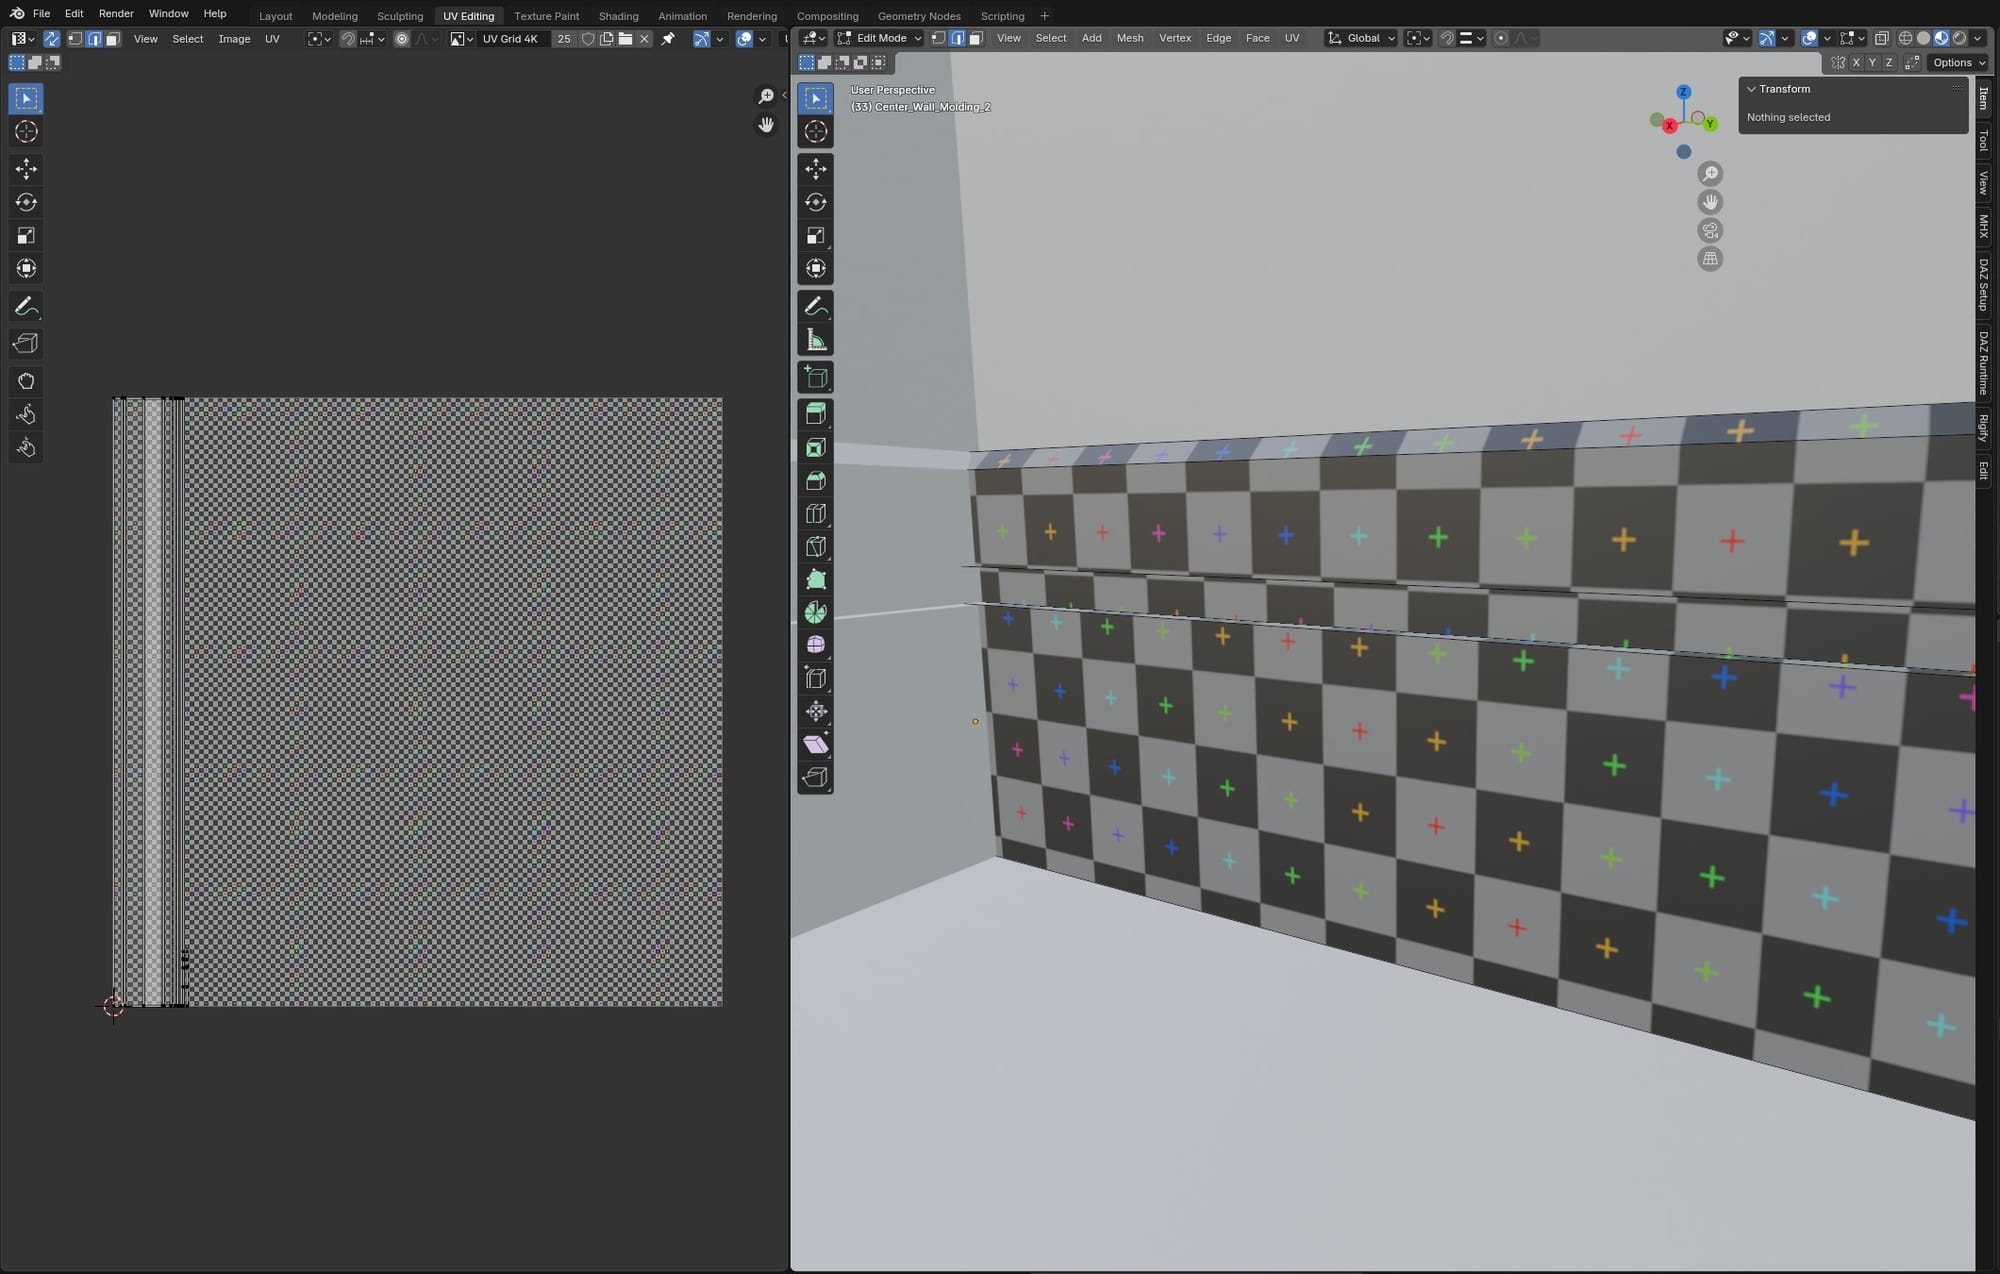
What I hadn't considered is that this makes no sense for long, thin objects, like this piece of molding along the floor. Forcing the long faces of an object like this to fill a square UV map will stretch the texture. I didn't notice this until I sent the floor molding pieces over to Unreal Engine and put a test texture on them:
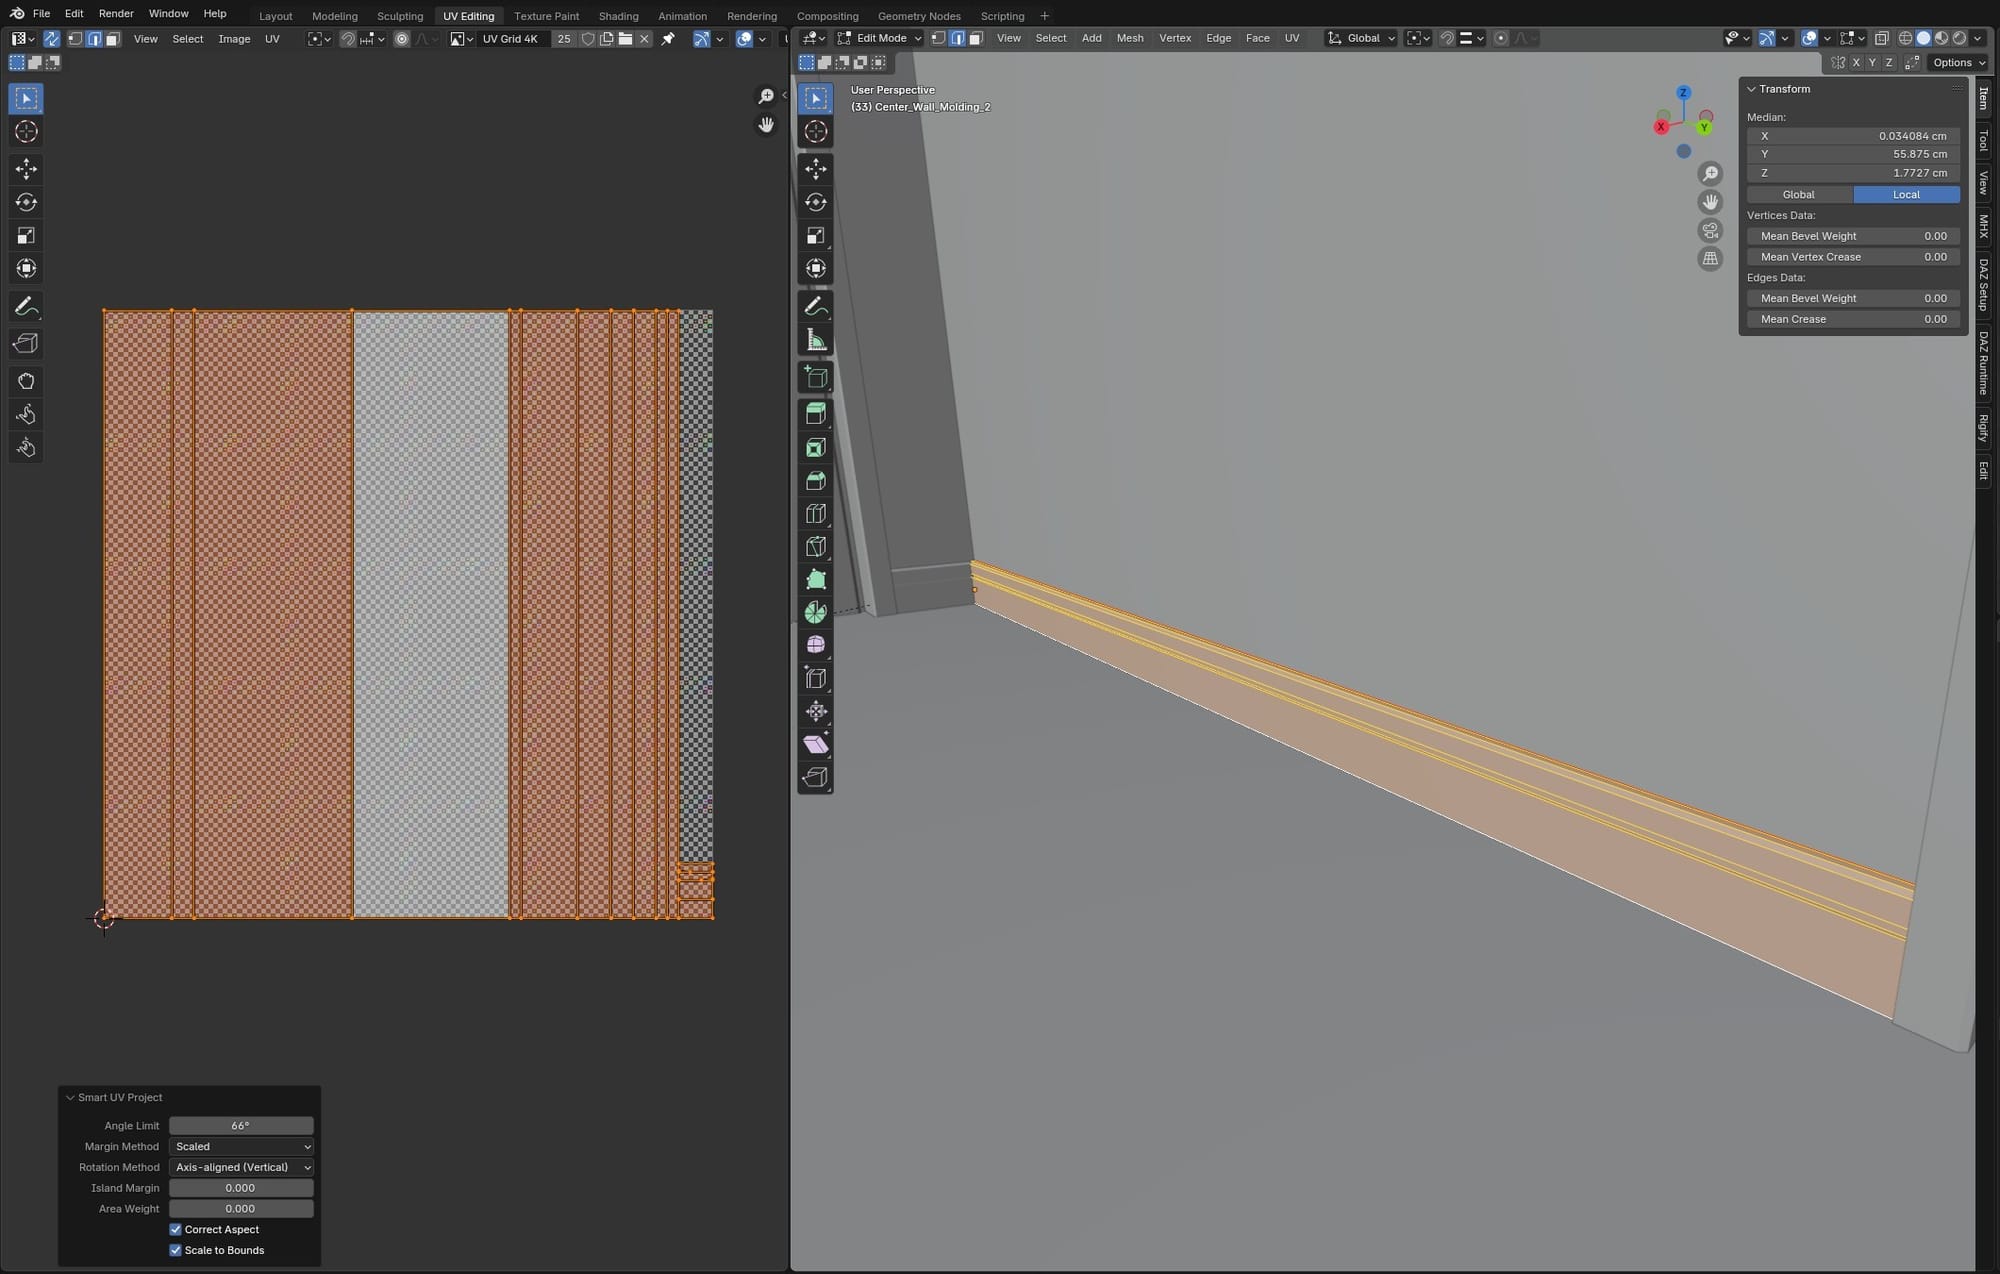
Back in Blender to troubleshoot, I added a UV grid image texture to the molding's material. This made it easy to see the stretched UVs on the long piece:

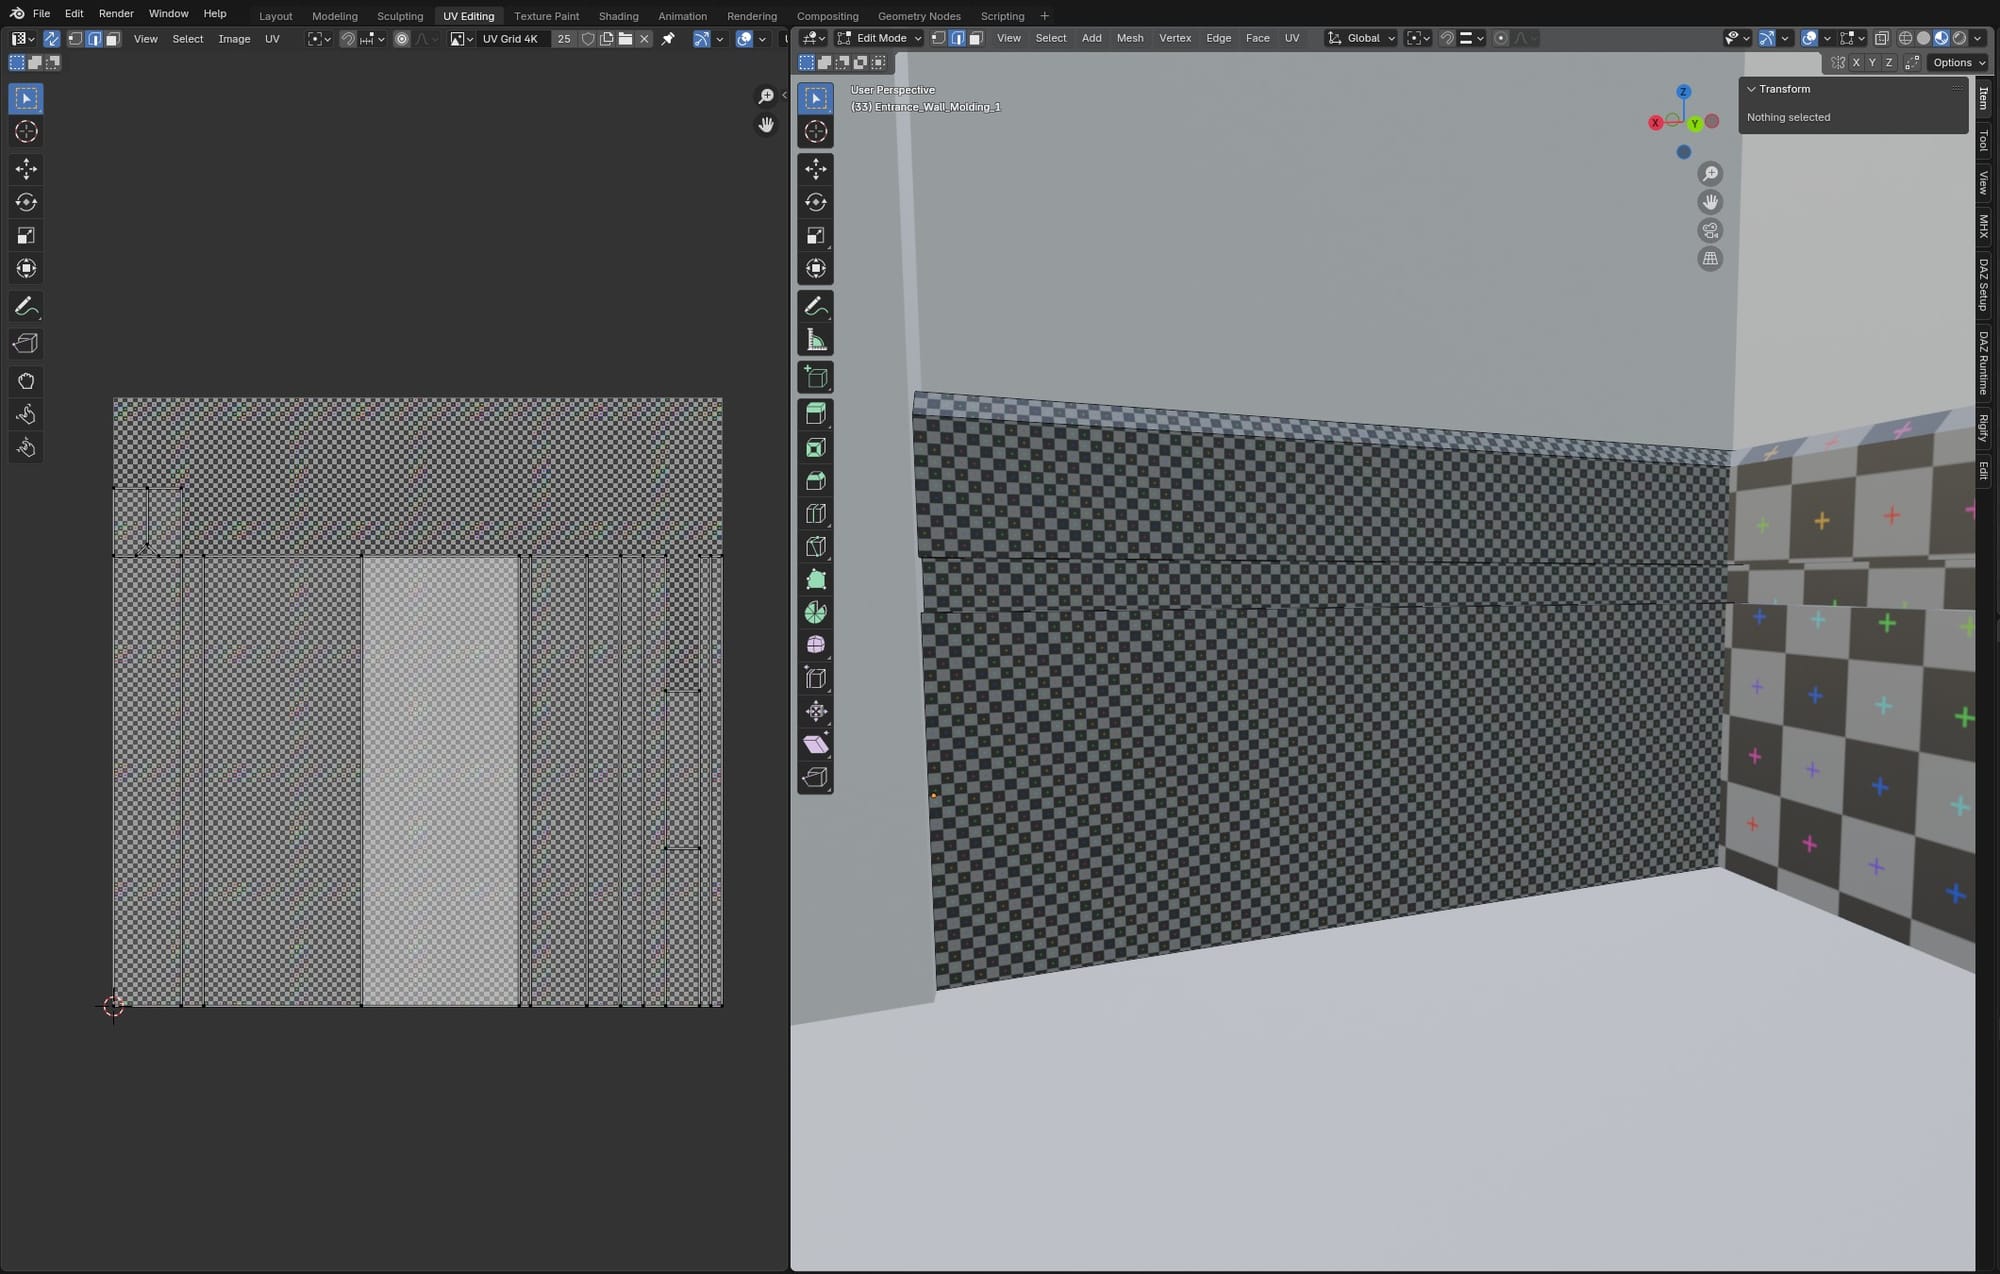
Redoing the Smart UV Project with Scale to Bounds unchecked fixed the stretching, but in order to get the full length of the long piece into the UV square while preserving the proportions, it had to shrink. Now, it only used a sliver of the UV space:
Online, I found some people who advised using a non-square texture and UV space, but I figured, screw it. I'll use an inefficient UV map. I don't want to edit my textures for each object I apply them to. But, there was another problem. The smaller pieces, because they are closer to a square in shape, would automatically spread to fill the UV space, even with Scale to Bounds unchecked:
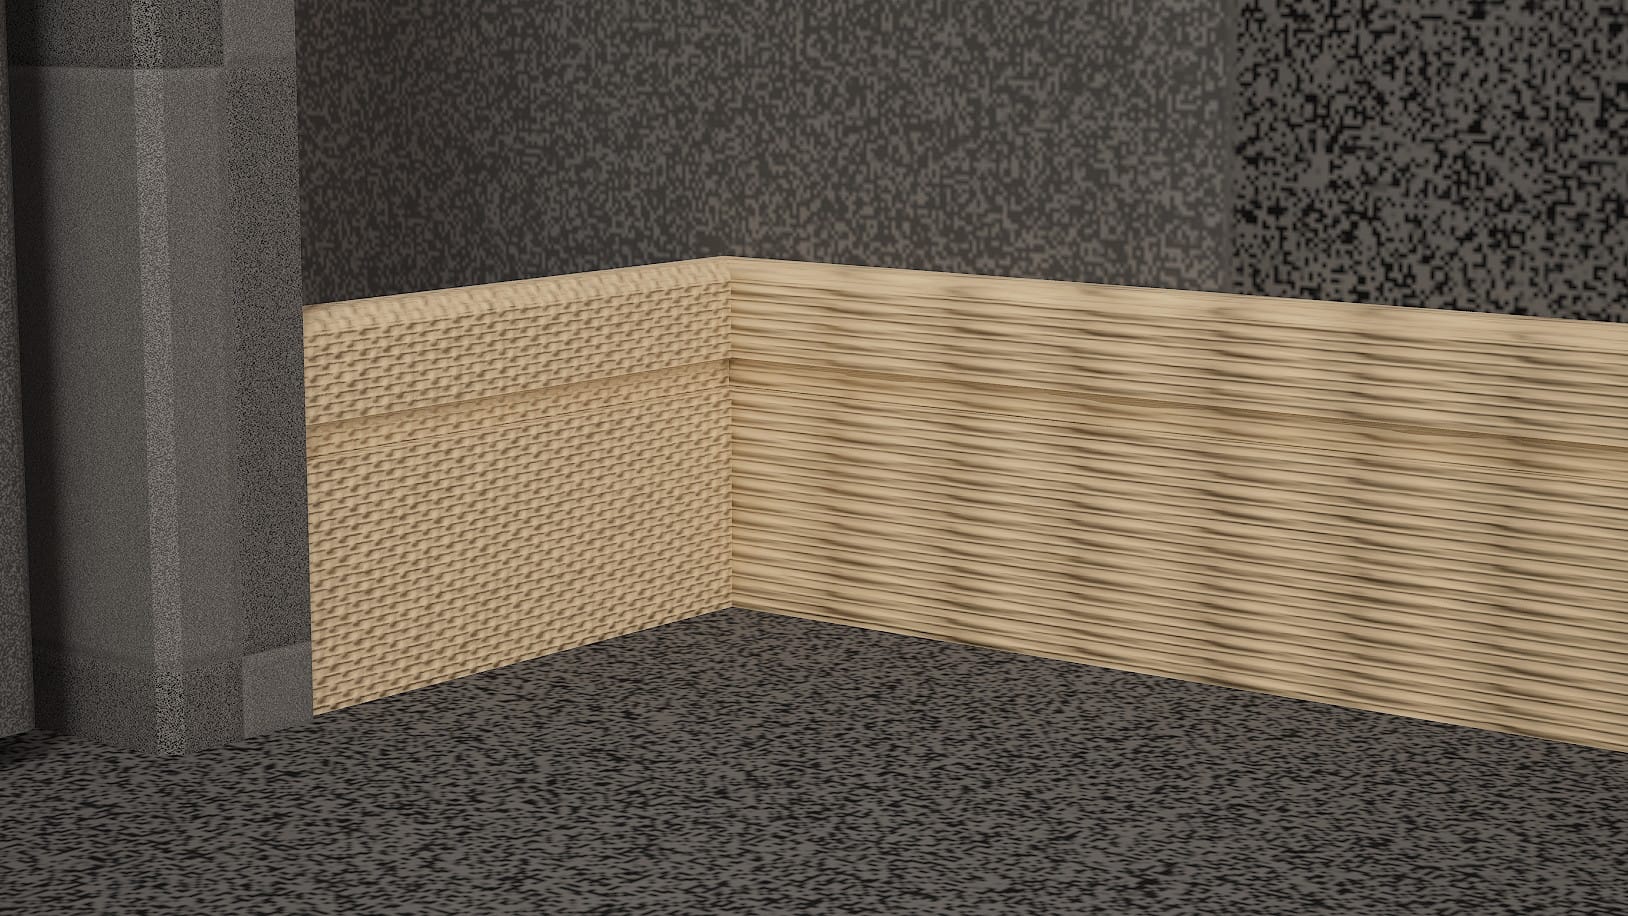
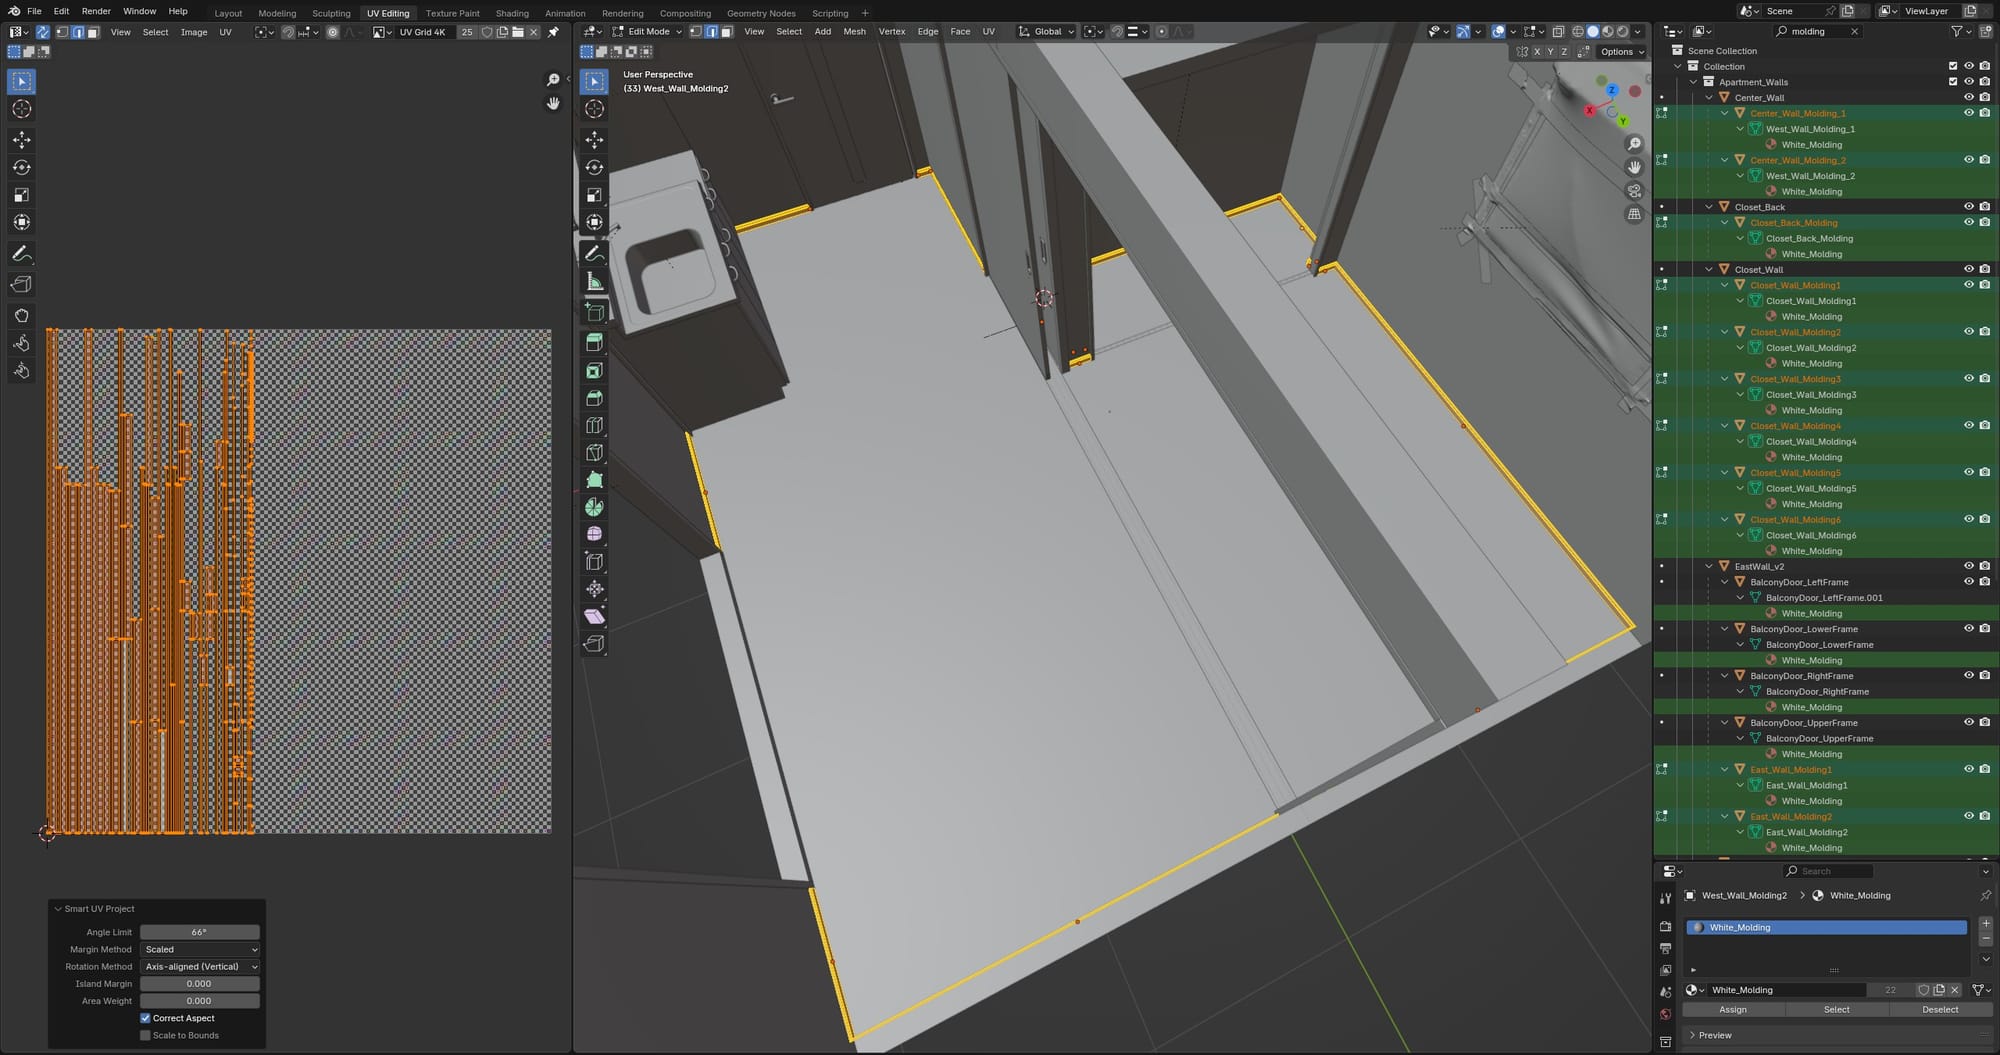
This meant the more square-shaped pieces would get a larger piece of the UV space than the long pieces. They would appear higher resolution. Since all the pieces of molding would be getting the same texture applied, I needed every piece to have the same texture resolution, regardless of its size or shape. Fortunately, Blender lets you select multiple objects and open them simultaneously in Edit mode, where you can select all faces and unwrap them into a single, shared UV space, preserving their relative size/proportion.
This method was good enough for this stage of the project. Smart UV Project doesn't do so well for cylindrical objects, so I manually added seams for those (an edge loop around each flat end of the cylinder, and one edge along the middle), and used Unwrap Angle Based. Here is a guide for manual UV unwrapping.
From Blender to Unreal
An important step before exporting to Unreal Engine was to assign materials to every object. I didn't design any materials in Blender, I just created placeholders that UE would use to generate material slots on import. When modeling, I generally made separate objects for any mesh that needed its own material. Then, I could combine these component objects on import in UE to create a single mesh with multiple material slots.
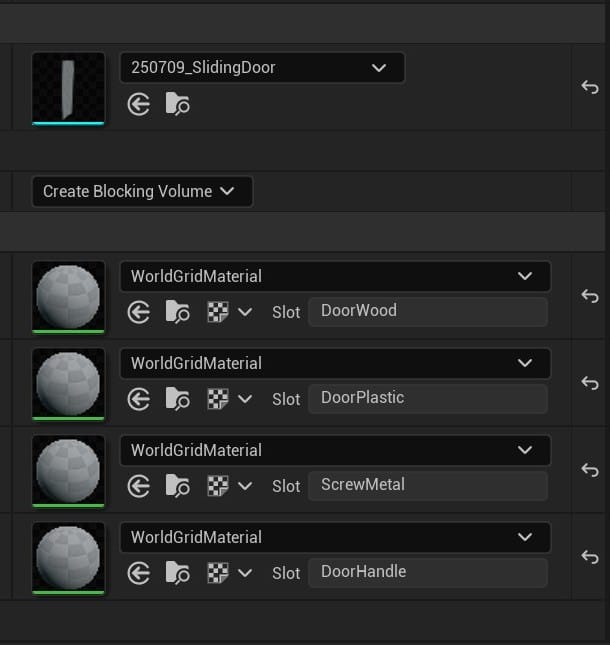
For example, I wanted the sliding doors to have four material slots in Unreal Engine: the wood, a plastic component, a metal handle, and metal screws. In Blender, I made these separate objects with one material each. I then selected the entire door-object hierarchy and exported them as a single FBX. On import in UE, I checked the option to Combine Static Meshes and unchecked the options to create materials or search for textures.
This created a single static mesh with four empty material slots.

I built all the materials in Unreal using textures from AmbientCG (and a few free ones from Poliigon). I slotted these textures into the "master" material I wrote about in a previous article. This time, I added a couple more modifications to the master material. I added the functionality to rotate the UV map, as well as the option to blend an additional roughness map with the primary roughness map, allowing for smudges or other imperfections.
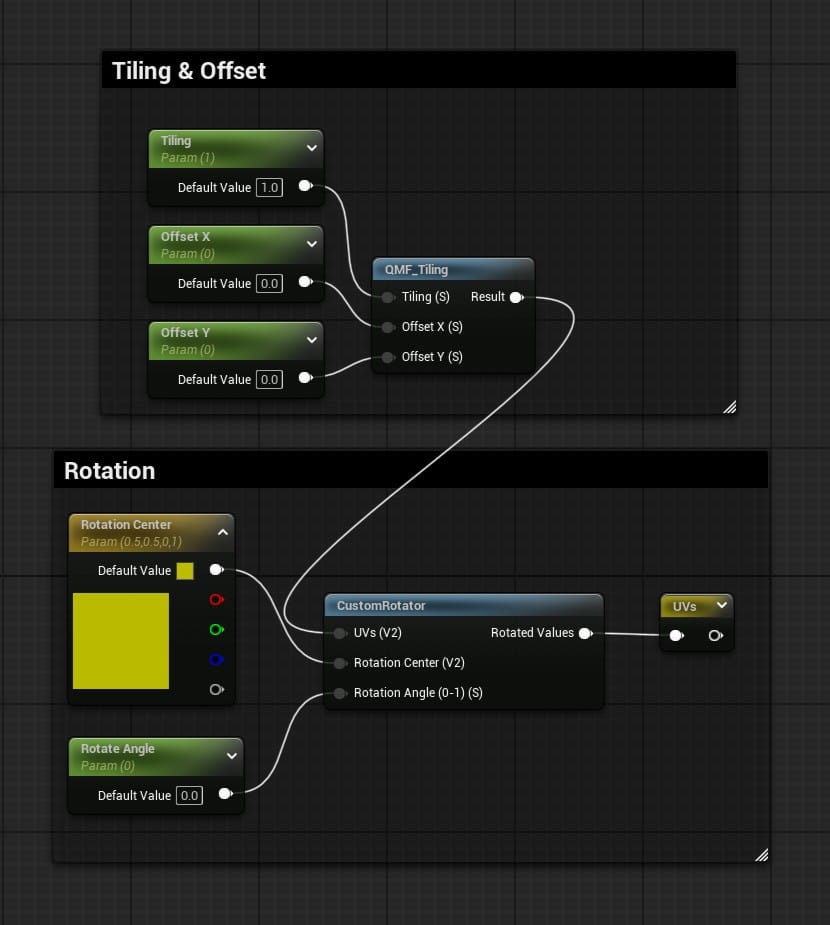
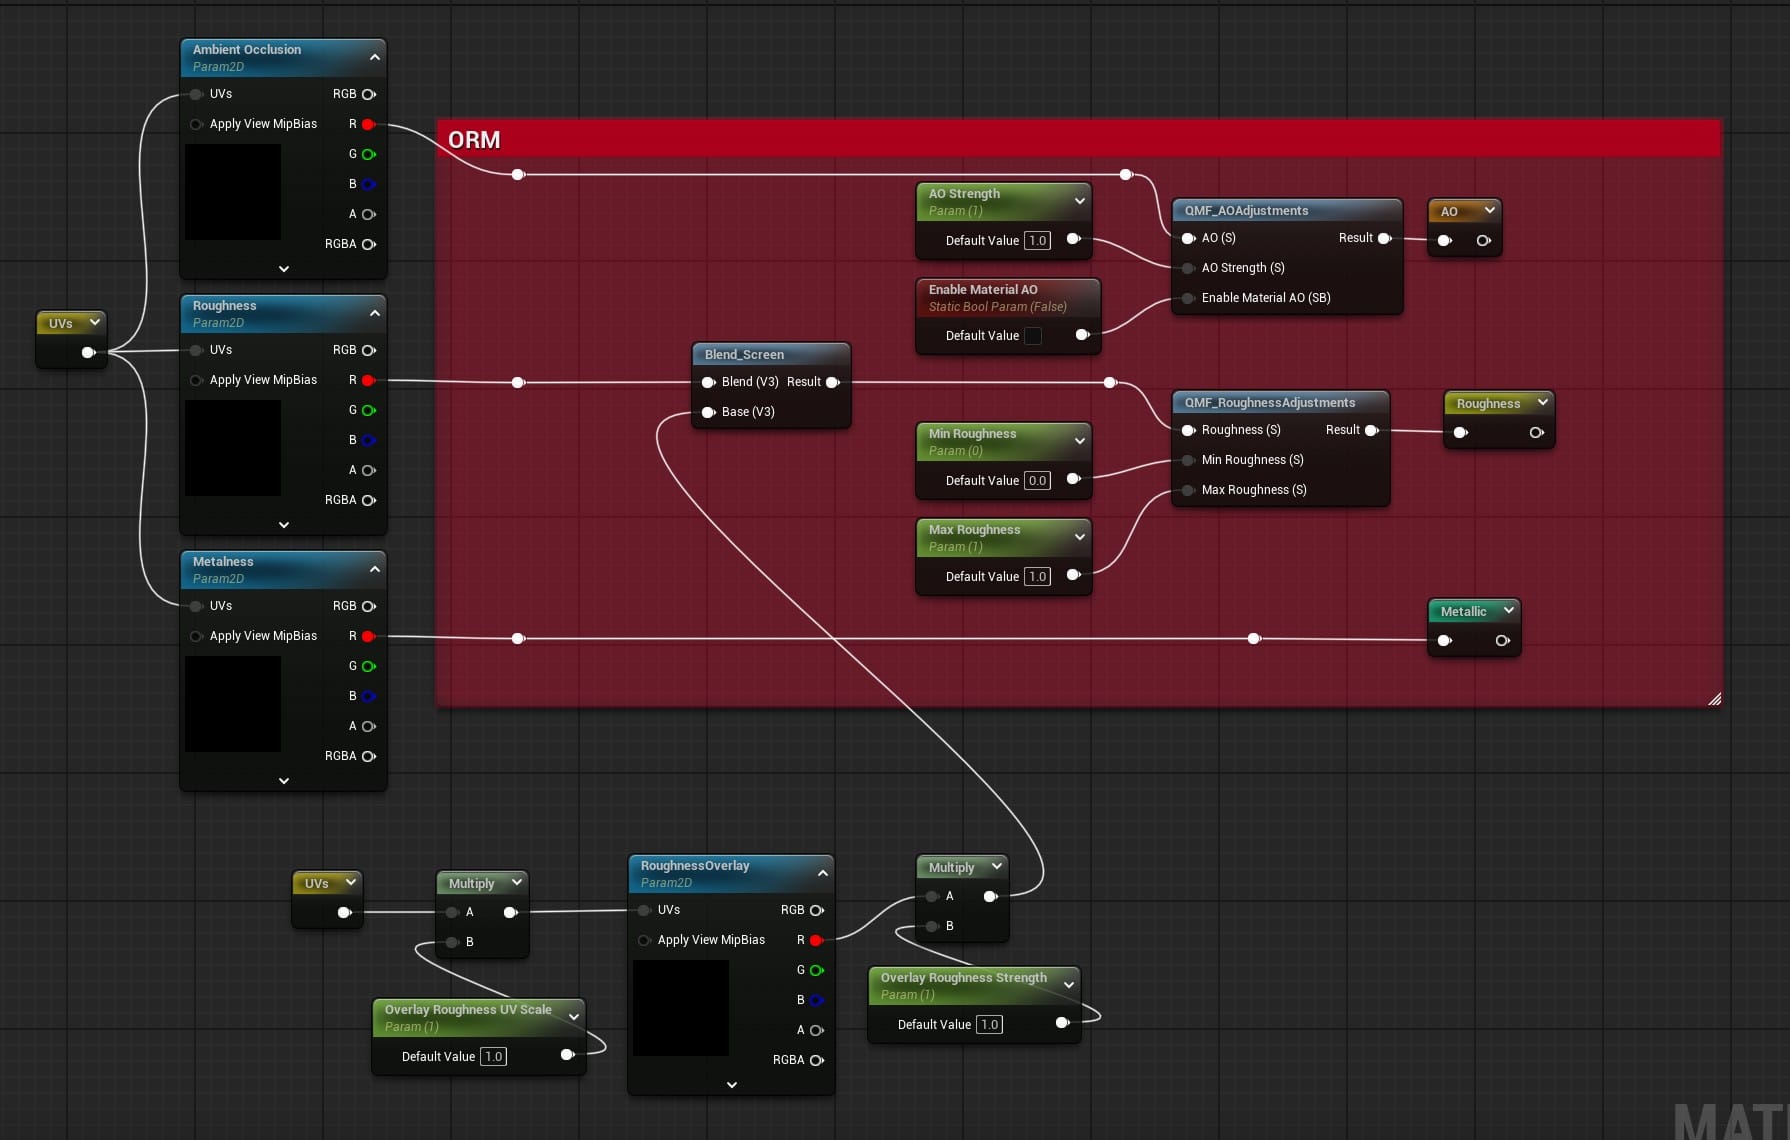
Image to Mesh
I have a handful of objects I want to try and make with photogrammetry, like the air conditioning unit and the refrigerator. I can generate those models by photographing the AC and fridge I have at home. But, there was another detail I wanted to add: a simple air vent on the wall.
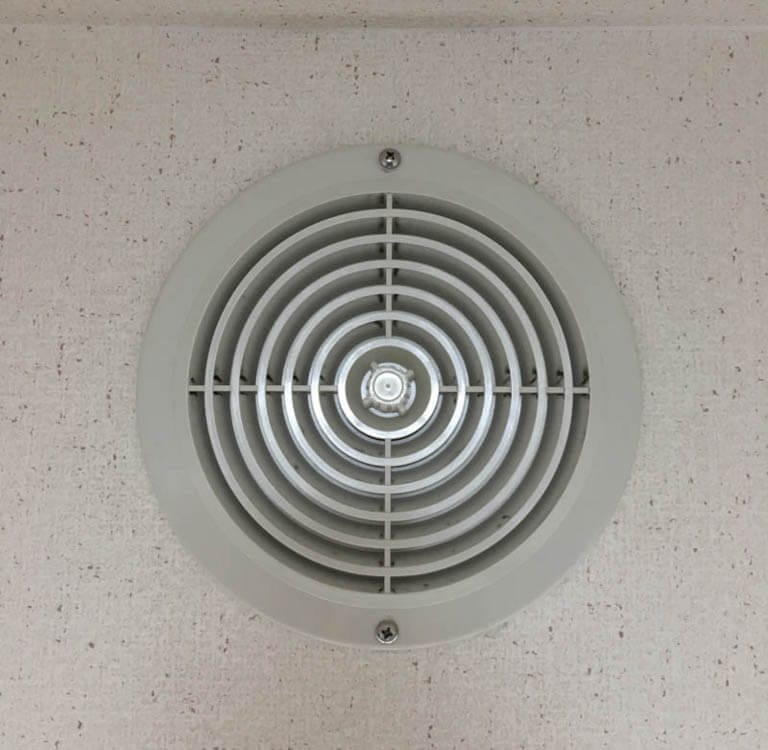
I don't have one of these in my apartment, so I decided to try Meshy's Image to 3D tool, which can generate a 3D model from a single photograph, rather than the hundreds normally used for proper photogrammetry. This air vent doesn't seem too challenging to model from scratch, but I weighed how long it would take (at my skill level) against how good Meshy's rendering might be and how important the prop is for the scene. It seemed like the right time to try this tool.
I put the above image into Meshy, and it output four options. They weren't bad! None were an exact match to the image, and probably not good enough for a closeup, but I decided to use one and I think it will be passable as a background object.
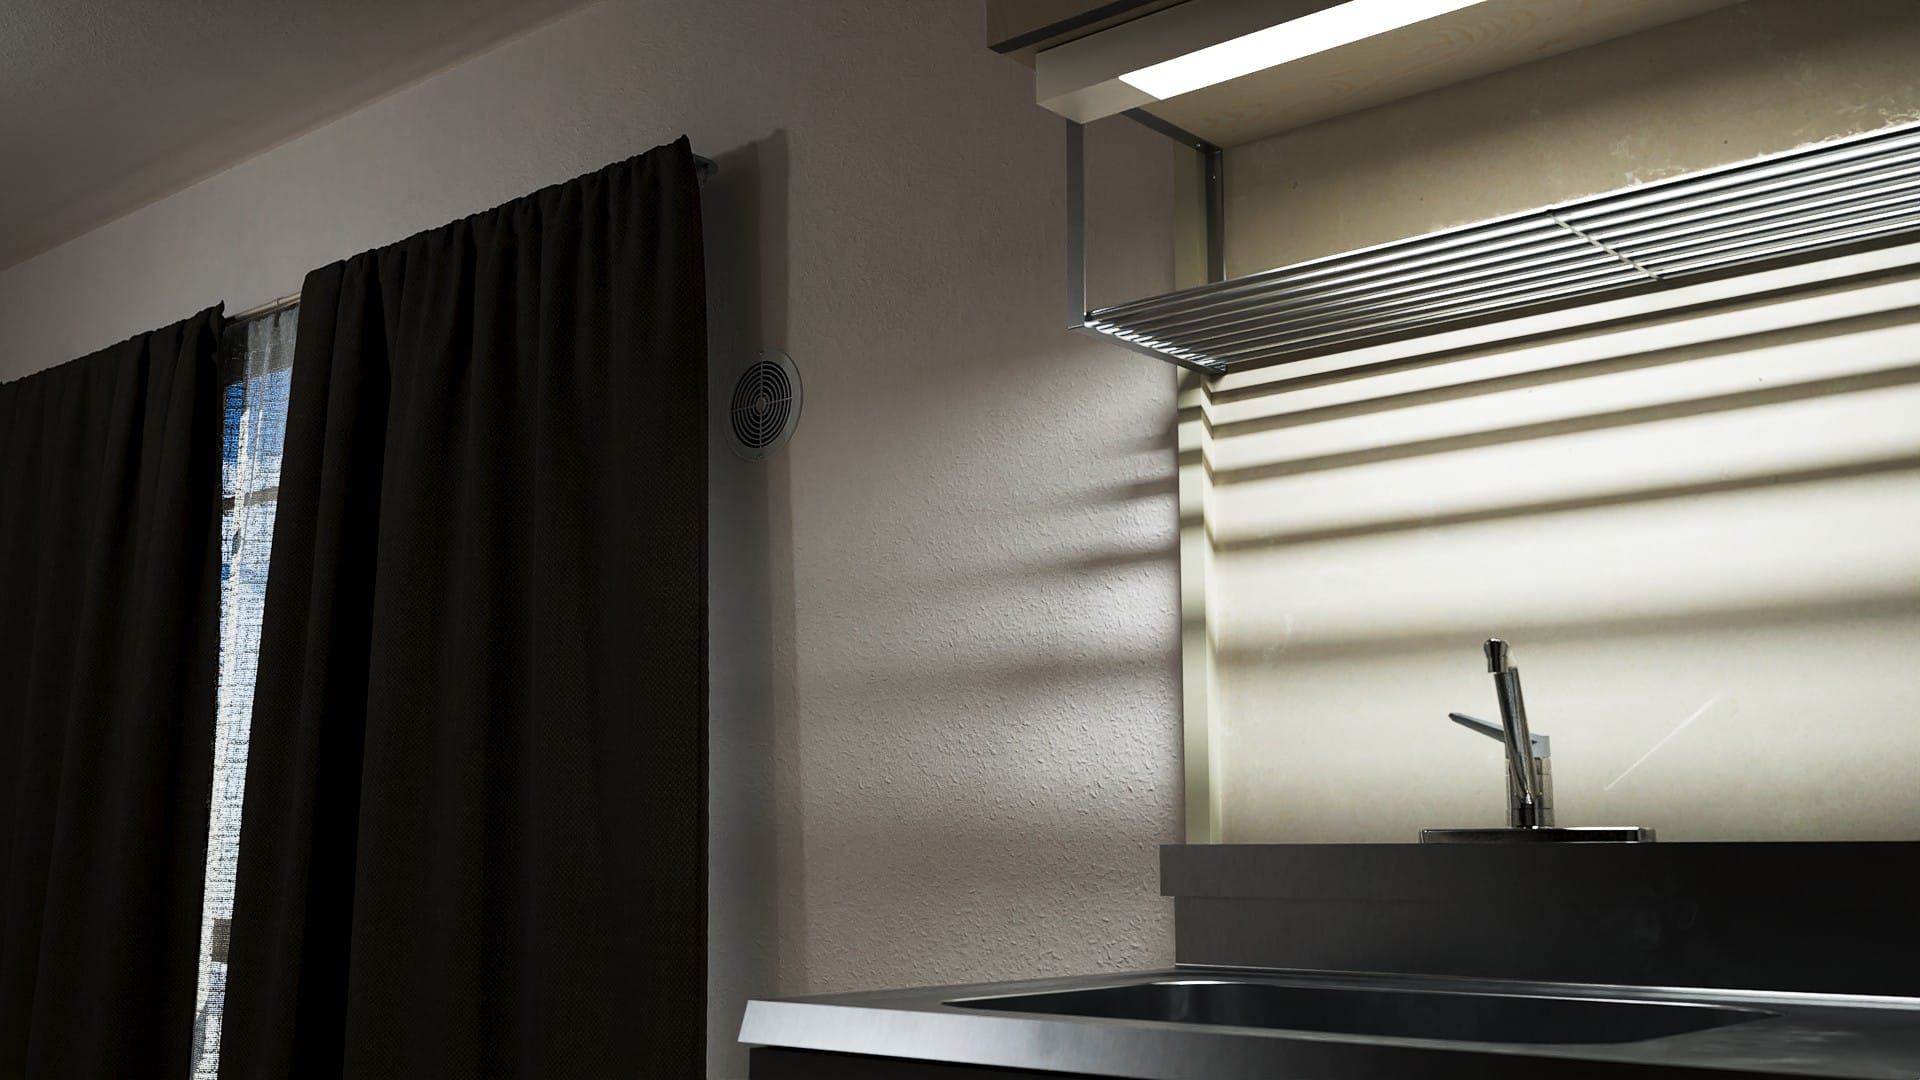
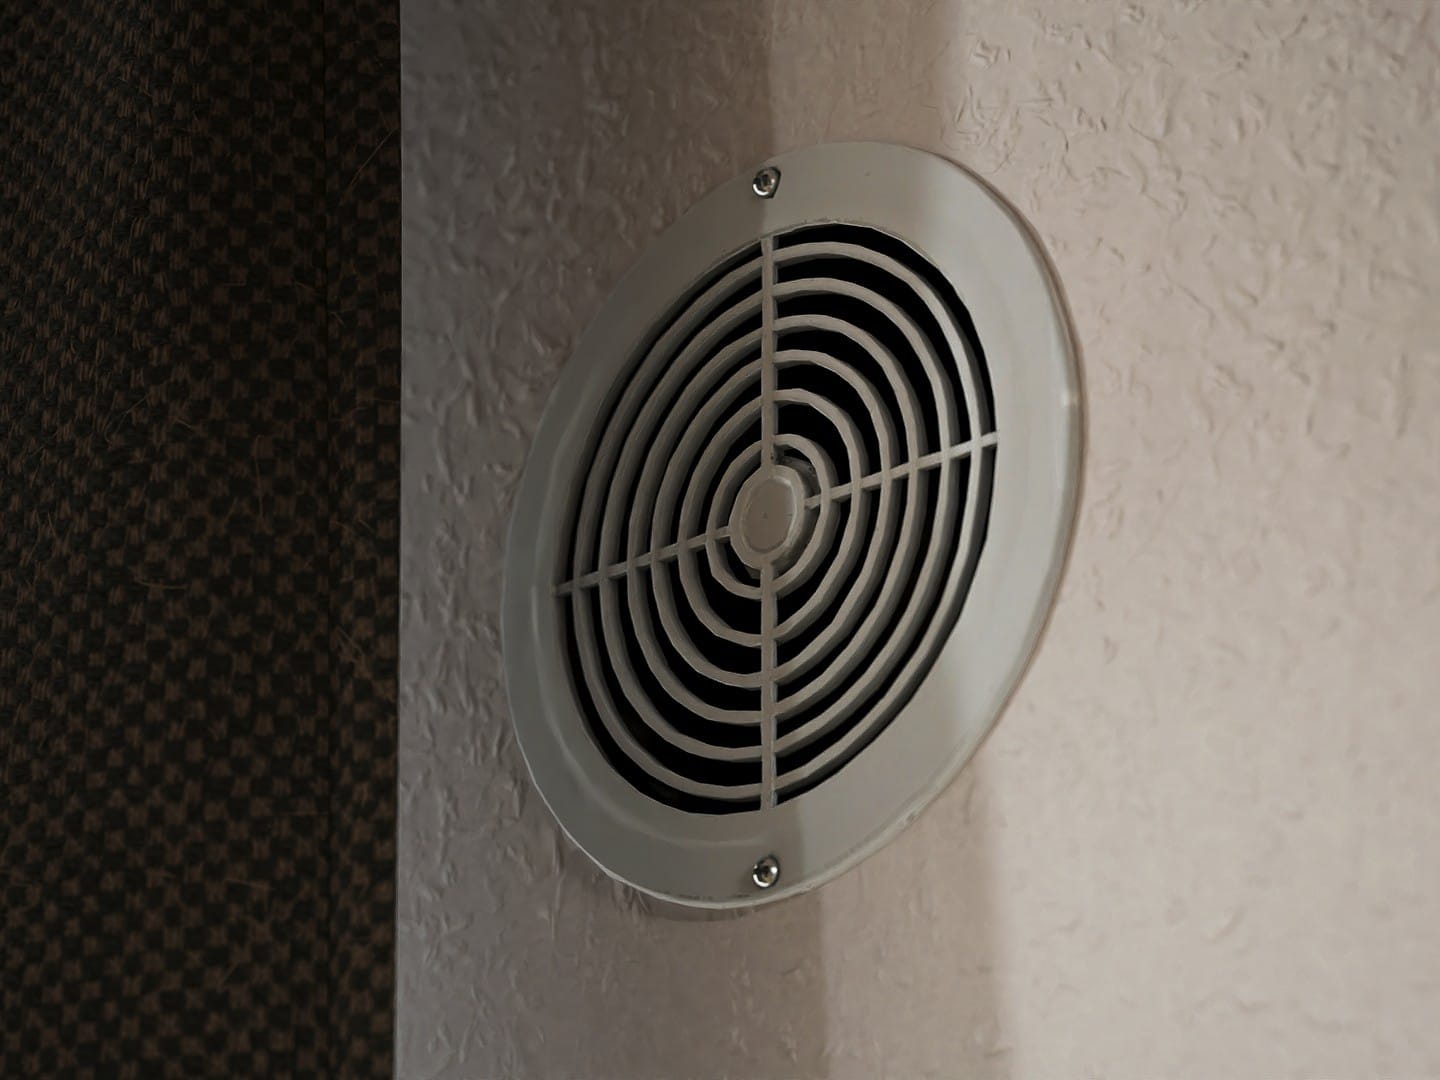
I added the two little screws myself, they weren't in the Meshy output.
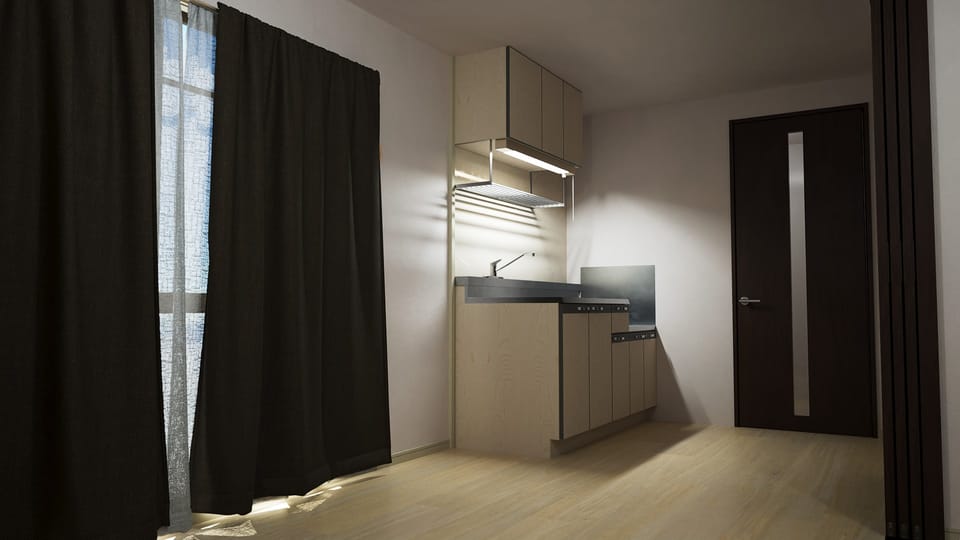
And, here are a couple more renders of what I've done so far: