Mesh Diffusion
My current mini-project is a promotional page for the Sub/Object short film. It will describe the main beats of the story, but it will be light on text and heavy on images that show the style and atmosphere of the movie. I want to render the stills in Unreal Engine, using my current iteration of the Aneta and Anders MetaHumans.
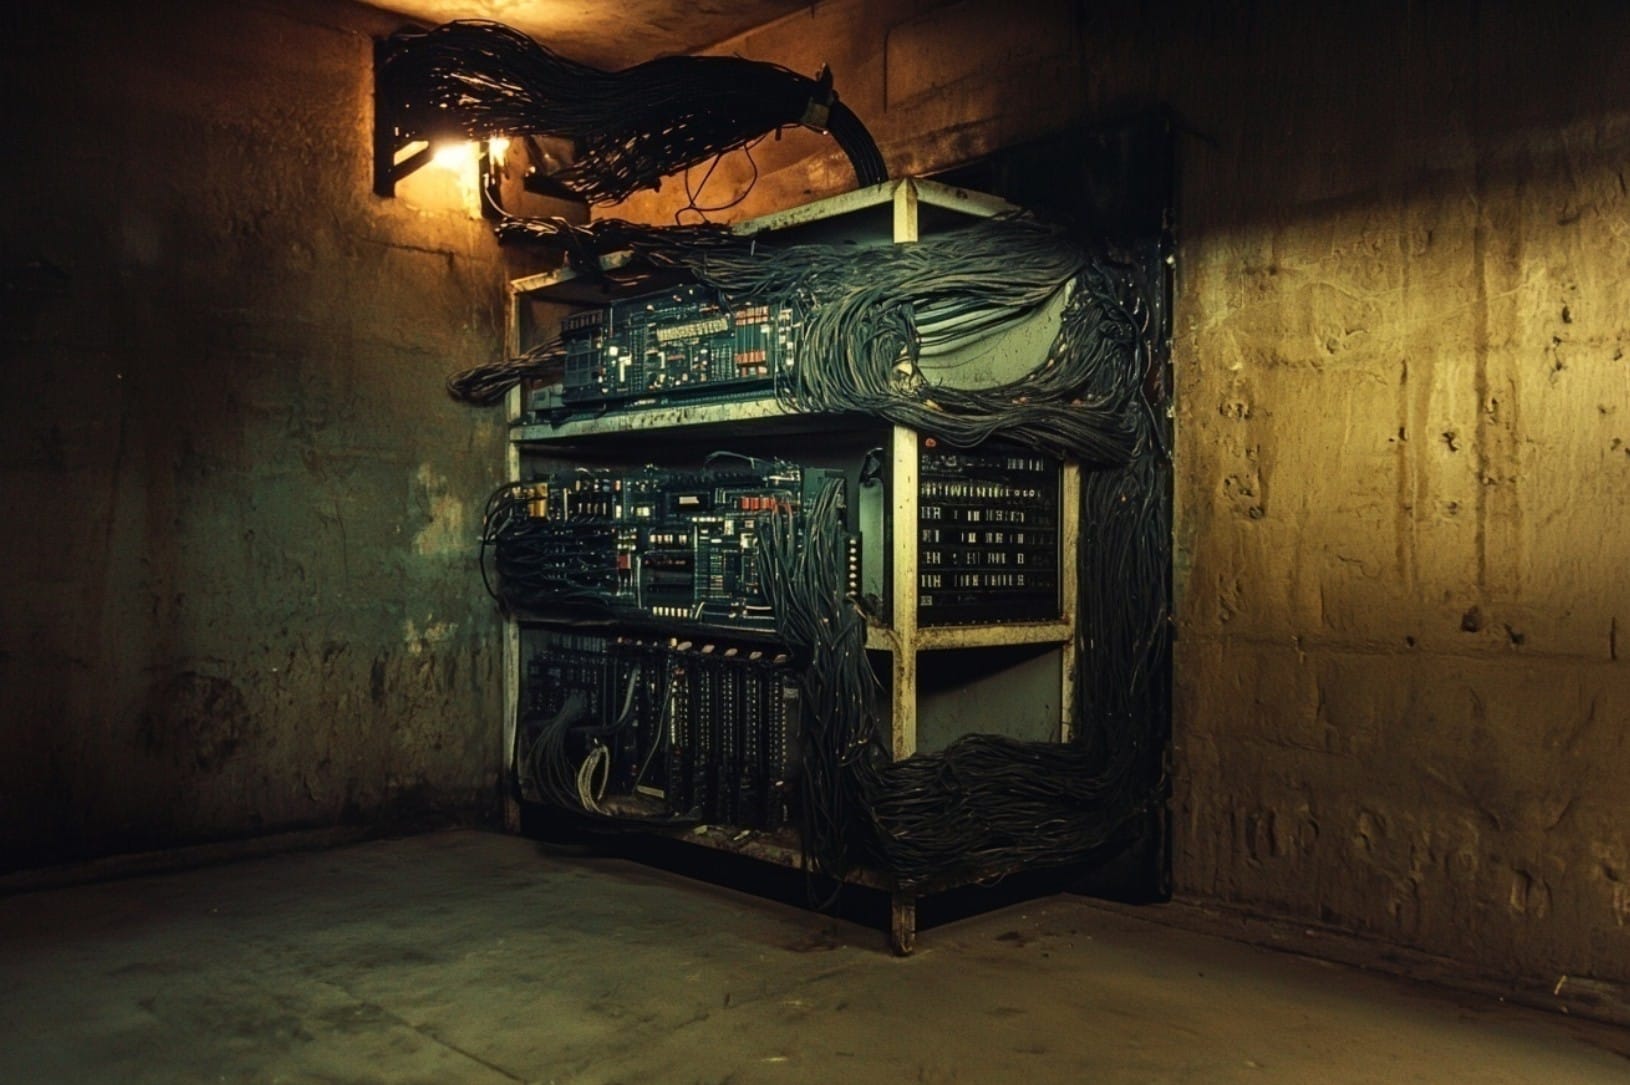
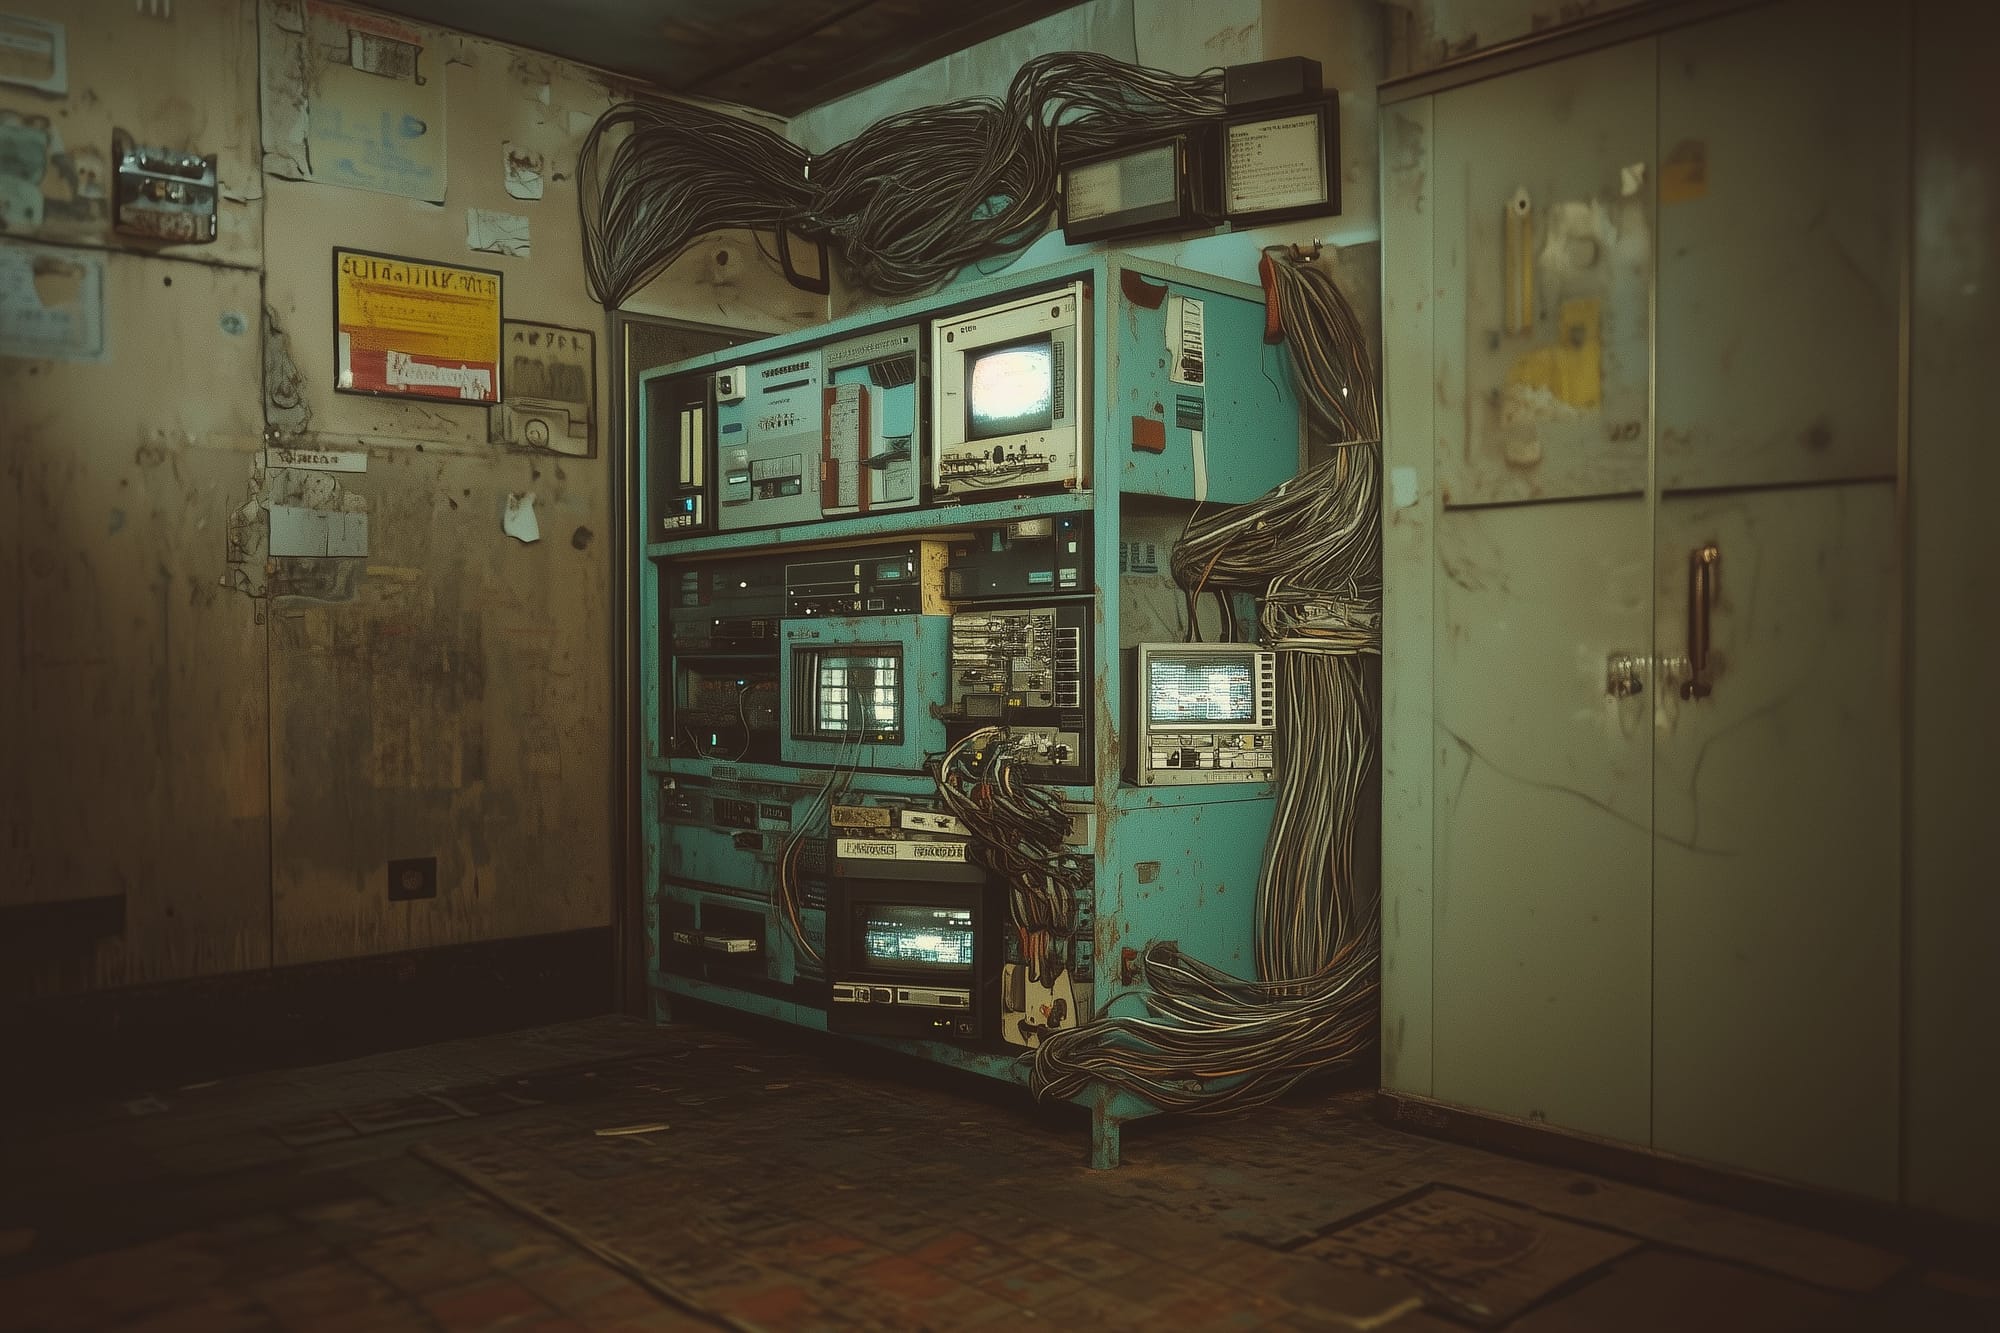
A big part of these images will be the rack-computer that Aneta and Anders use to bridge their minds. The version I made using UE's procedural generation tools is interesting, but not quite right. I made it too much like an organism, like vines growing around the metal rack. Instead, I want something that looks a bit more man-made and logical, while still having a surreal quality.
As for how to make that new asset, I'm still unsure. Procedural generation might be the way to go, or I could model it the old-fashioned way. In any case, building an asset like that, at my skill level, would take weeks and months. I want to have the images for the promotional page done much sooner than that.
For the images I'm planning to create, the computer hardware will mostly be seen at a distance or in the background, out of focus. I figure that high-fidelity geometry won't be essential, so in the interest of getting this done sooner rather than later, I decided to give gen-AI a shot.
My basic workflow was to use image-generation tools to visualize the giant computer, then feed those images to a 3D-mesh generation tool.
Midjourney
Since my original explorations into the style of the cluttered, cable-strewn rack-computer were done in Midjourney, I decided to return there. In early 2023, Midjourney was only usable in Discord. Now, they also have a website with a somewhat more intuitive interface for creating and editing images.
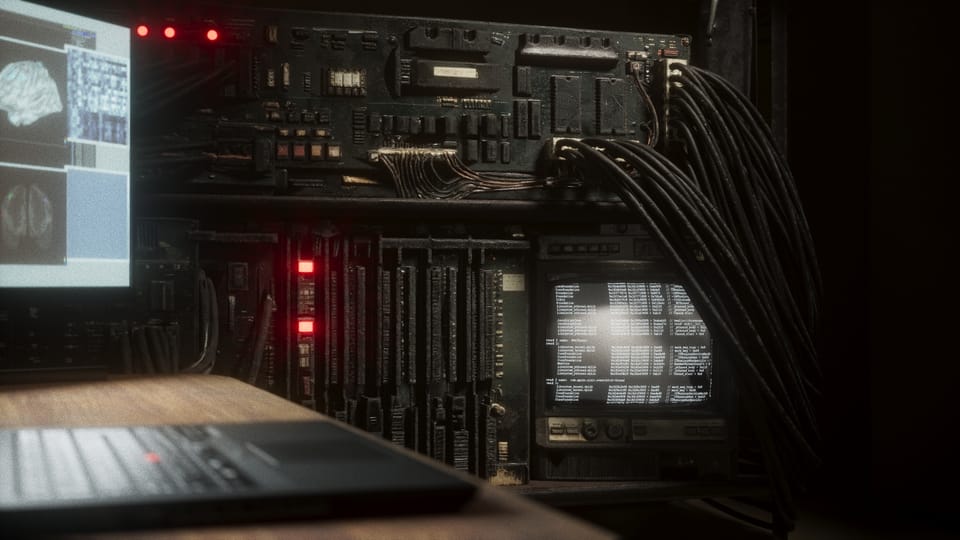
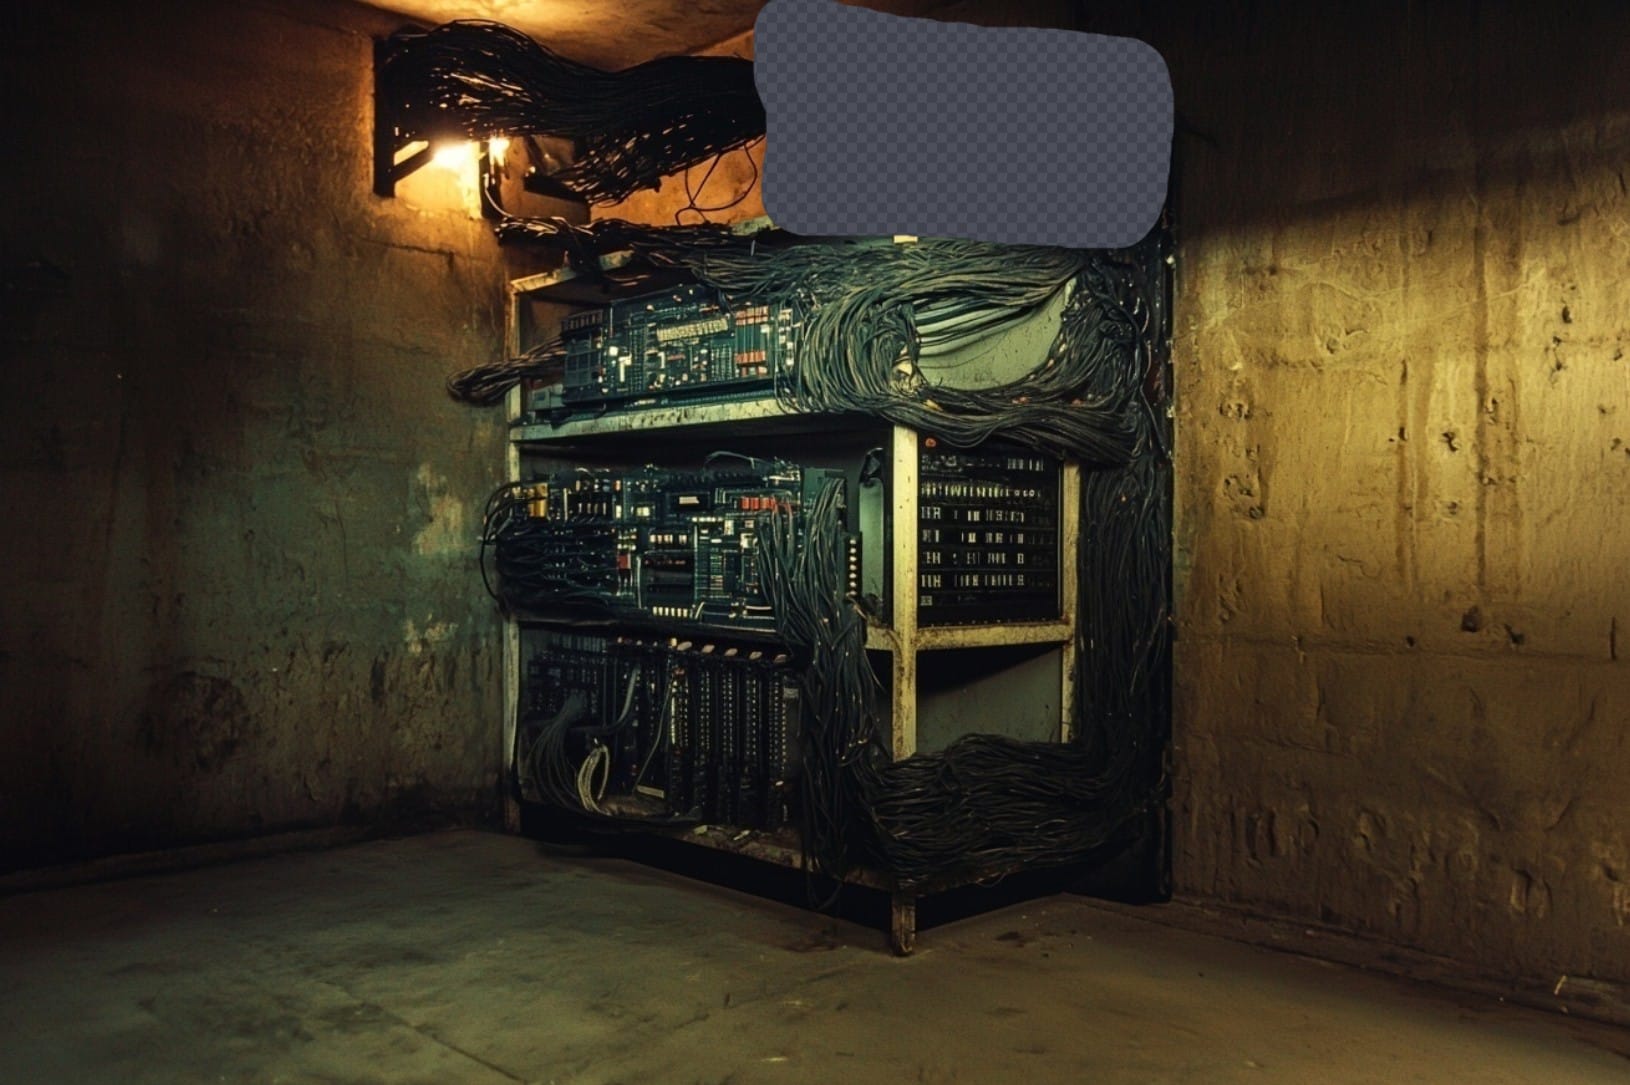
Here are the ingredients I was working with. First was a screenshot from the movie-set in Unreal Engine, with everything except the walls and the metal rack hidden:

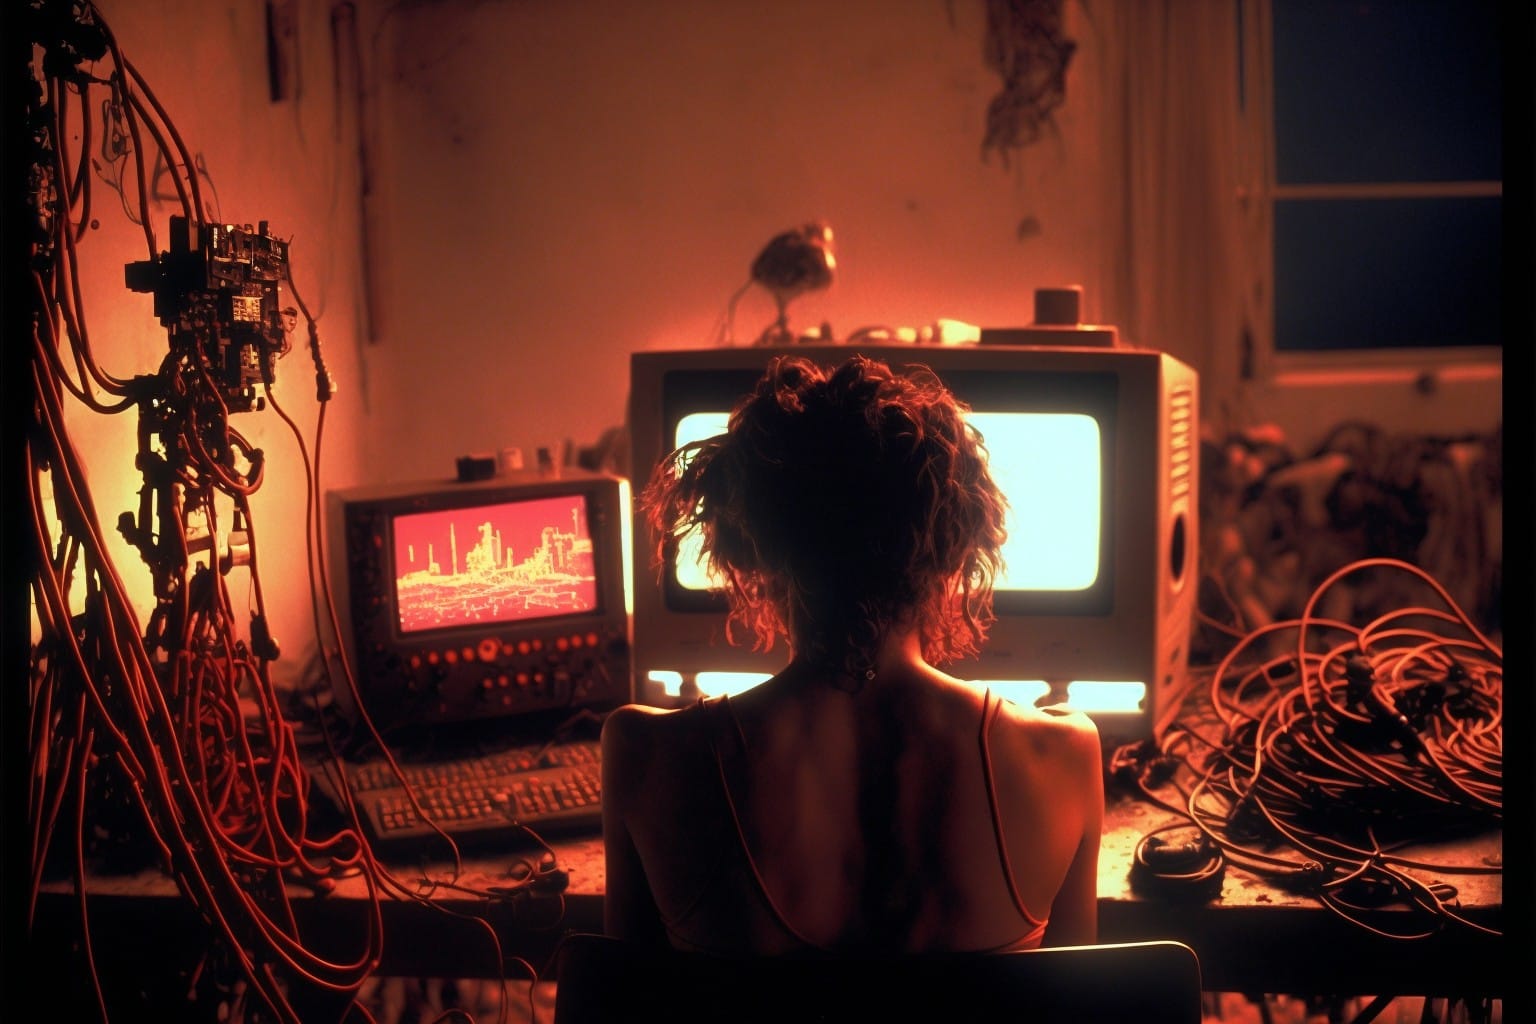
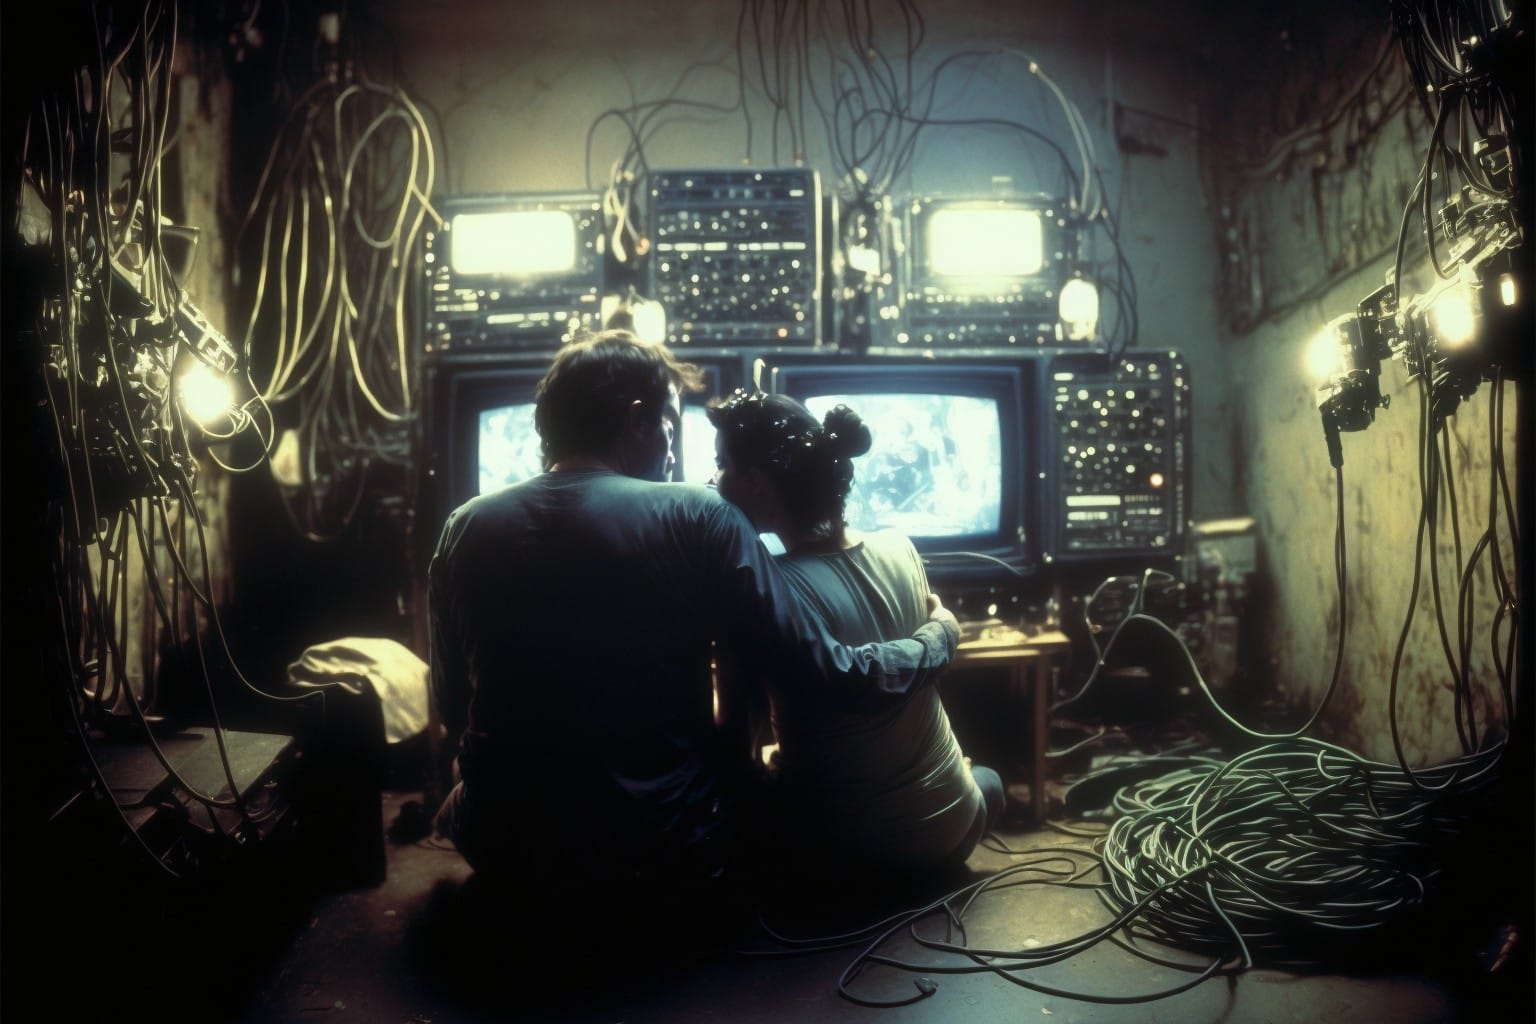
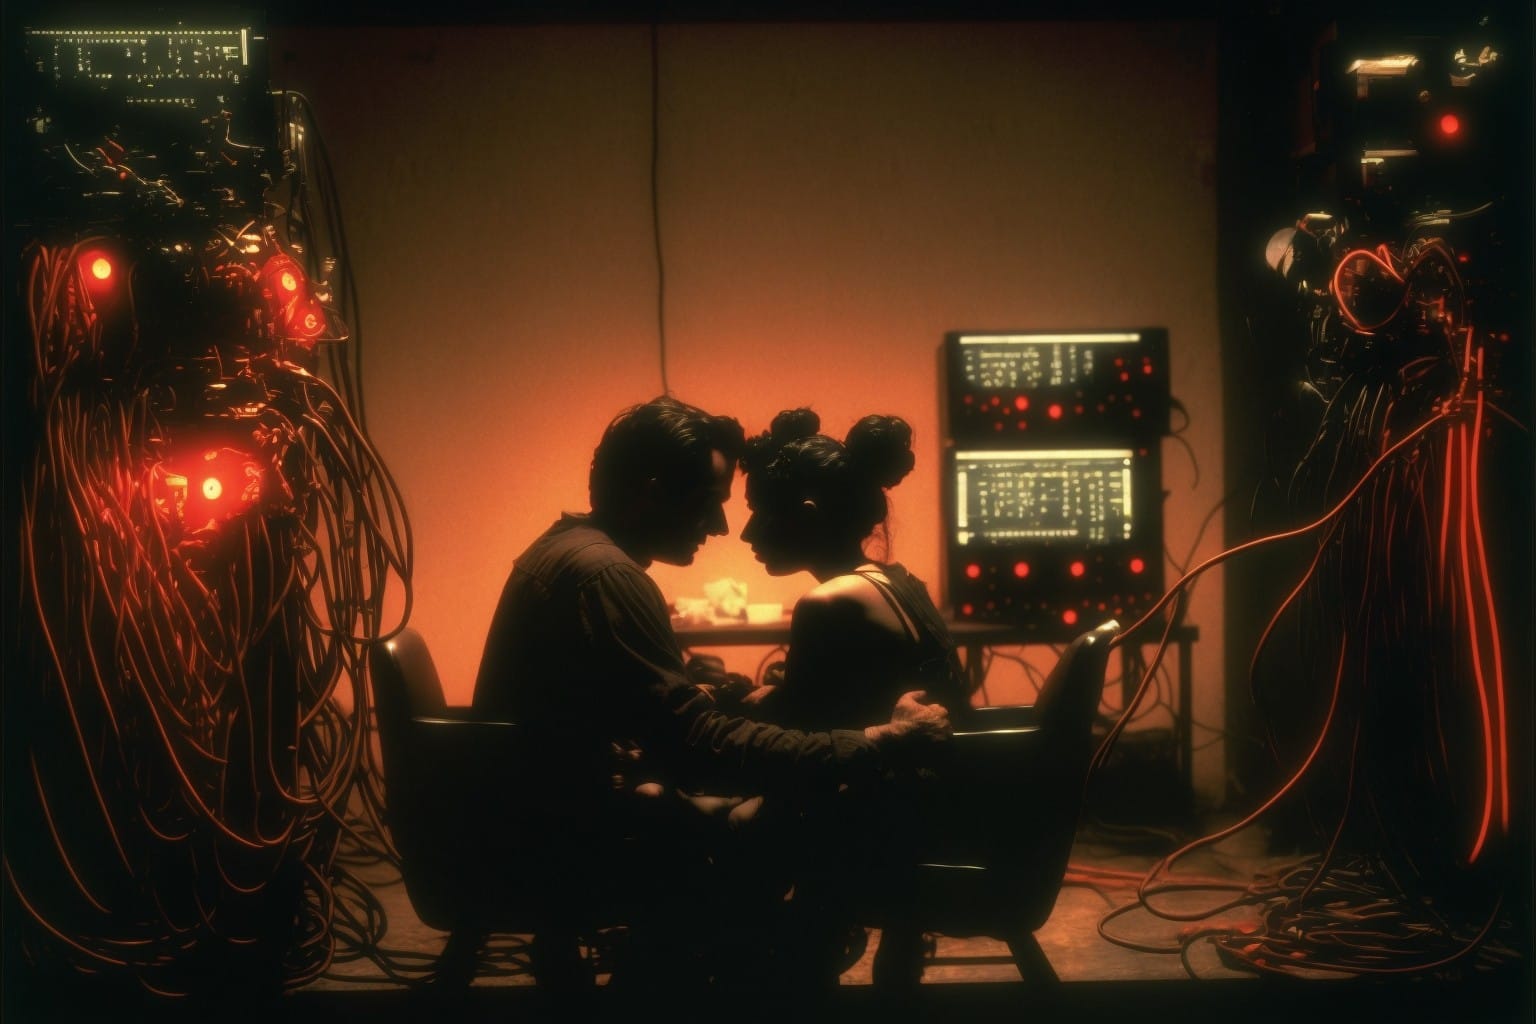
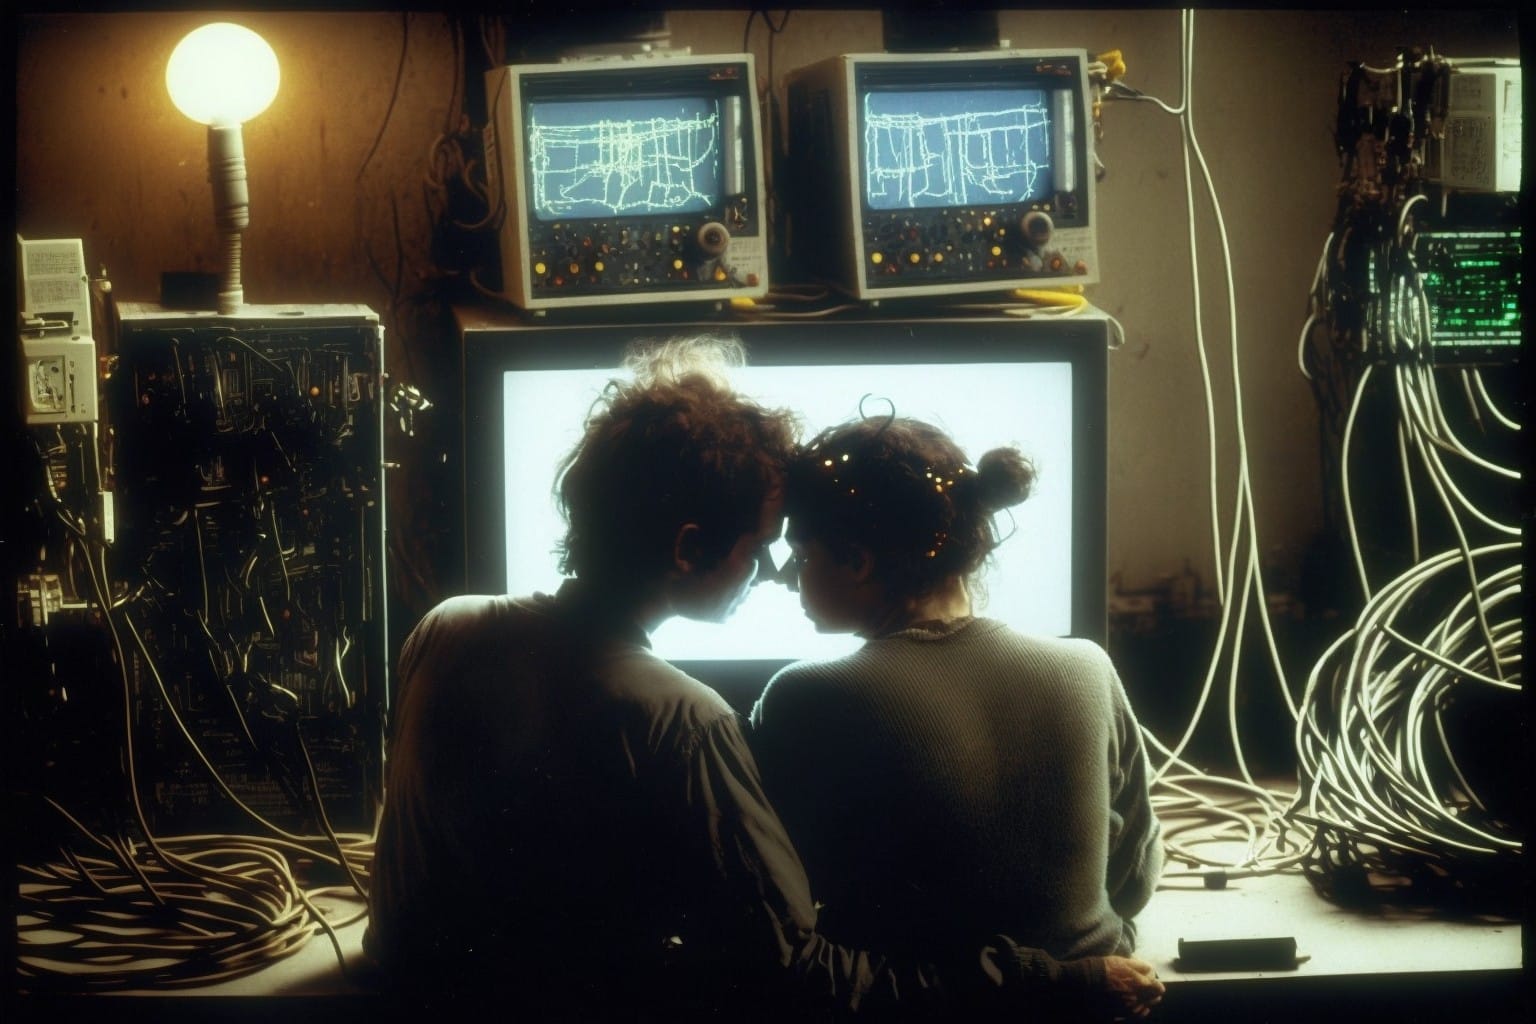
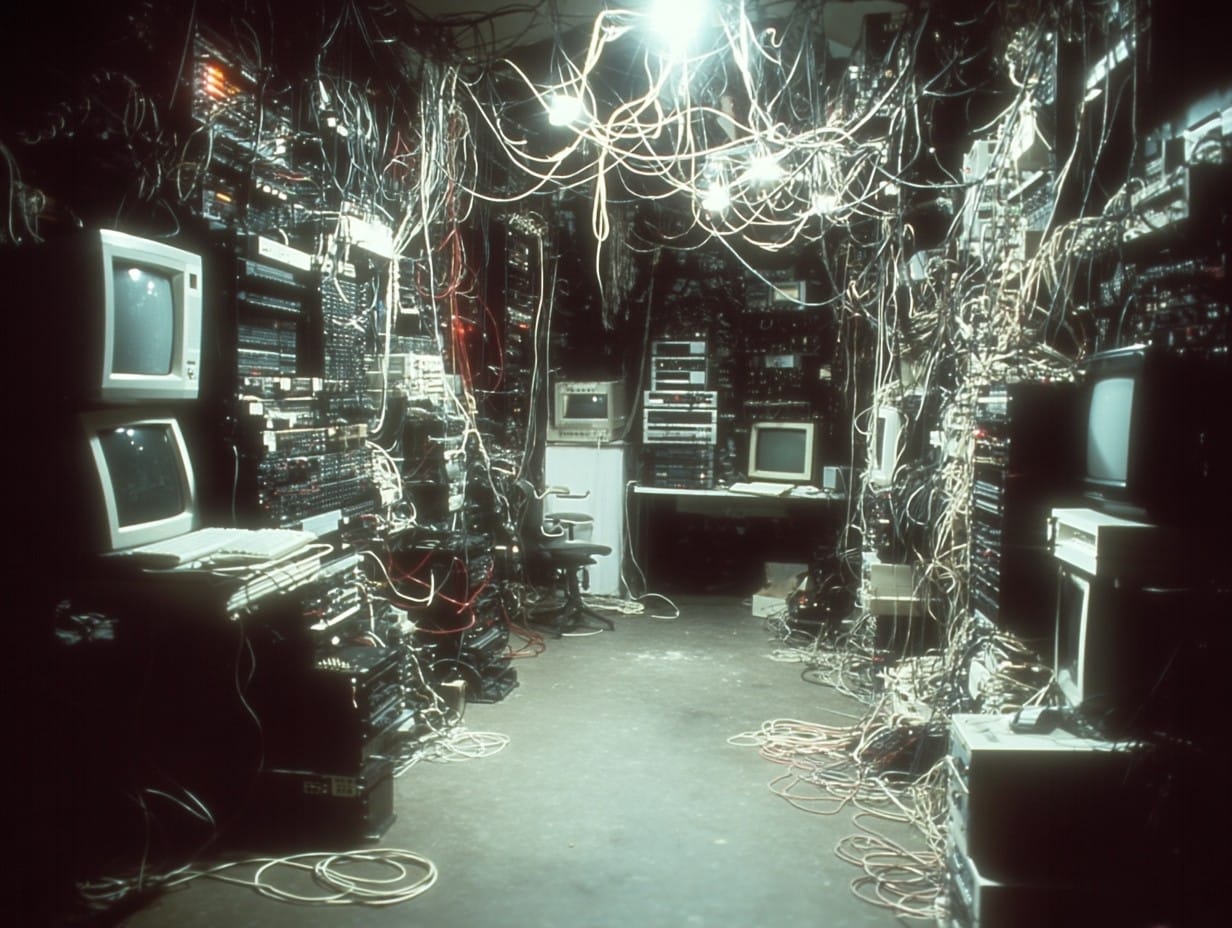
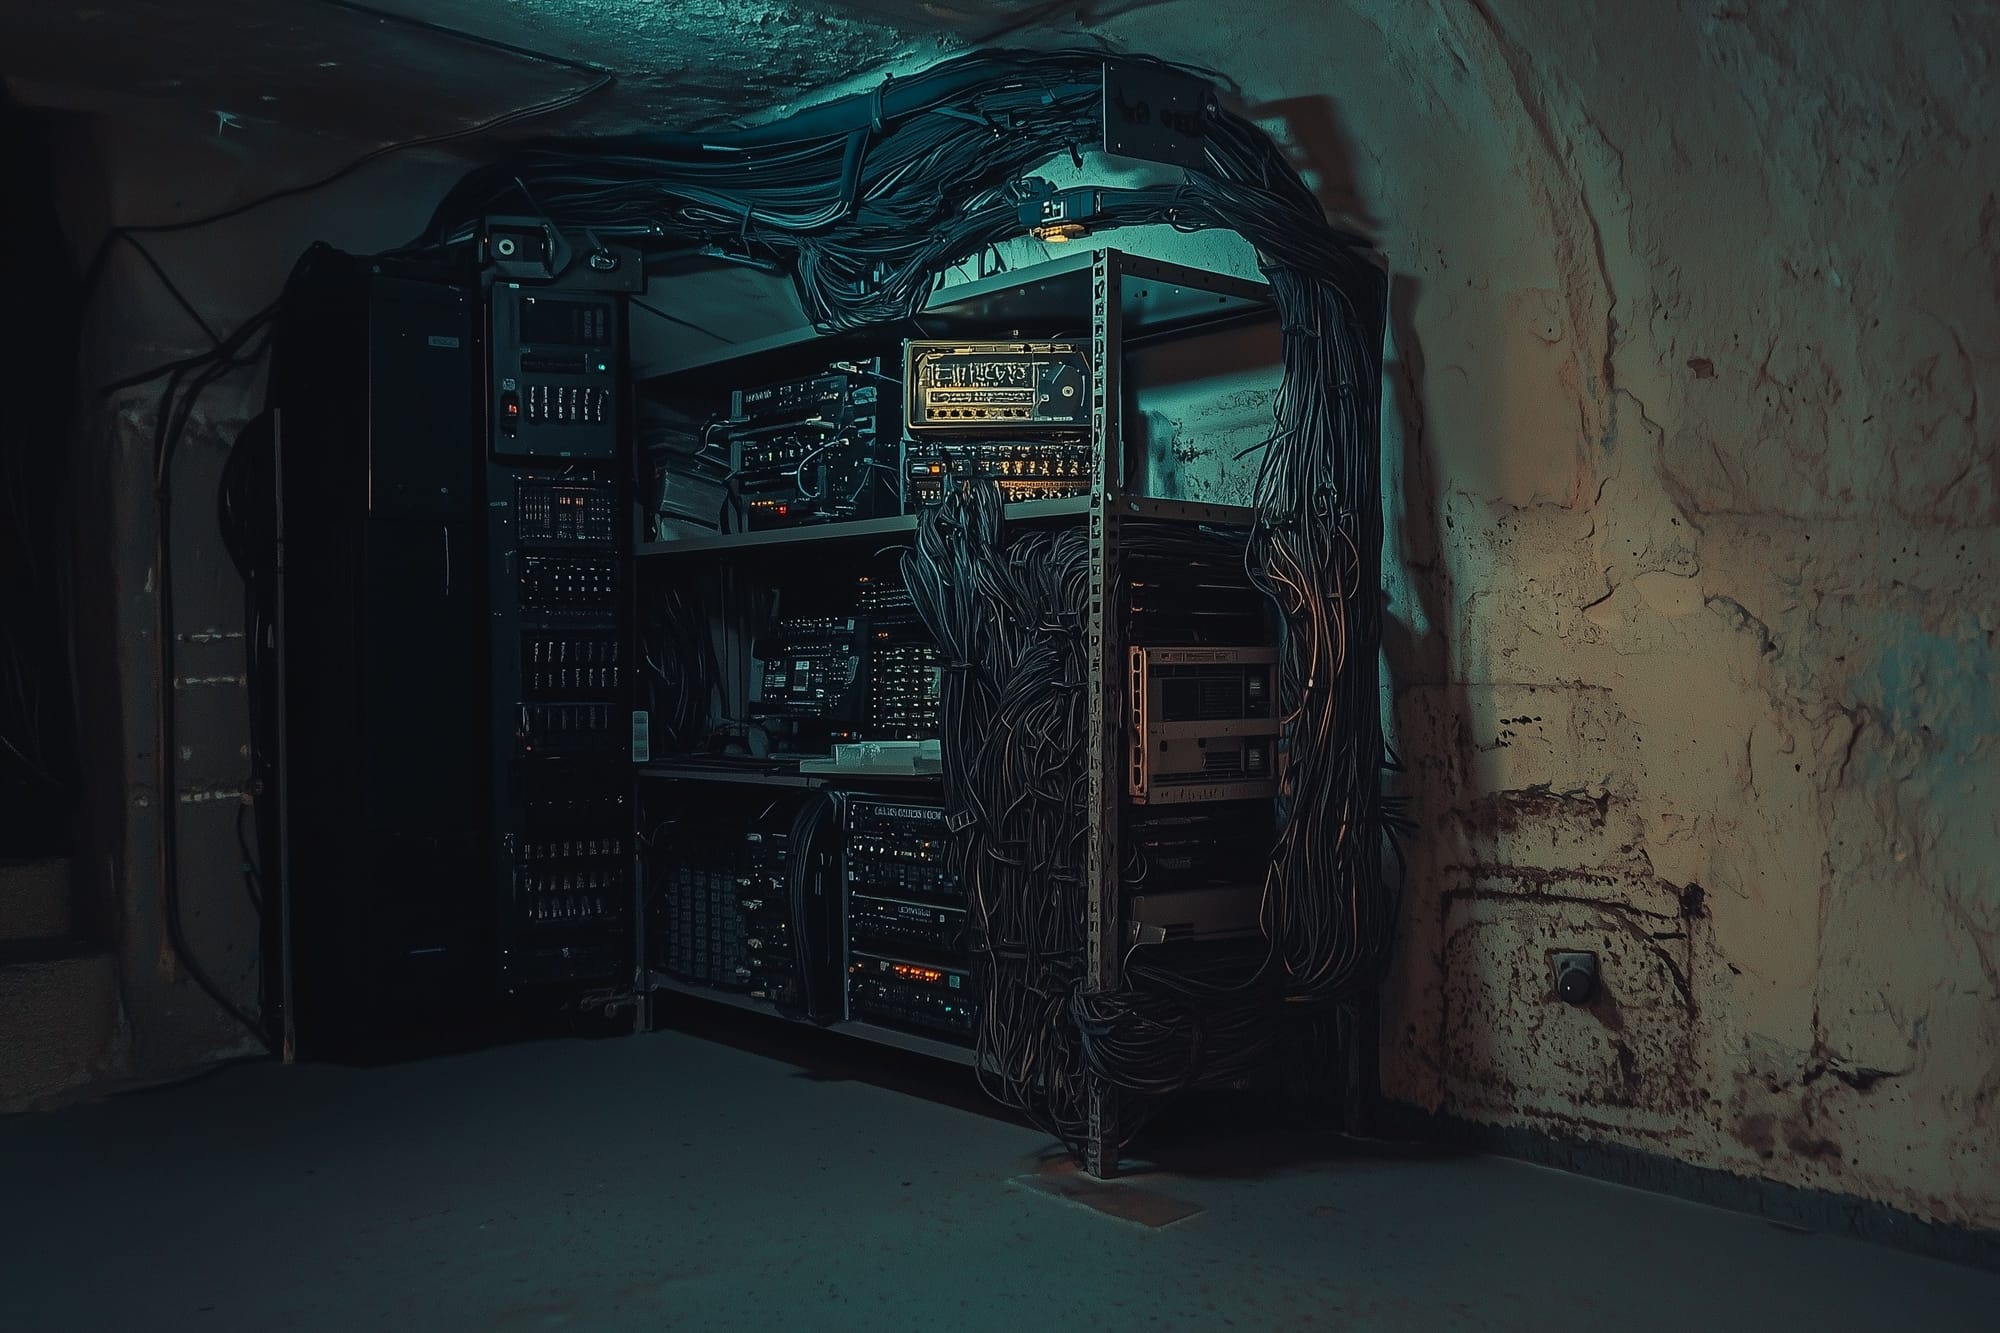
I also had the images I created with Midjourney back in the day:
For my first attempts, I uploaded the screenshot of the metal rack and one of the old-Midjourney images. Then, I prompted it to fill the shelves with old, grungy computer equipment and cables, using the old-Midjourney image as a style reference.
This method didn't work out. I did about a dozen generations, re-wording the prompt, tweaking the Midjourney style settings, swapping out reference images, but I couldn't get what I needed. The main problem was that Midjourney would always change the shape and size of the metal rack, as well as the layout of the room.

A couple examples of unsuccessful prompts.
Eventually, I found my way from the "Create" page to the "Edit" page. The Edit page has a layer system (like Photoshop) and some bare-bones selection tools. It seems like the idea is to isolate certain parts of separate images, layer them together, then prompt Midjourney to create something new that incorporates those elements.
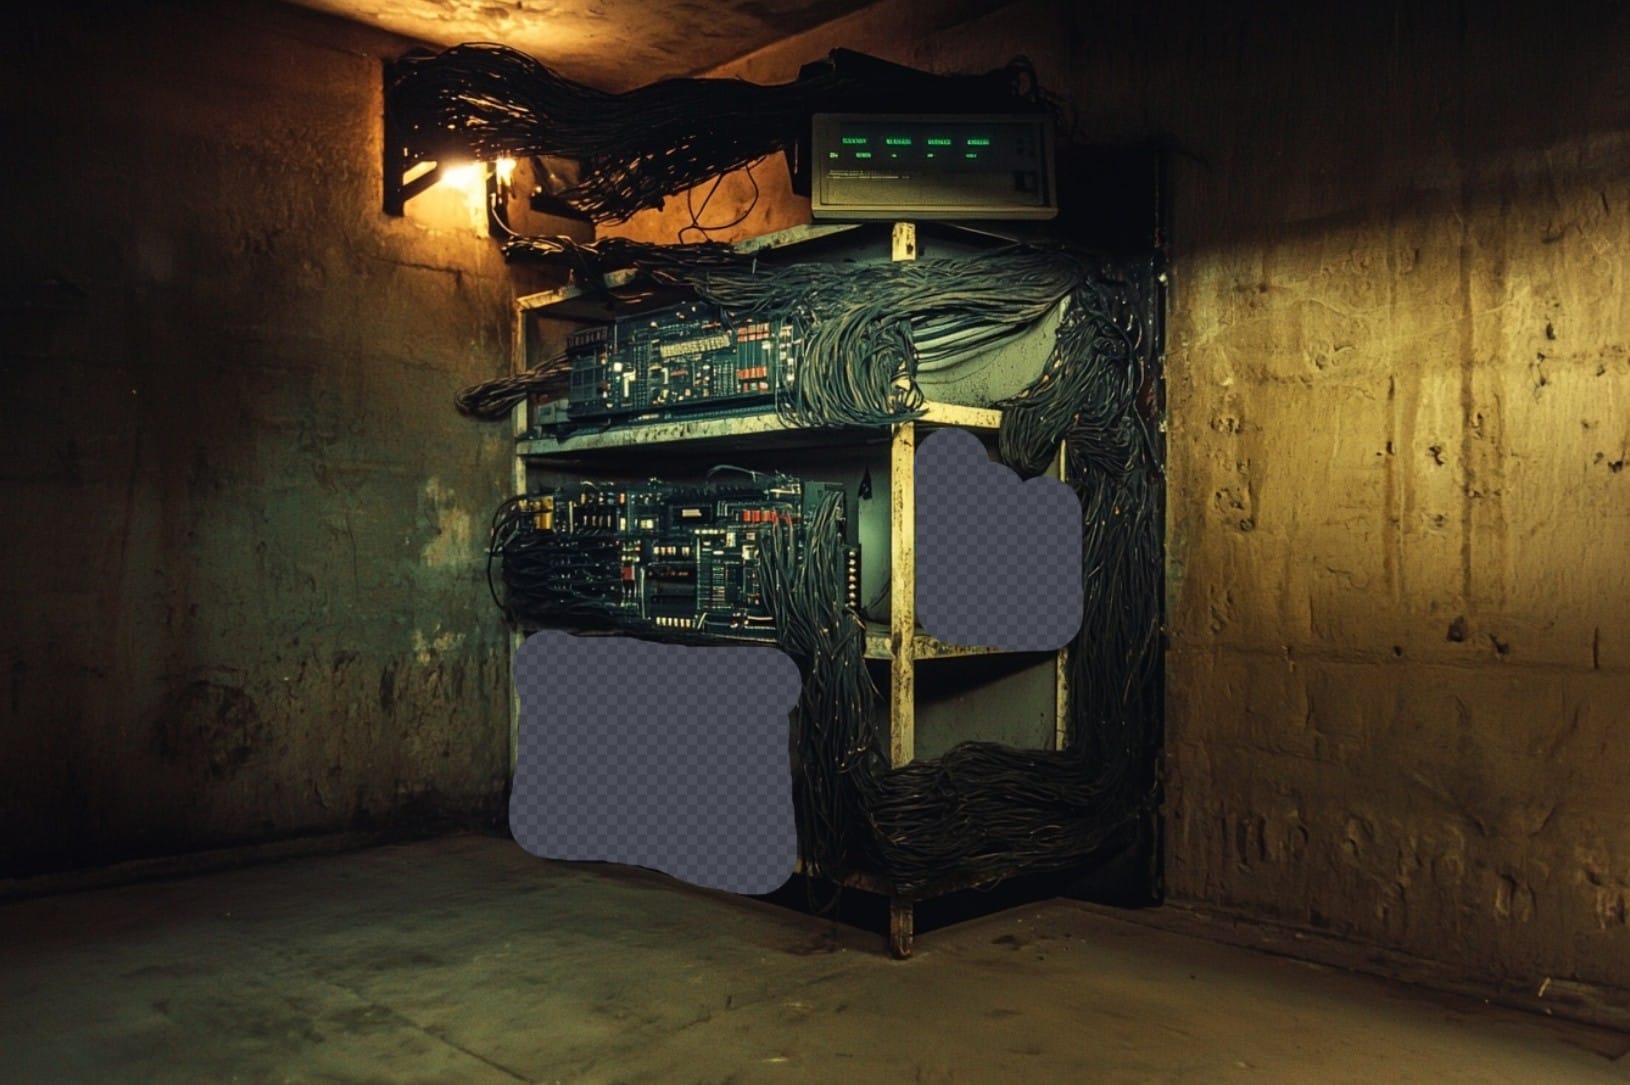
I started with the screenshot of the metal shelves as my base layer, then cut pieces of machinery and cables out of the old-Midjourney images and arranged them in layers on top of the shelves using the basic scale/rotate/translate tools.
It looked ridiculous:
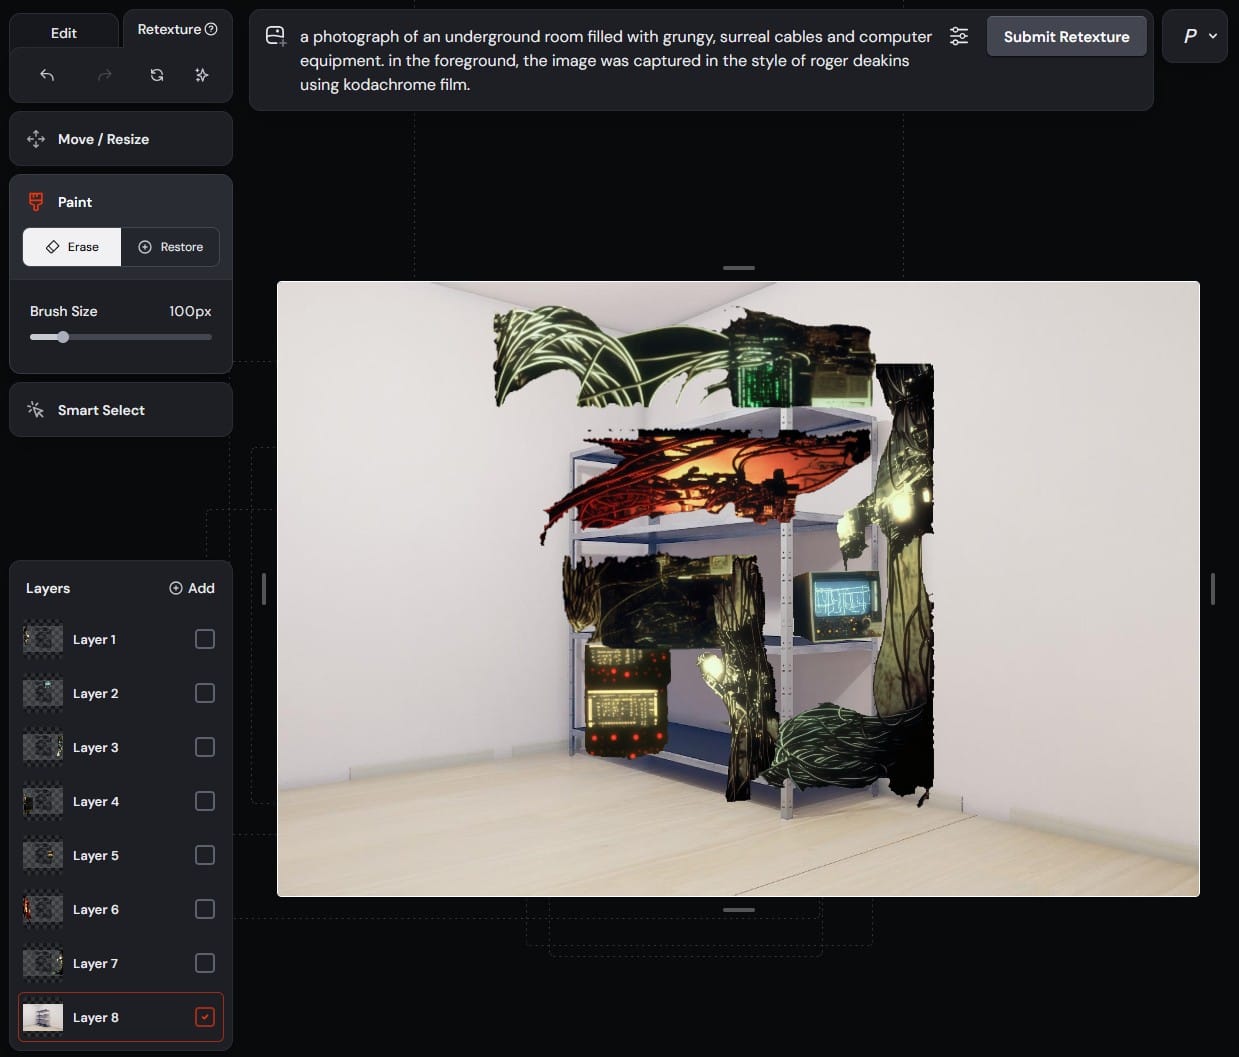
You can see how simple the UI is and how slapdash my editing was. You can also see the prompt at the top, which Midjourney helped me out with. There is an option to select a layer and click "Describe." I tried it on one of the upper layers and it gave me this:
a photograph of an underground room filled with grungy, surreal cables and computer equipment. in the foreground, the image was captured in the style of roger deakins using kodachrome film.
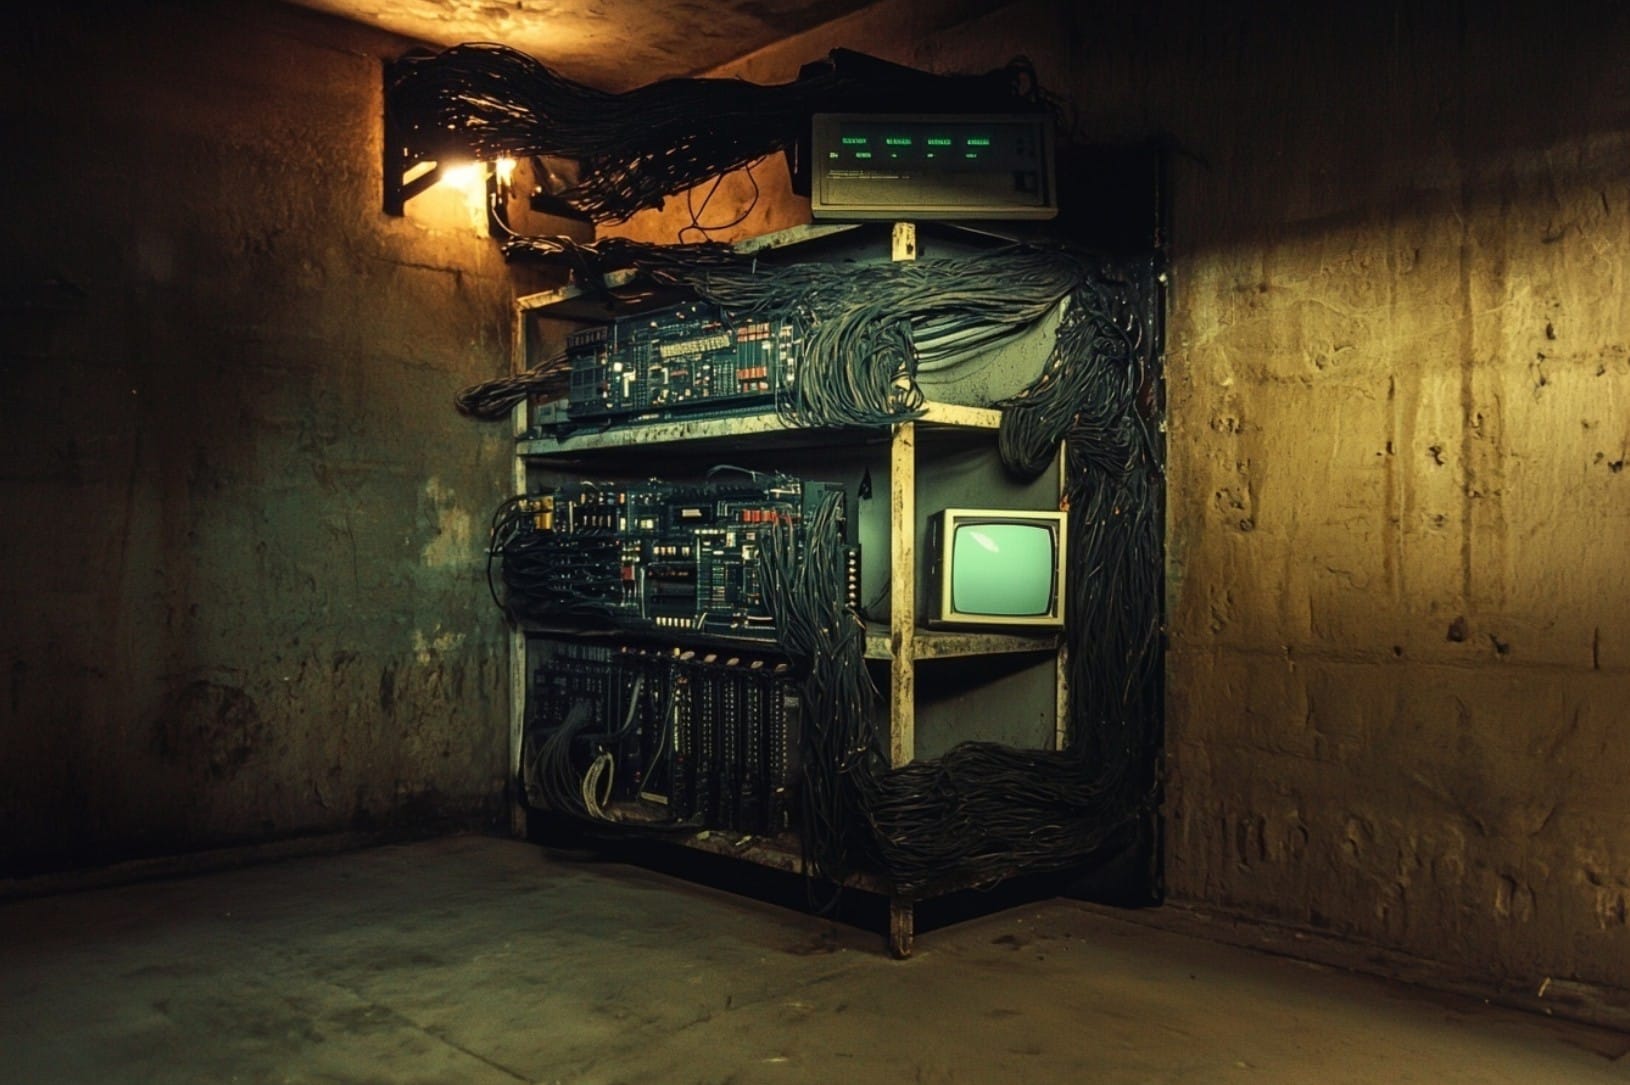
This is an example of the strange, voodoo-like nature of gen-AI. The second sentence doesn't even make sense. And, why Roger Deakins and Kodachrome? Well, whatever. I went with it. This is one of the four images it created from the above prompt:
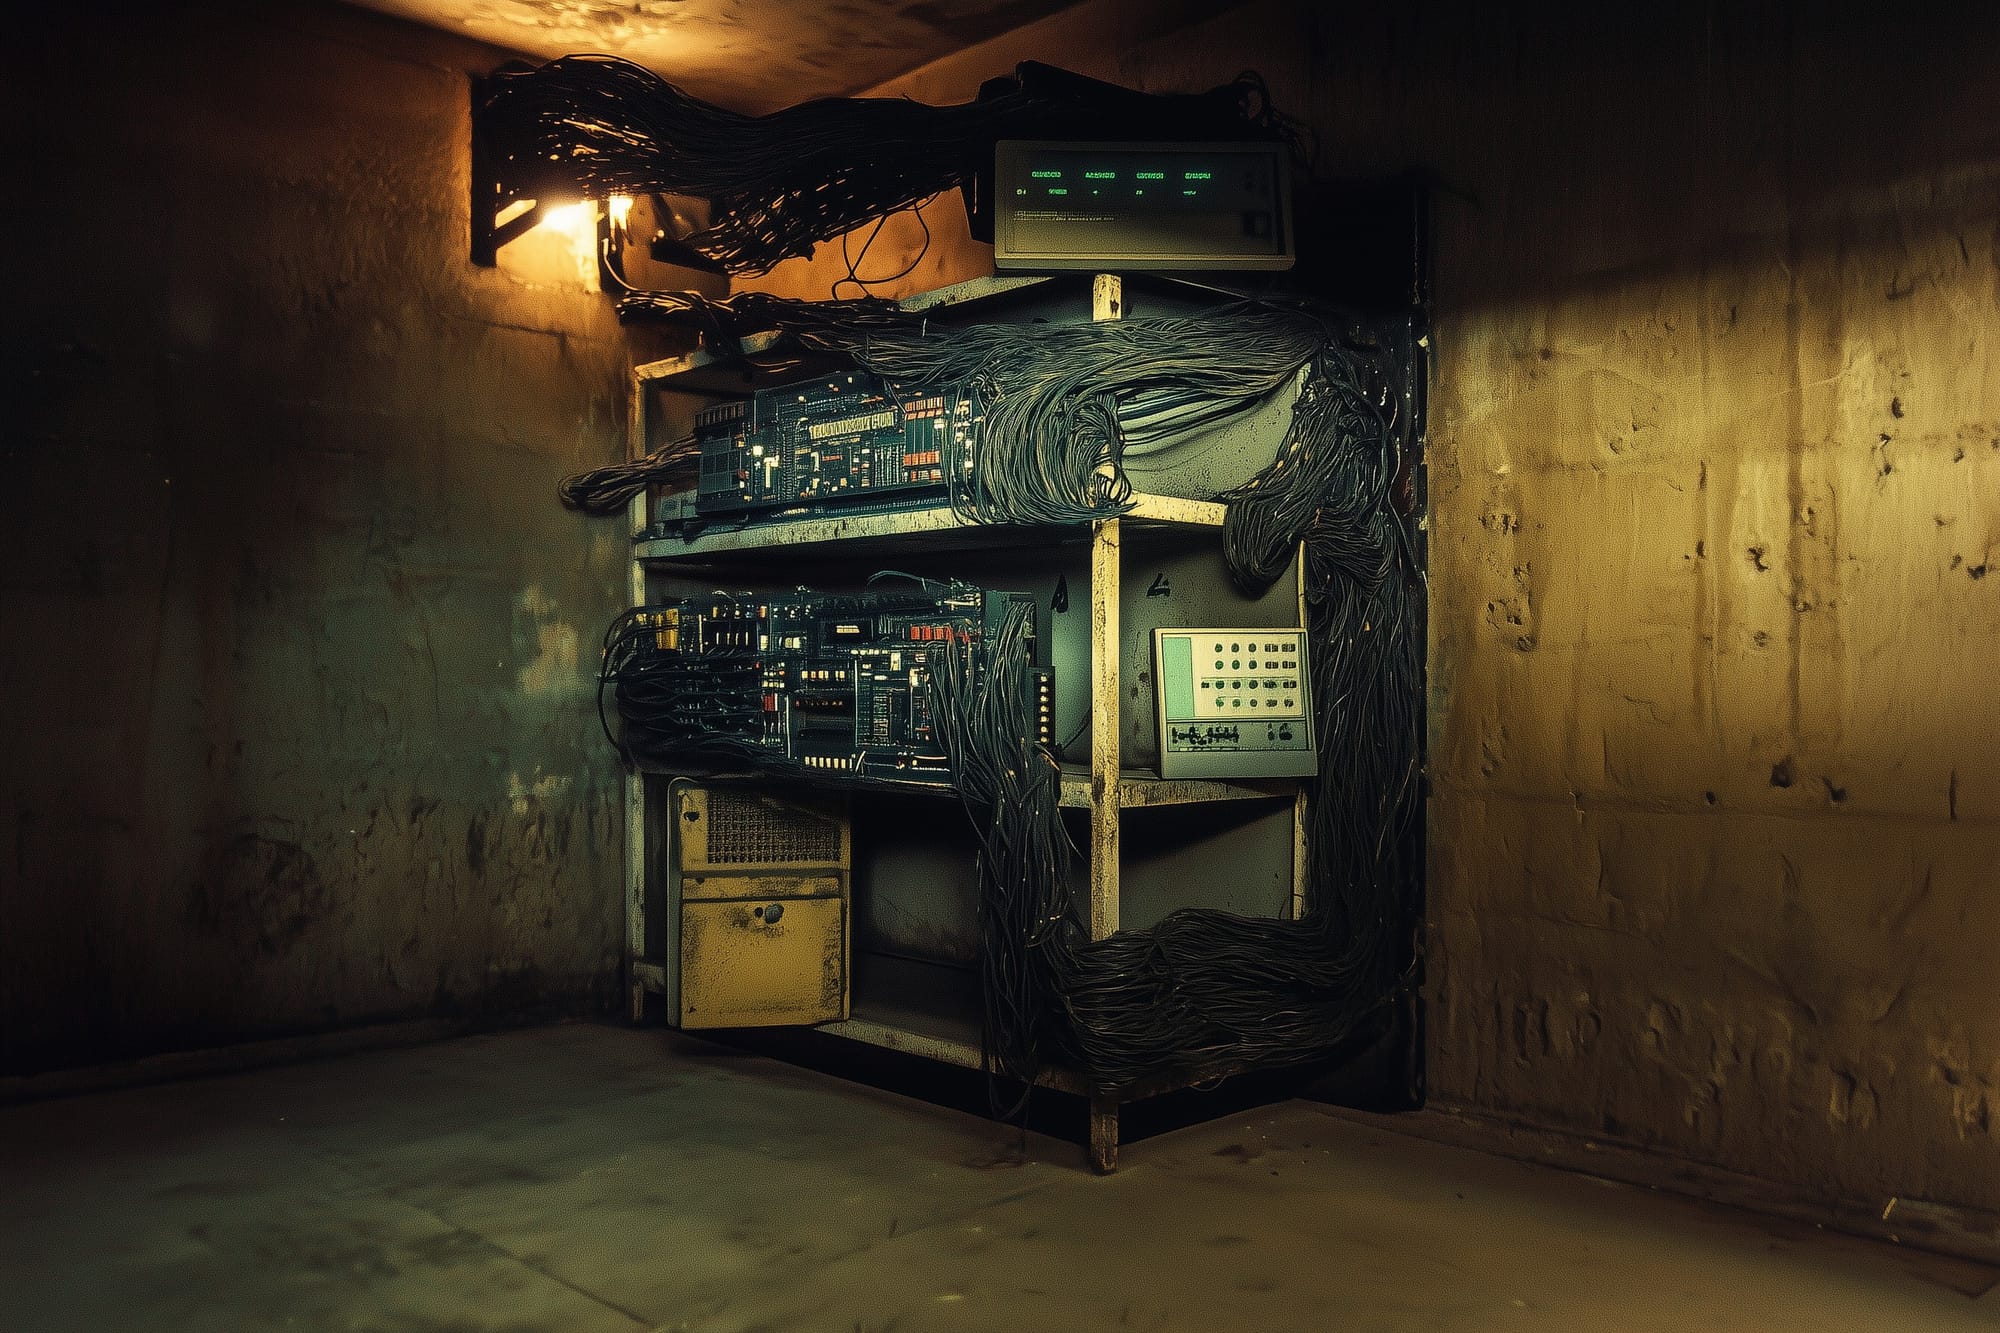
The output genuinely surprised me. It is obviously taking cues from the old-Midjourney images that I cut the pieces out of, and I love how it interpreted the cables that I haphazardly pasted over the top shelf. This showed me that I could loosely control the position of certain elements in the scene and let Midjourney run wild with the style.
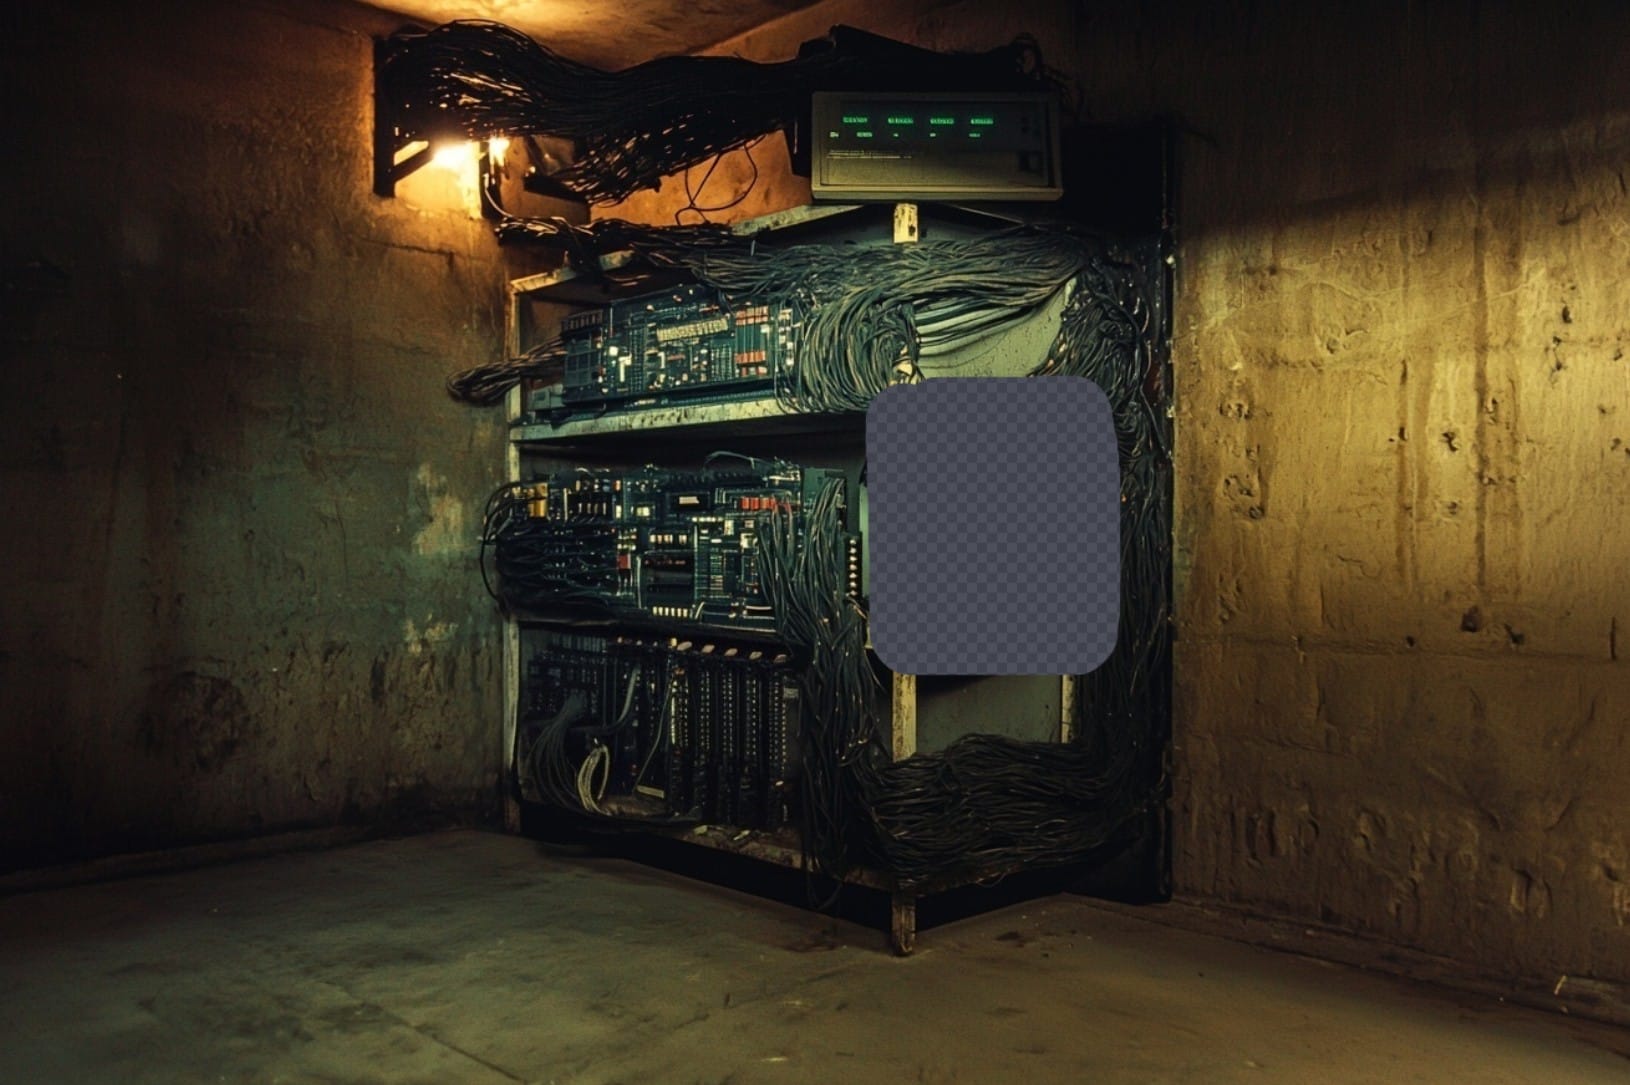
I wasn't crazy about some elements in this particular output, like the weird yellow box on the bottom shelf. I discovered that I also had the option to erase certain parts of the image and let Midjourney fill them in with something new. Here is how it progressed:
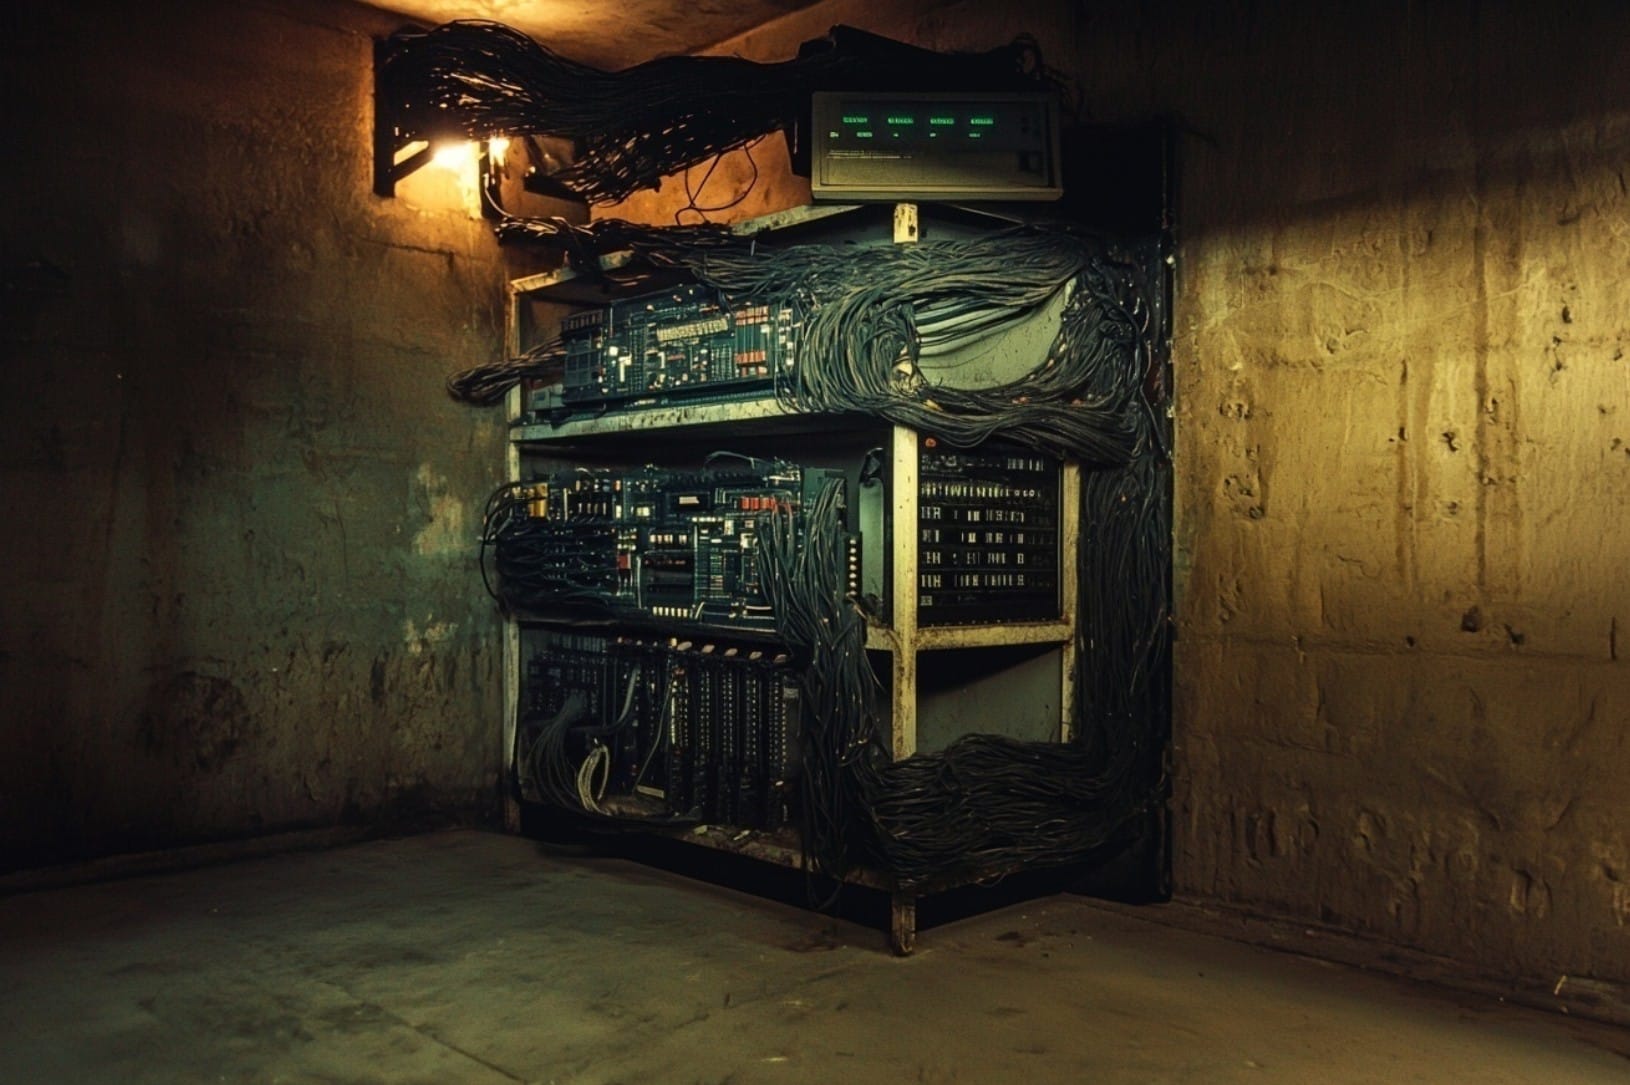

In the end, after lots of trial-and-error and many discarded images, I settled on this final output, along with two others:

Next, I sent them to Hunyuan 3D.
Why Hunyuan 3D?
There are a number of competing 3D-mesh generation tools. Last year I used Meshy for a small project. But, that was months ago, so I did some quick research to find out how the models had advanced and if there were any new players on the scene. Because of how quickly these tools evolve, I don't think it's worth it to do a rigorous deep dive and select the best possible option. Better to do a quick search, pick something, and keep moving.
I came across this video, which compares Hunyuan3D 3.0, Tripo AI Ultra, Meshy 6, and Hitem3D 1.5. Long story short, based on this YouTuber's testing, Hunyuan 3D and Hitem3D seem best suited for high-detail, hard surface geometry. As of now, Hitem3D is fairly expensive and Hunyuan is free. From what I can tell, Hunyuan-generated models are licensed for non-commercial, personal-use only, which is fine for this project.
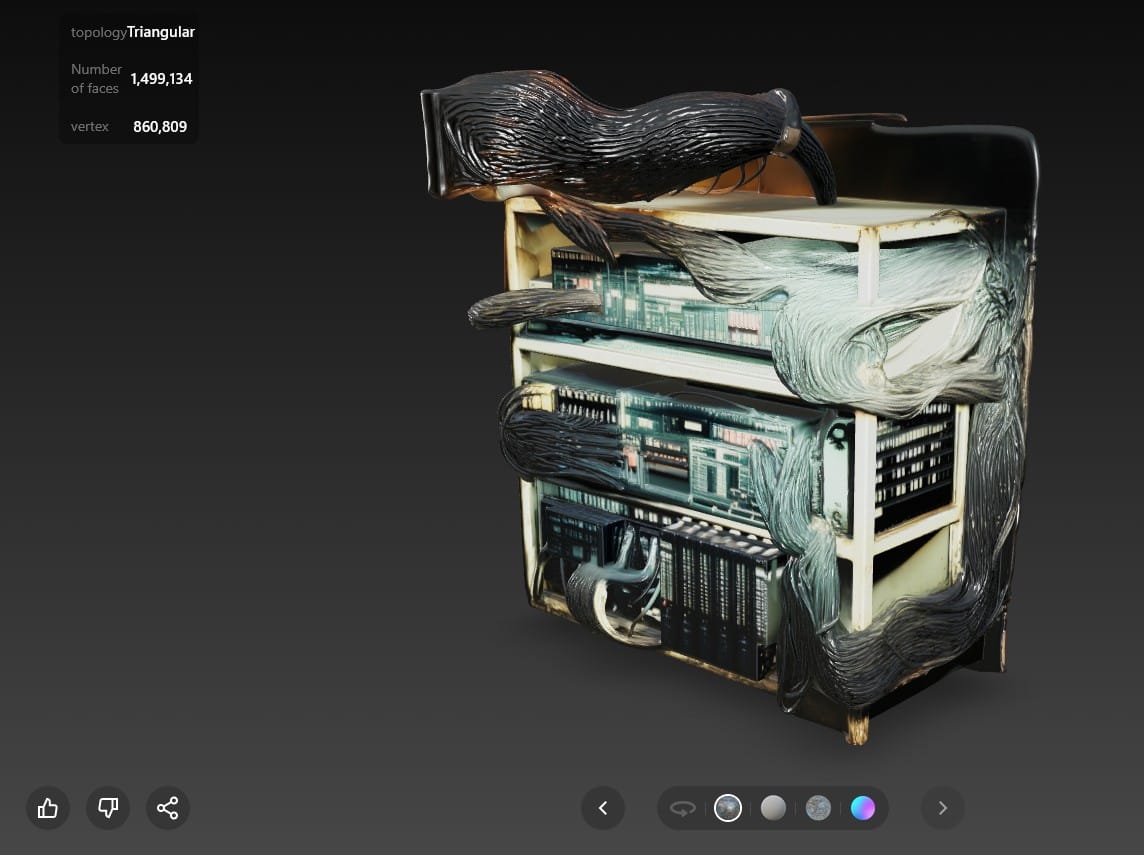
The mesh Hunyuan generated using the densest geometry option (1.5 million triangles), was pretty good... but not good enough:
I tried my best to work with it. I used Blender to cut some junk out of the mesh and separate it into three main materials: The metal shelves, the computer hardware, and the cables. In Substance Painter, I used the Hunyuan-generated color texture as a base and made some improvements. I added an emissive channel to make little computer lights, too.
This is a render of the apartment scene in Unreal Engine, with the asset in it:
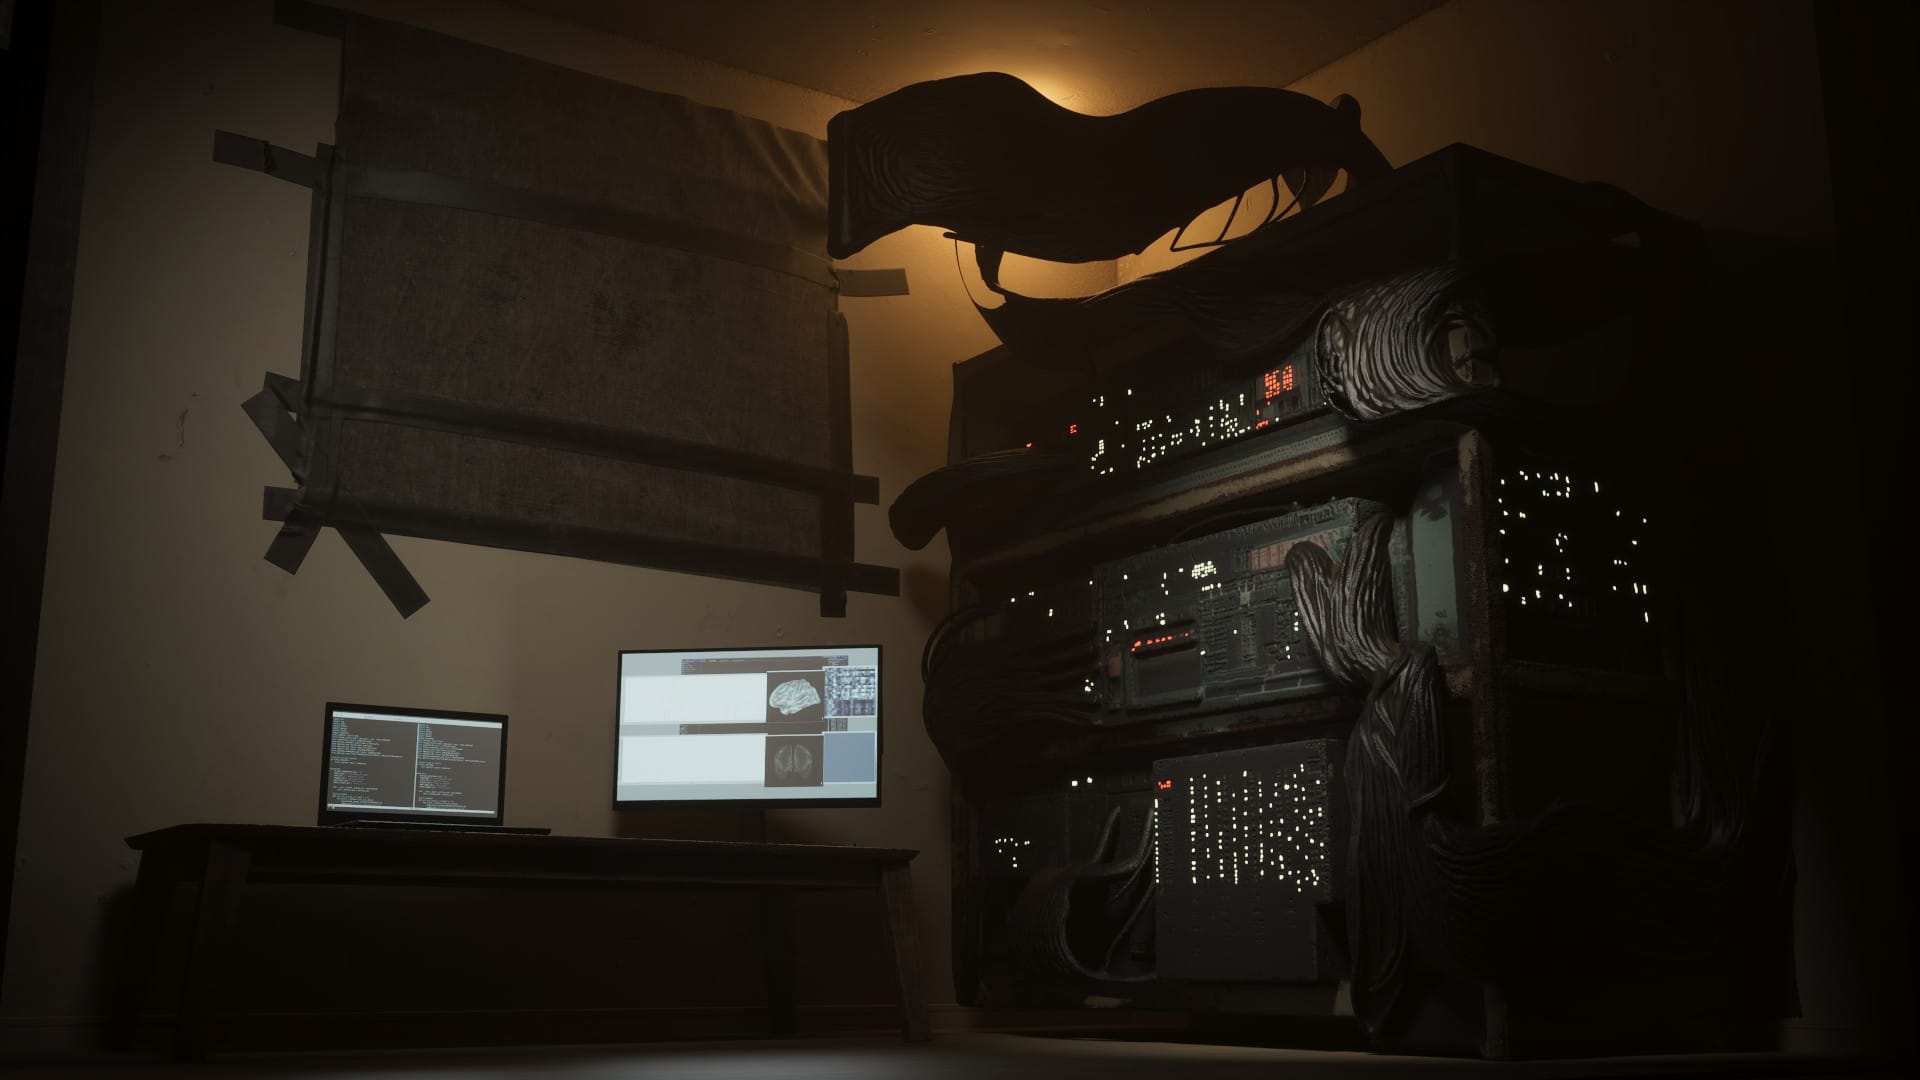
If the scene was dark enough to the point that the rack computer was barely more than a silhouette, it might work. But, I want to see more detail, and the geometry on the hardware is just too flat.
My next idea was to generate only the computer components in Hunyuan, creating a separate mesh for each piece. Then, I would arrange them on the metal shelves in Blender, and create the cables myself.
Nano Banana Pro and Kling AI
I needed close-ups of the computer hardware to give Hunyuan, but I couldn't figure out how to get Midjourney to create them. However I prompted it, it gave me a totally new image of different hardware.
So, I tried Nano Banana Pro (this was just before the release of Nano Banana 2), which was impressive. It responded well to simple prompts and did a great job of refining the broad strokes of the original image into high-resolution detail, while maintaining the style.
These are examples of the wide-shots I uploaded, the close-ups I got back, and the prompts I used:
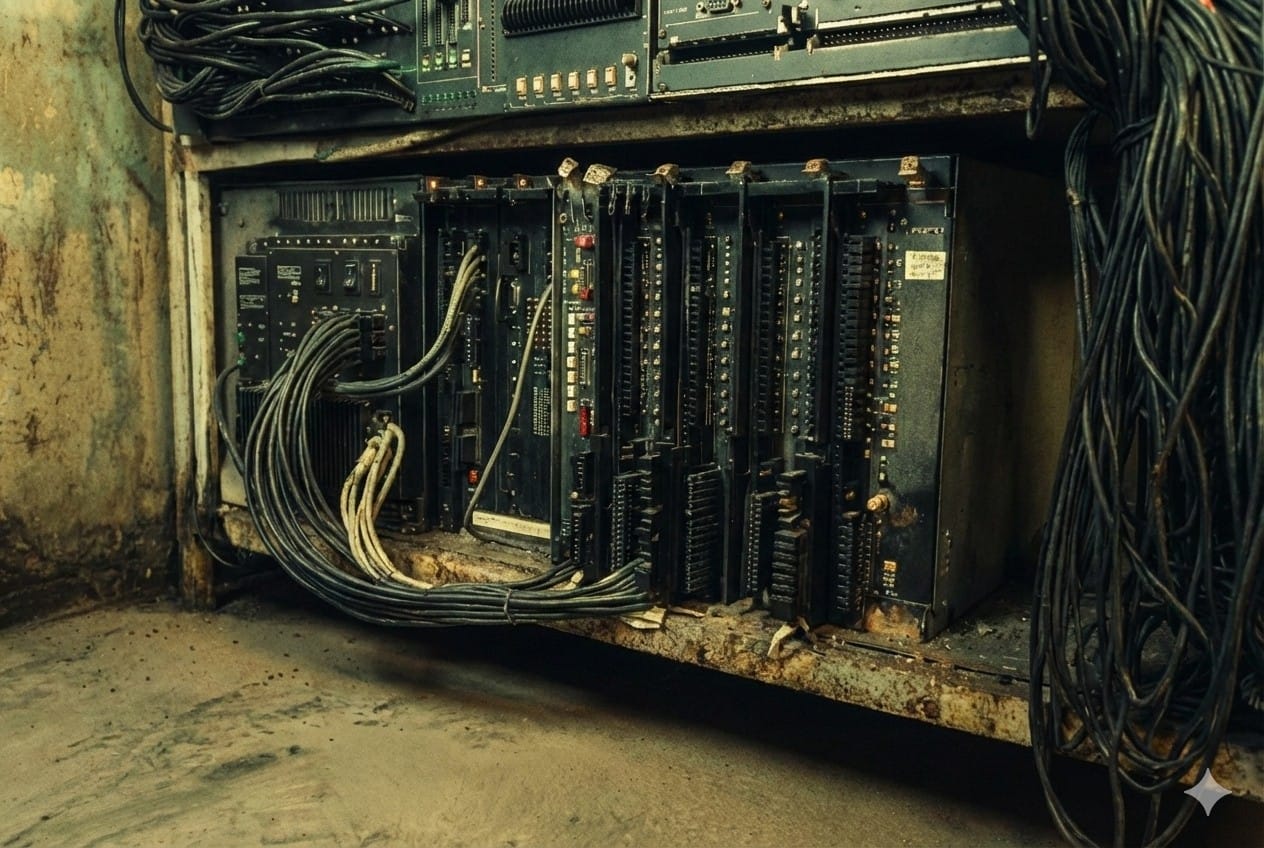
Prompt: Create a closeup of the computer hardware on the bottom shelf.
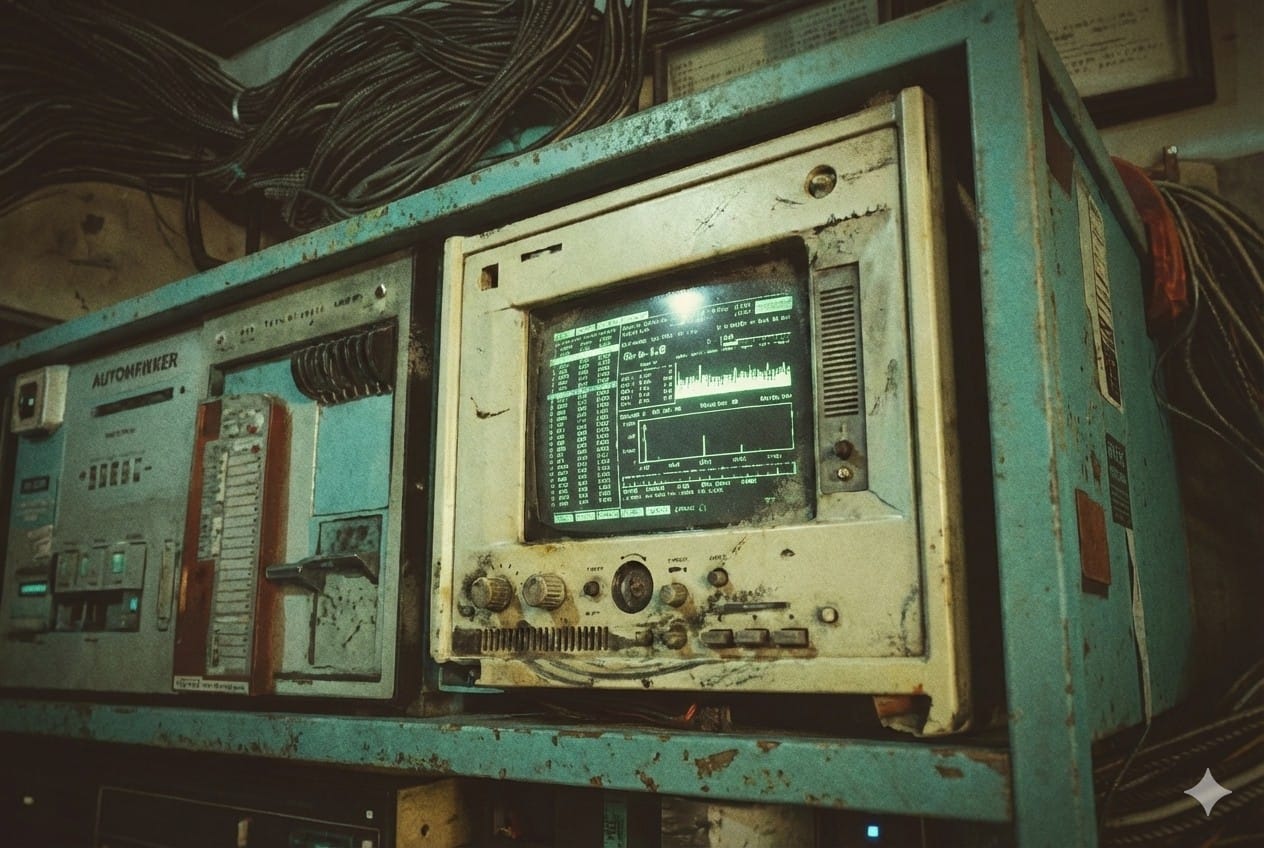
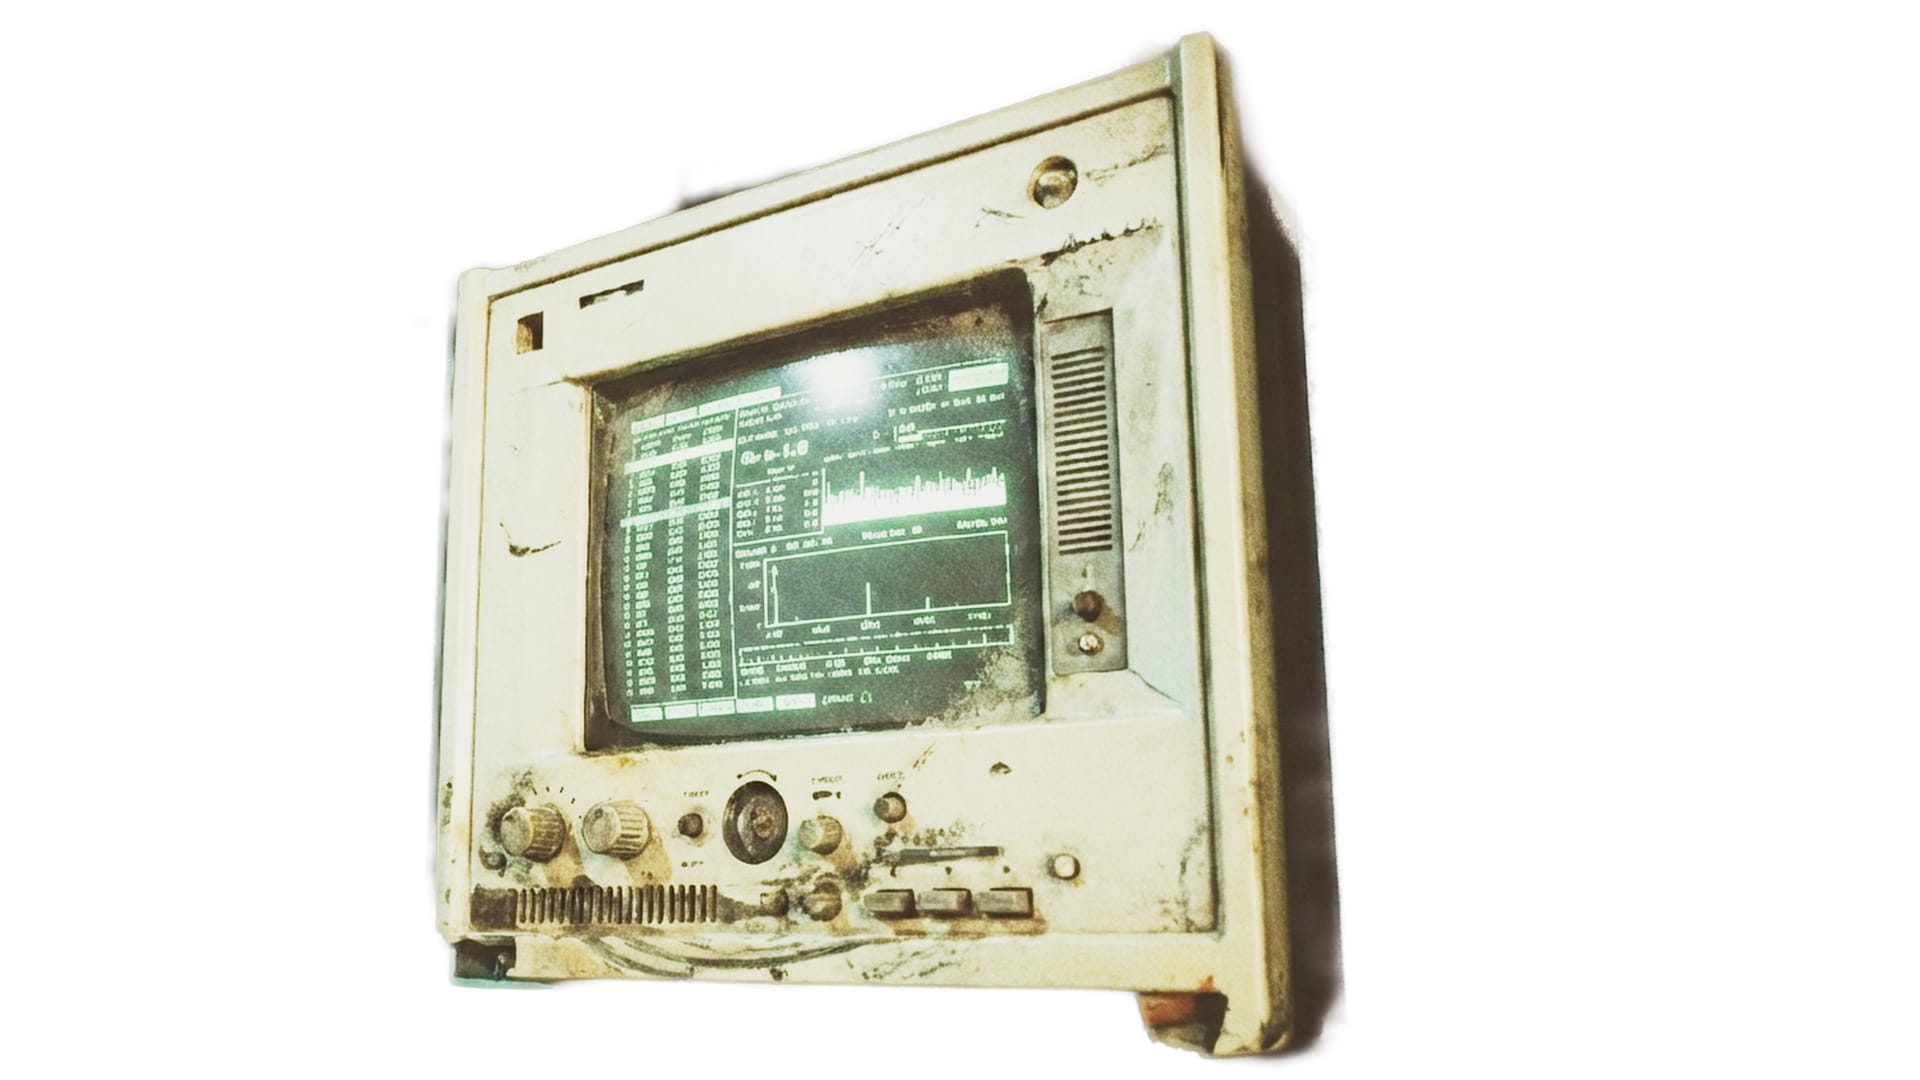
Prompt: Create a closeup photo of the white monitor on the top shelf.
The plan was to try Hunyuan's multi-image feature, which involves uploading multiple images of the same object from different angles. I assume Nano Banana Pro could have produced the alternate-angle shots as well, but without a paid subscription I could only prompt it a few times a day. The lowest-tier plan isn't expensive, but I had already bought one month of Kling AI for work on a different project, so I jumped over to that.
First, I isolated the computer component close-ups and gave them a white background (for this, I just used DaVinci Resolve, not an AI tool).
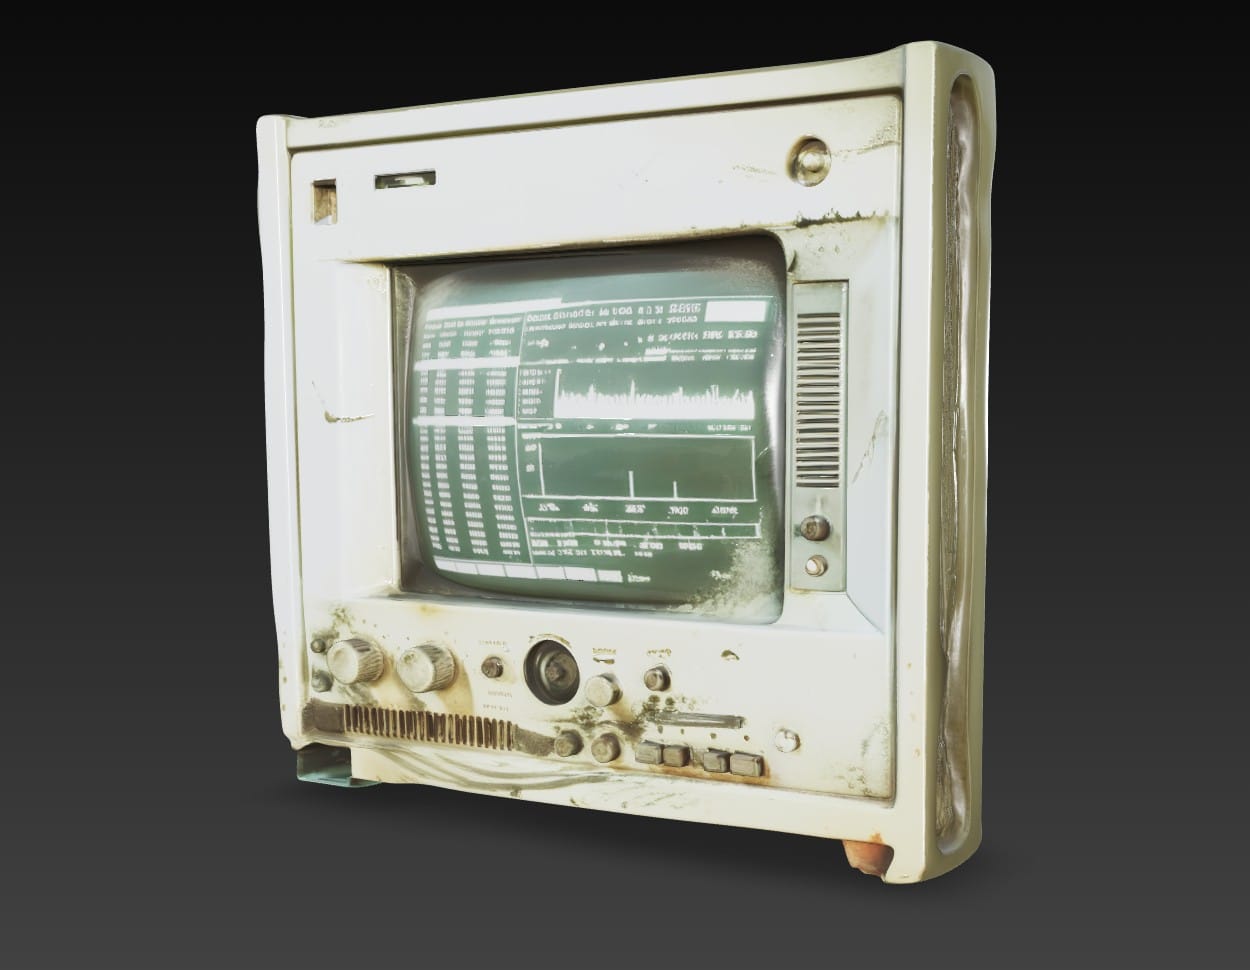
Kling AI did a fine job and also worked with simple prompts, like, "Keep everything the same, but create an alternate angle photograph from the front side of the monitor."
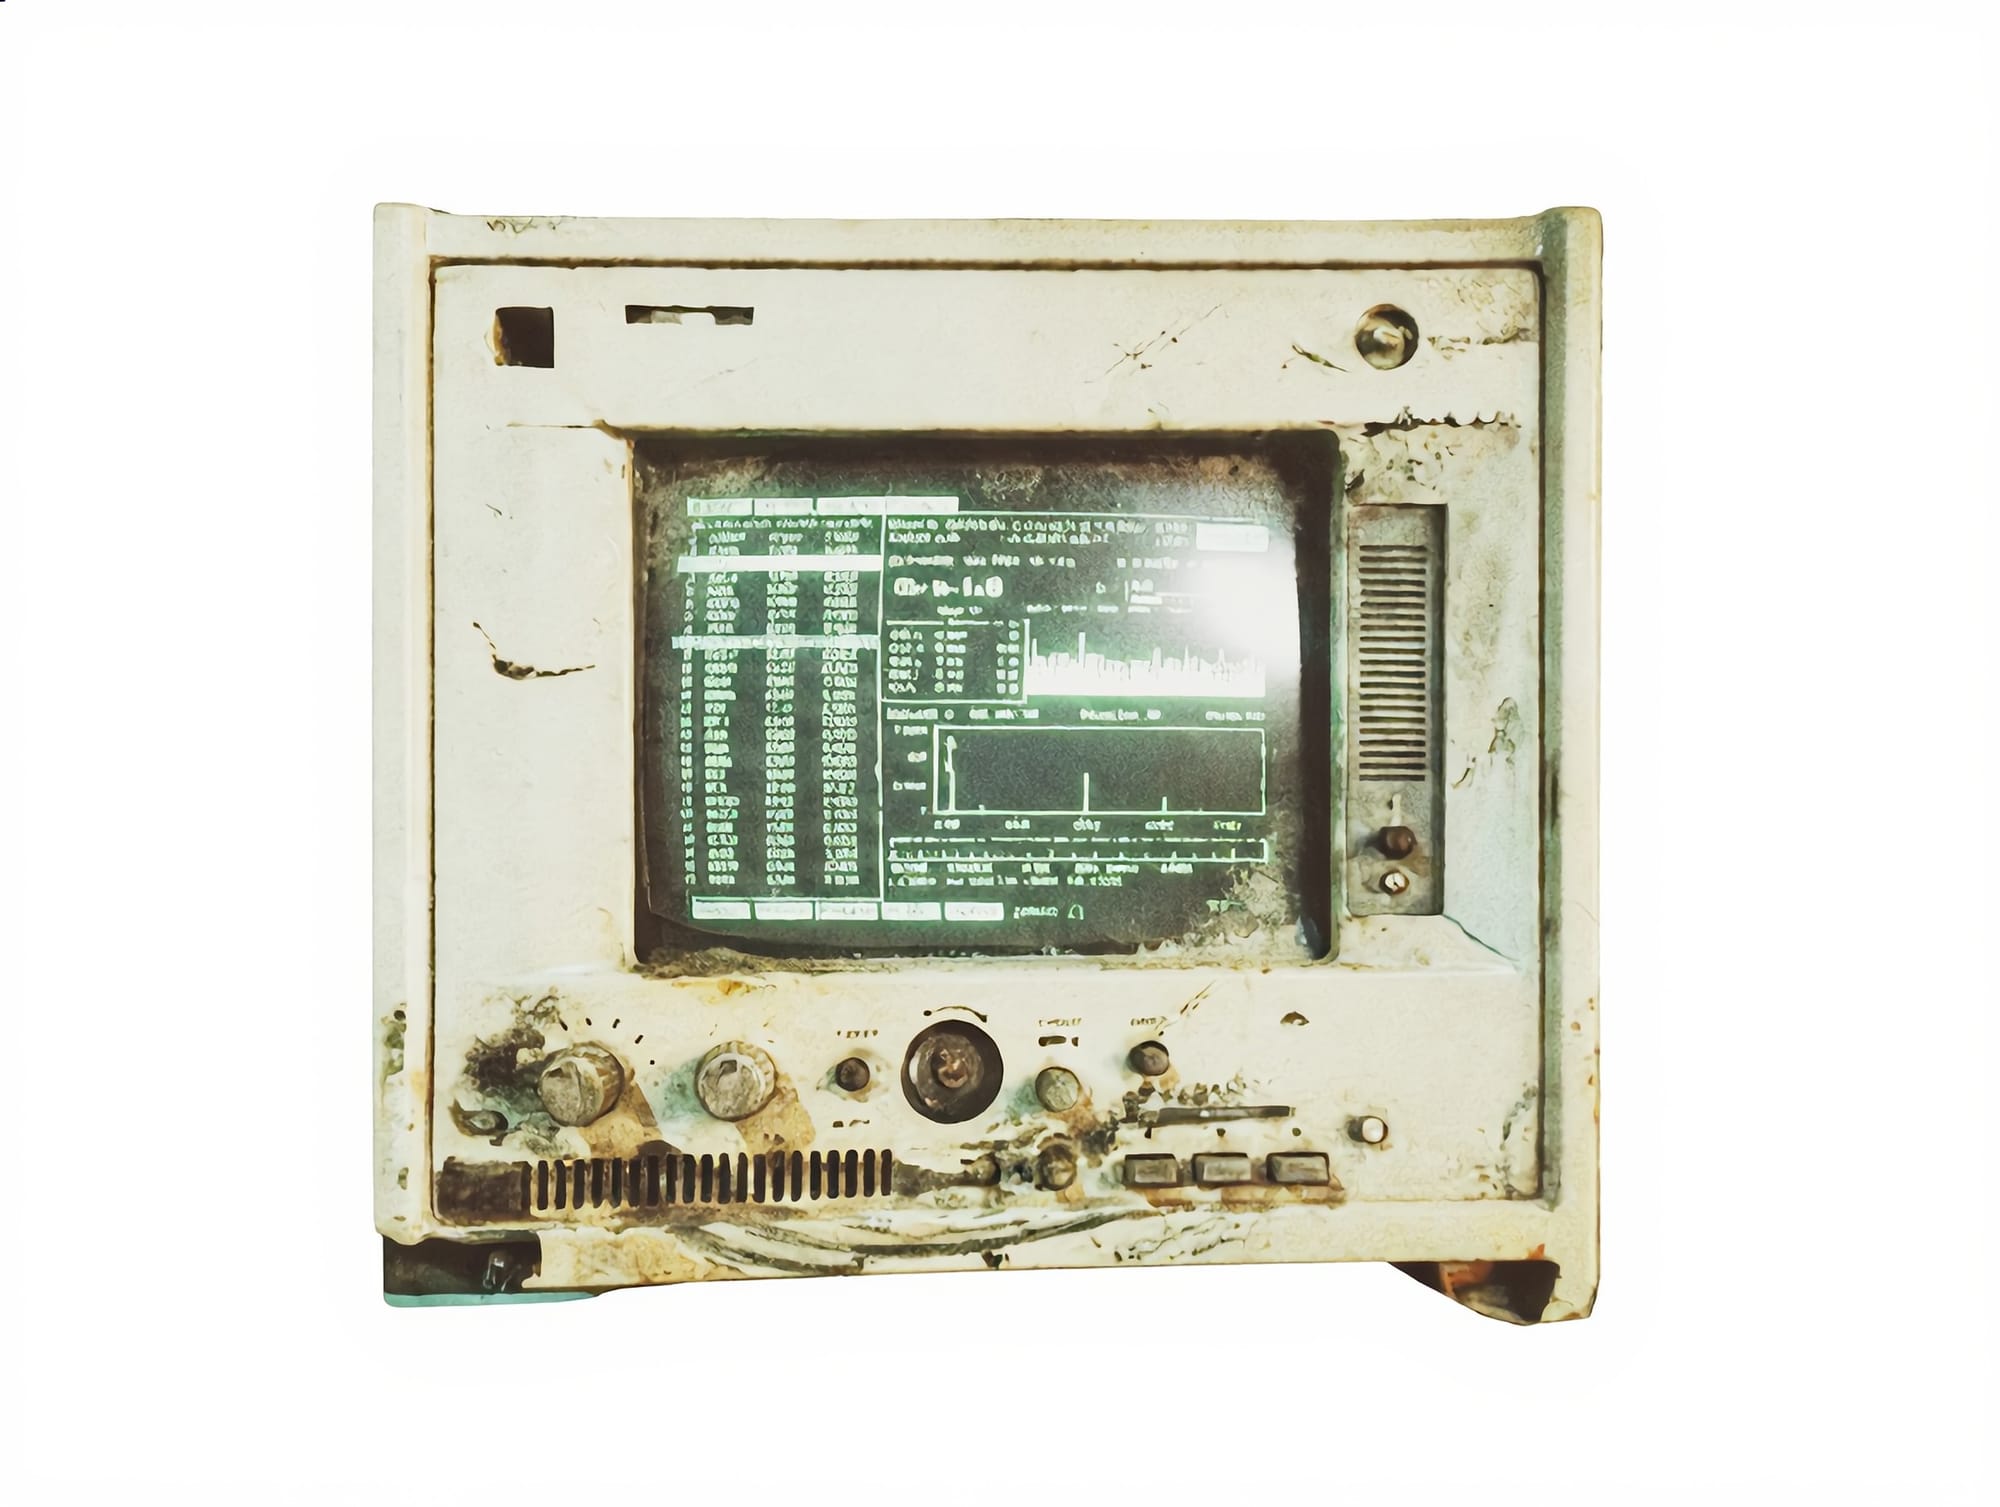

The first image is the original, from Nano Banana Pro. Kling AI generated the other two.
By the way, I also tried using Kling AI to create the same close-ups I did in Nano Banana Pro. They were decent, but didn't have the same level of interesting detail as the Nano Banana Pro images.
My overall impression of these three image-generation tools is that for practical jobs needing consistency and prompt-adherence along with strong details, Nano Banana Pro is the best. Kling AI is a close second. Midjourney is best if you want to go dreamy. I couldn't get either of the other two AI tools to create the same bizarre, grungy, subterranean style that I got from Midjourney.
Hunyuan, Blender, and Substance Painter: Round 2
Back in Hunyuan 3D, the multi-angle option seemed to work pretty well. It can take images from up to eight possible angles, though I usually gave it only three, like the shots of the white monitor seen above. I had Hunyuan create eight assets in total, and I used seven of them. Here are just a few:
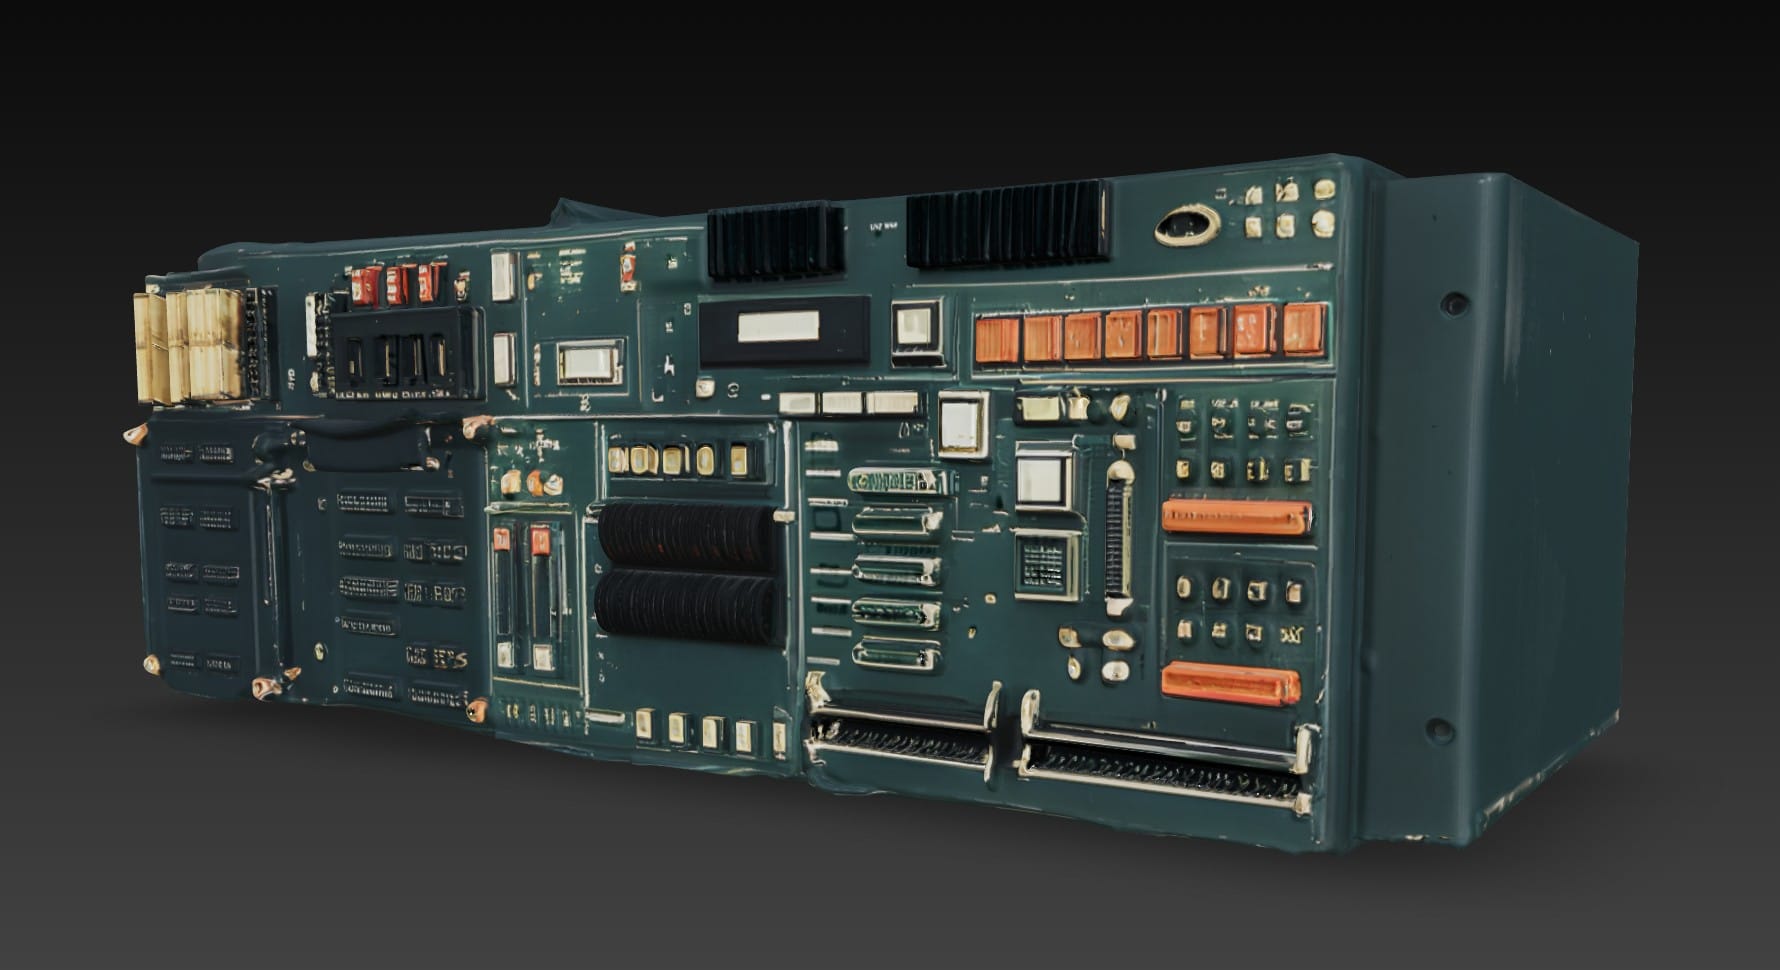
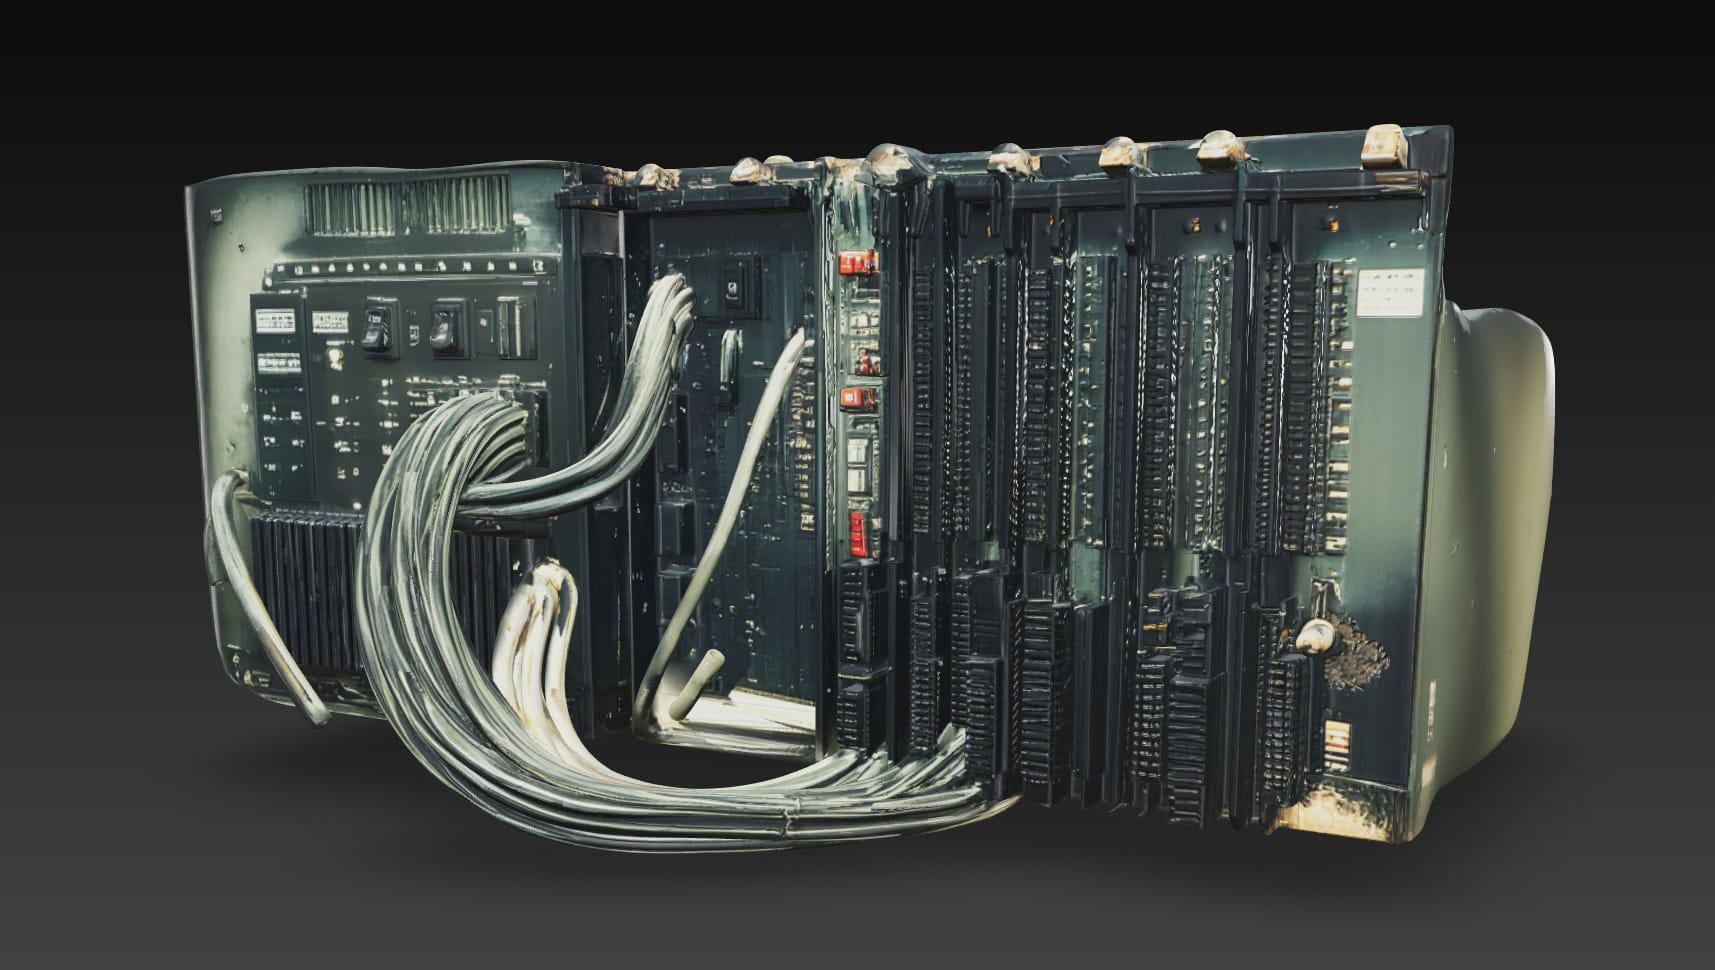
The colors are too saturated and the details are messy, but I could work with them.
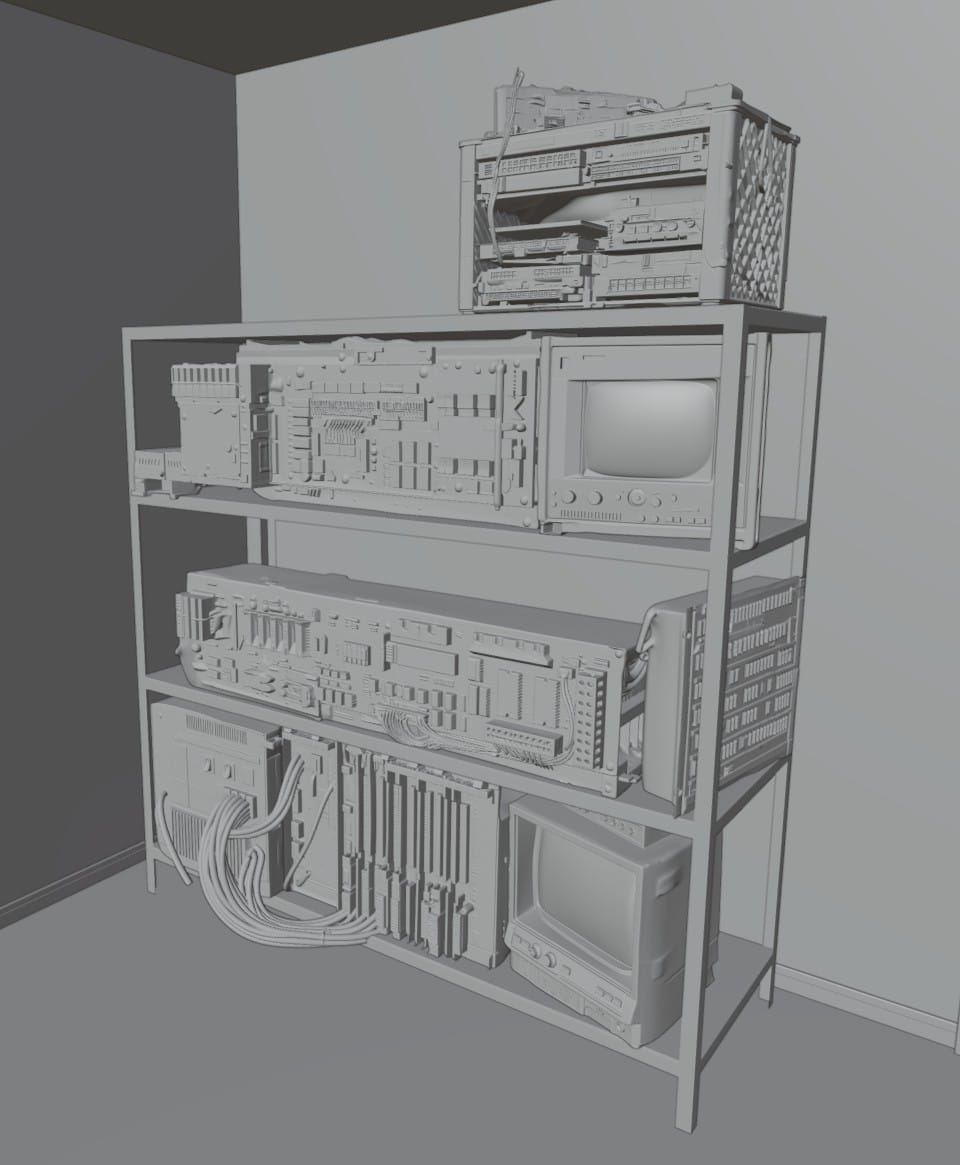
In Blender, I positioned the computer hardware on the shelves:
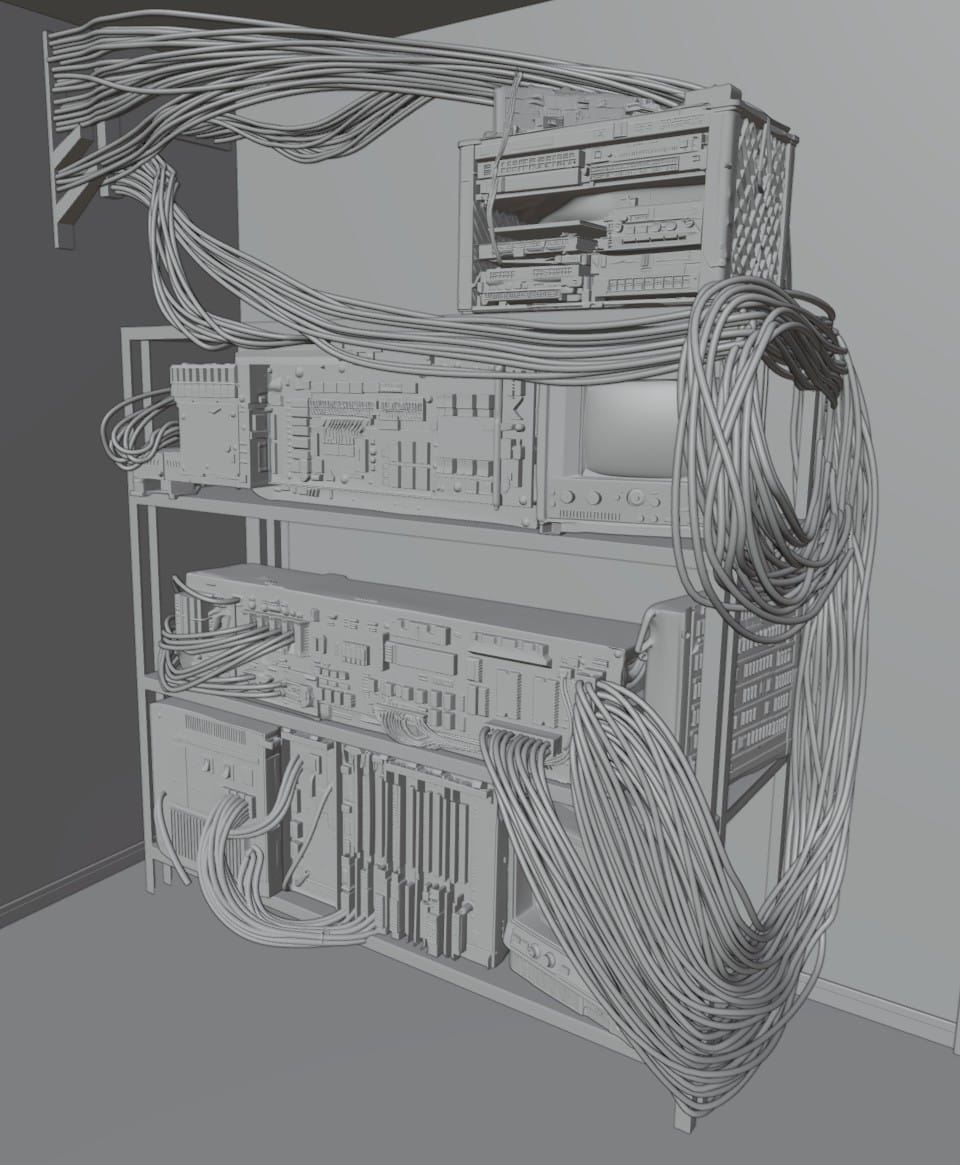
Then, I followed this video about the Curves tool and added all the cables:
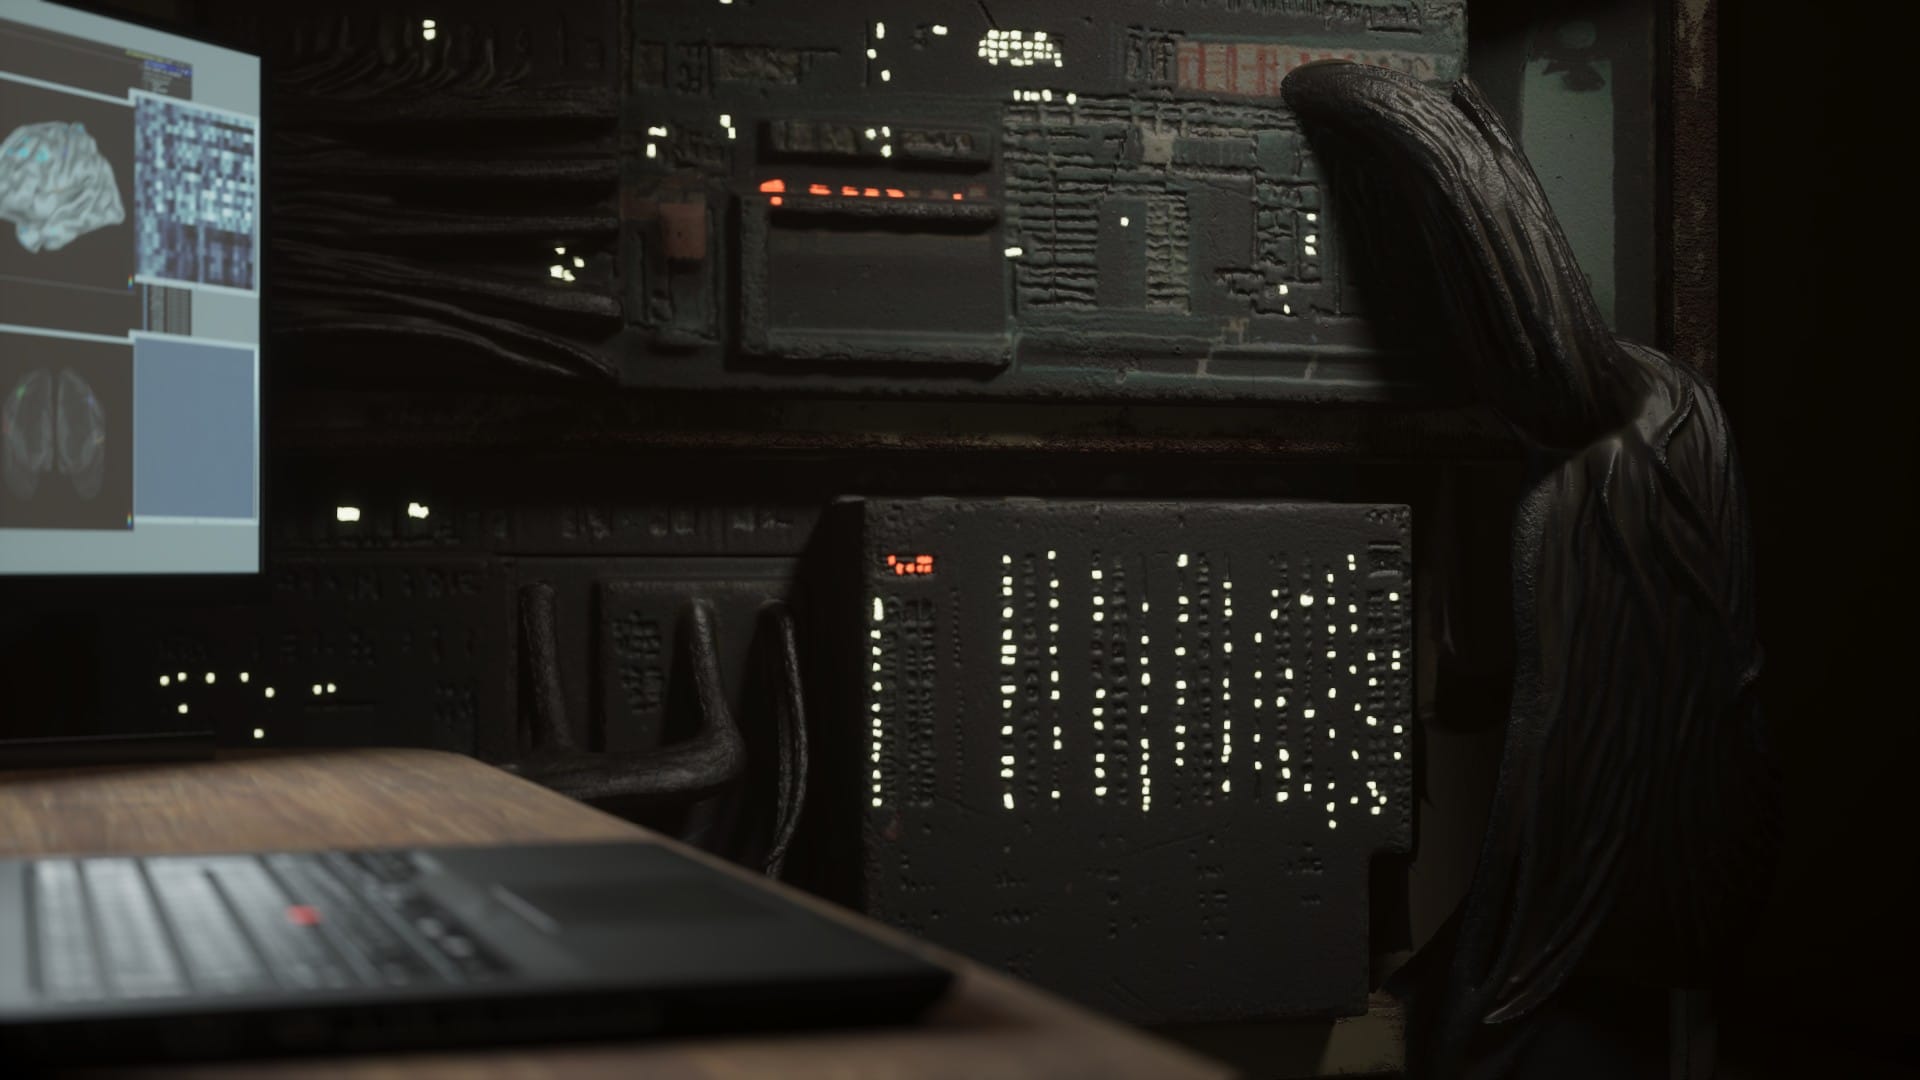
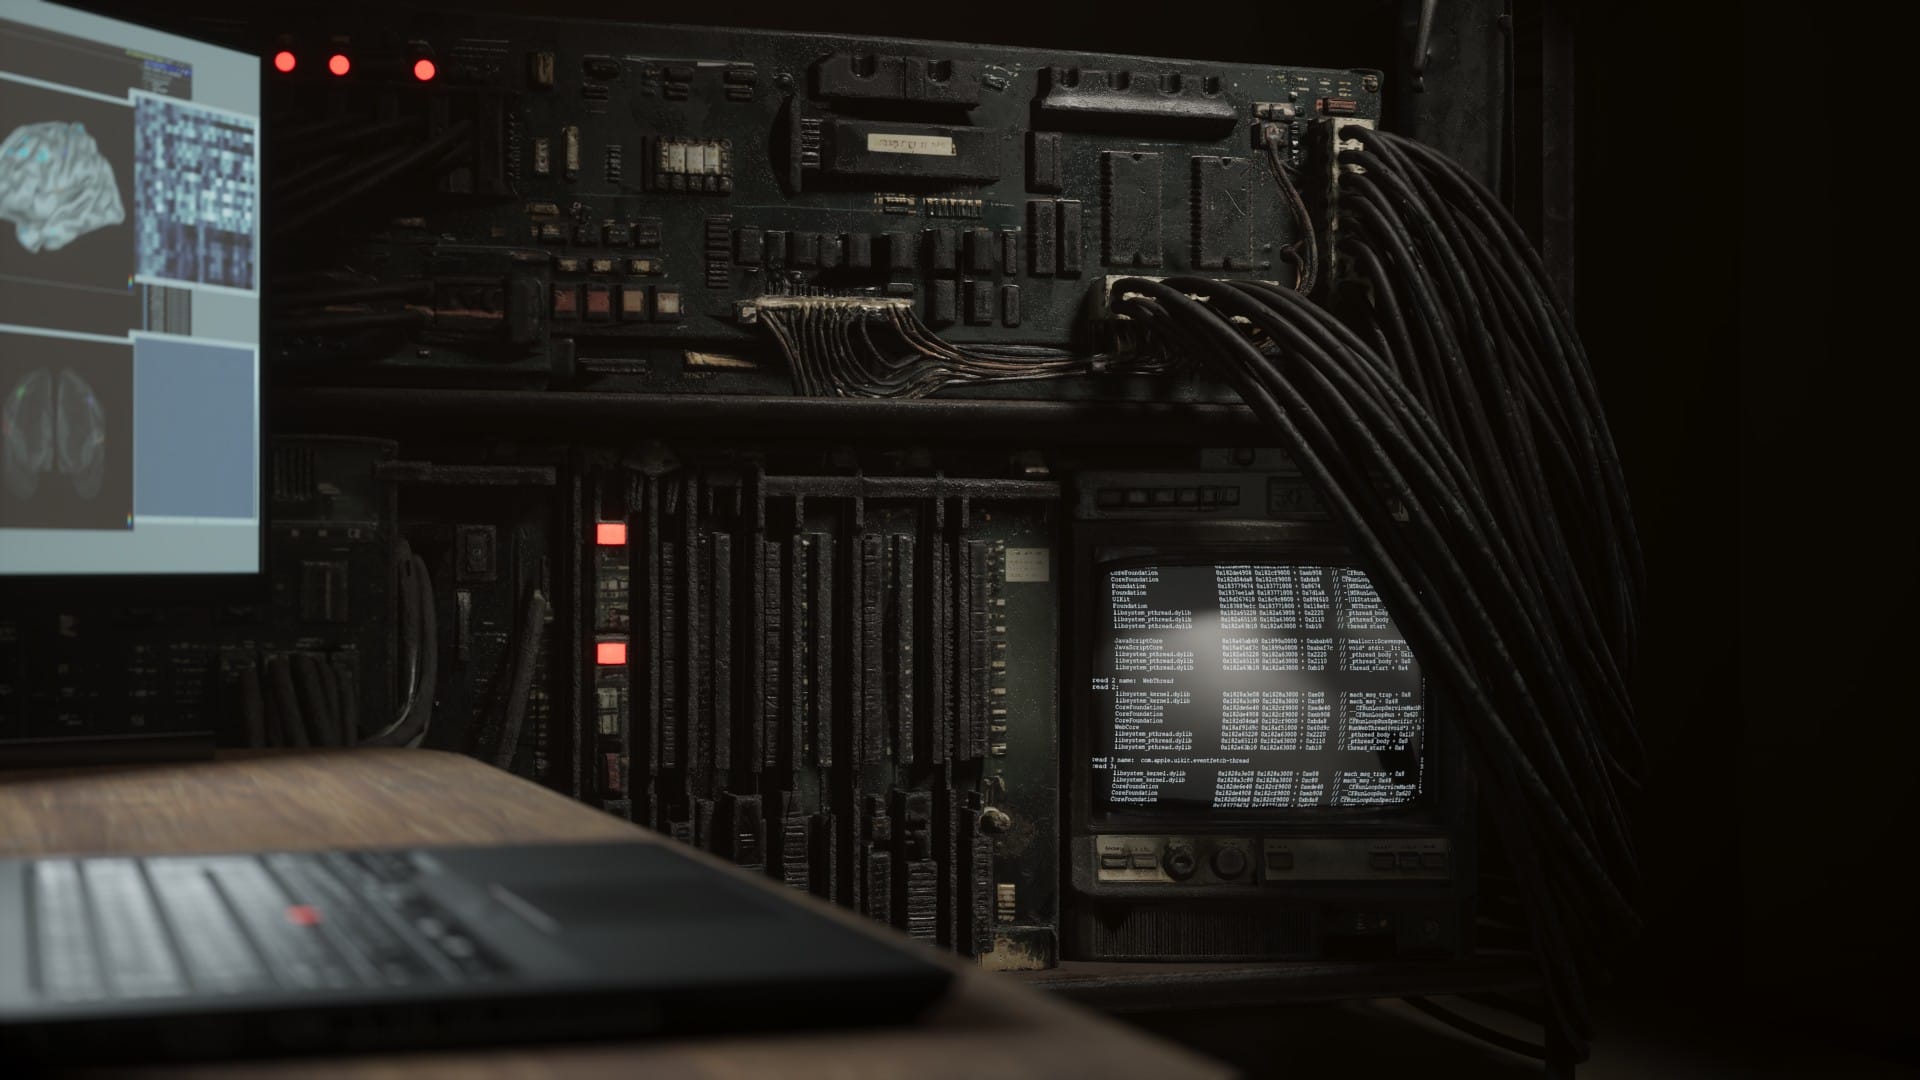
In Substance Painter, I again started with the color map from Hunyuan. After a bit of color correction, I added surface imperfections, mostly borrowed from a previous project. I again added an emissive channel, but didn't go as crazy with the tiny lights. The white monitor asset came with a cool image already on the screen, and I added one of my own to the black monitor on the bottom shelf.
Here is the Unreal Engine render again, with the new rack computer:
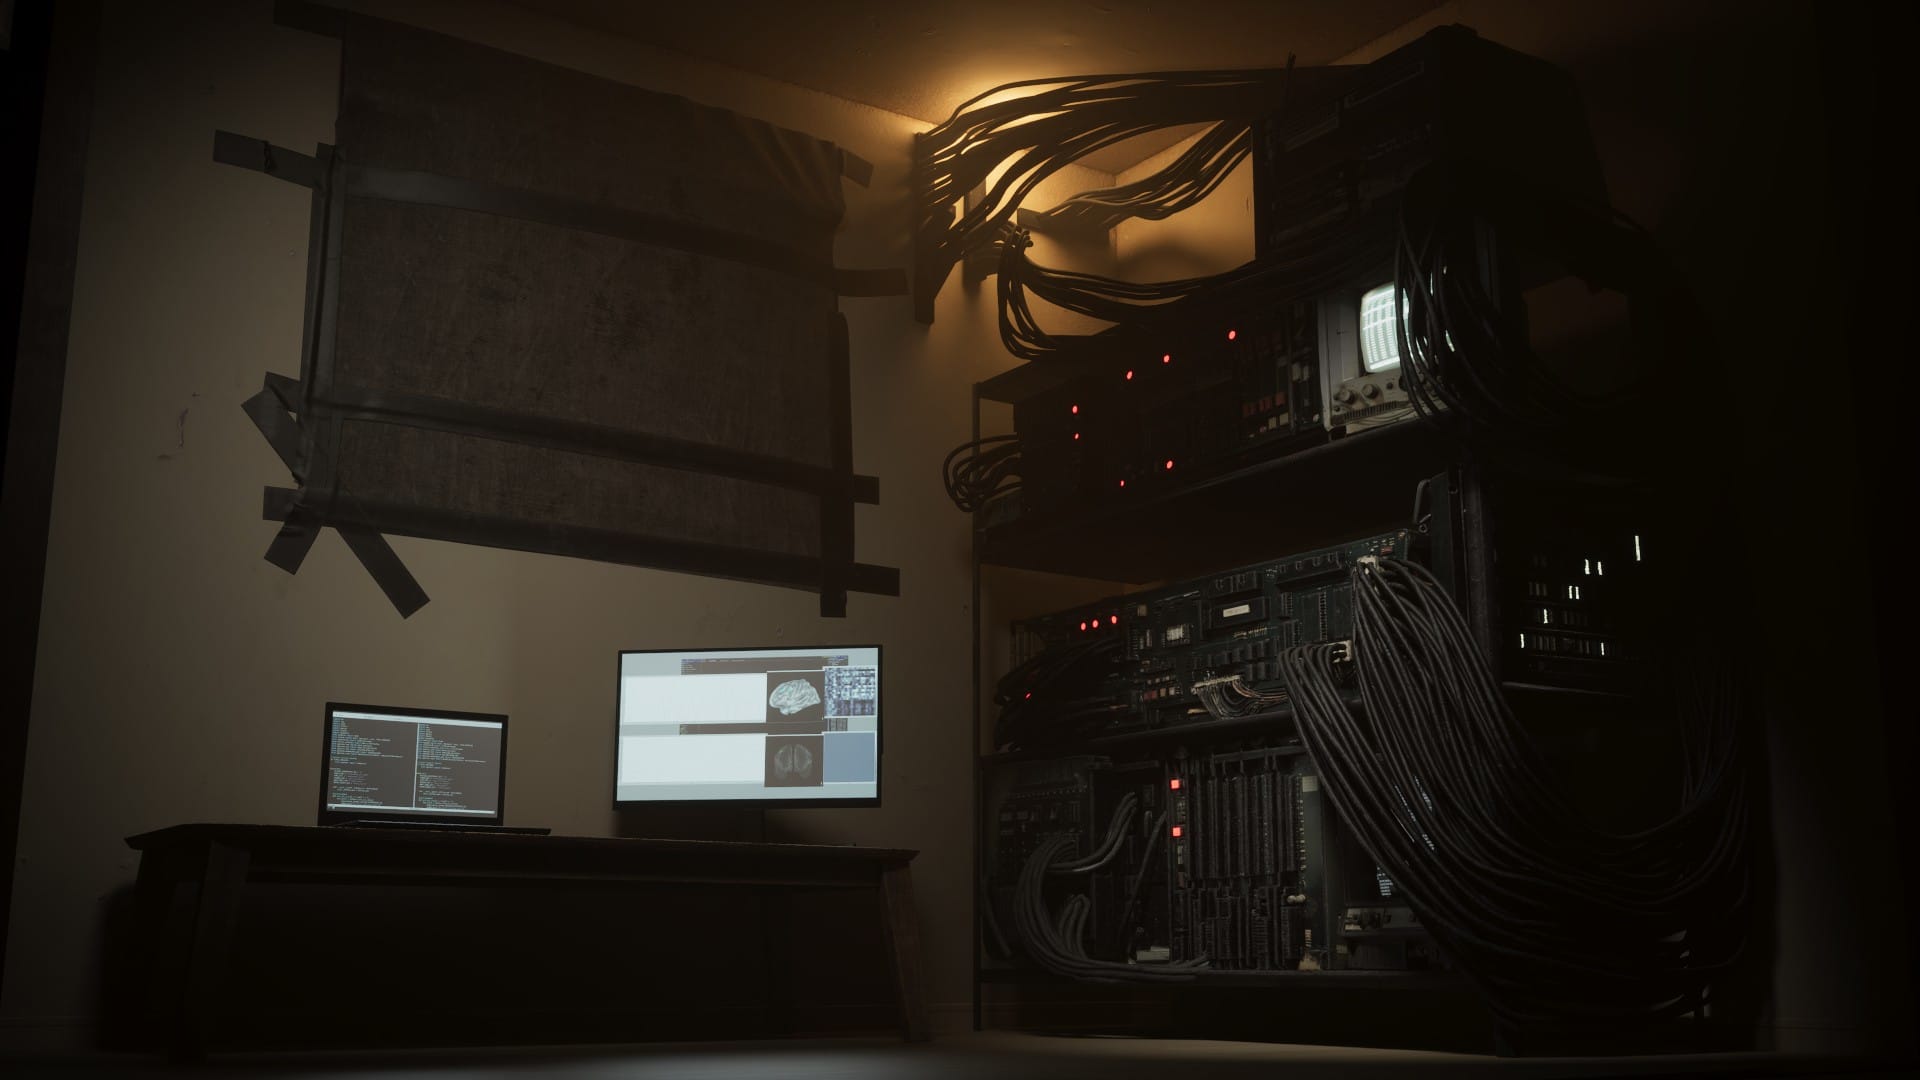
And a closer comparison of the lower half:
I still have adjustments to make. One idea is to use Substrate to create rough, damaged glass to cover the monitors.
This asset should be good enough for the promotional images. It will also probably serve as a placeholder through a lot of the production, but I think I will eventually replace it with a more carefully crafted model.