Screen Tests
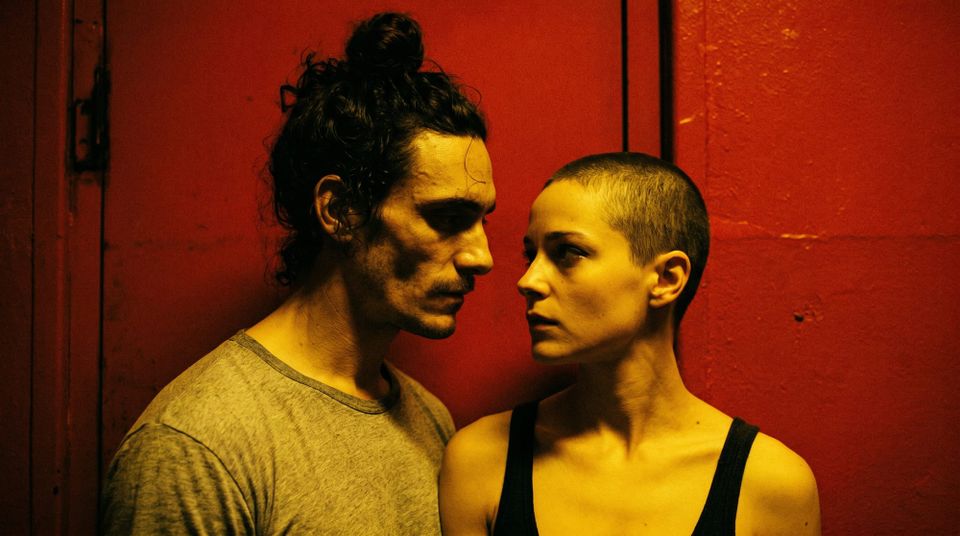
When I began exploring the option of using generative AI to make this movie, I carried over many of the design decisions I had made months ago, when I was working in Unreal Engine: the apartment set layout, the look of the characters, a storyboard for every shot... My last article told the story of how I gave up on recreating the original design of the apartment and the characters.
To summarize, I'm finding it difficult to use gen-AI to make images that are both specific and beautiful. Midjourney can make beautiful images, but only loosely follows my instructions (if at all). Nano Banana Pro (NBP) and GPT Image 2 stick closer to the literal wording of my prompts, but their outputs are consistently bland. The obvious strategy would be to start with a Midjourney image and edit it with one of the other models, but repeated edits degrade the aesthetics. My current working philosophy is that a particular image can handle only 2-3 edits before it loses its punch.
The upshot is that it's infeasible to endlessly prompt these models until I get an output that matches the set and the characters I originally envisioned. Instead, I'll have to prospect for Midjourney's best-looking outputs, give them a couple nudges with Nano Banana Pro, and move on. So, I've retired the apartment I built in Blender and the characters I built in MetaHuman Creator.
Still, I had the 150-ish storyboards I created in Unreal Engine and I hoped to preserve their framing as closely as possible. The characters, the set, and the props might all look different, but I could at least position them in the shot exactly as I'd planned, right? Well, this article is about how I had to give up on that, too. Although, to be honest, I don't see this as much of a setback. The storyboards are still helpful, and in the process of creating them I strengthened my mental model of the movie, which is invaluable.
Despite their drawbacks, the fact is that gen-AI tools have finally given me a path toward manifesting these characters and their story. Before, working purely in 3D, I felt I was near the limit of what I could accomplish as an amateur, solo creator. Trying to animate a rigged 3D character to feel human is counter-intuitive and painstaking. Hands, faces, eyes, hair, clothes... the crucial details and micro-movements are near endless, and if they don't add up perfectly, any viewer will sense the uncanniness. With AI image and video models, those details come for free. I feel like I've floated up from the technical depths, closer to the surface, where I'm more able to operate like a writer and director.
A Long-Shot and a Close-Up
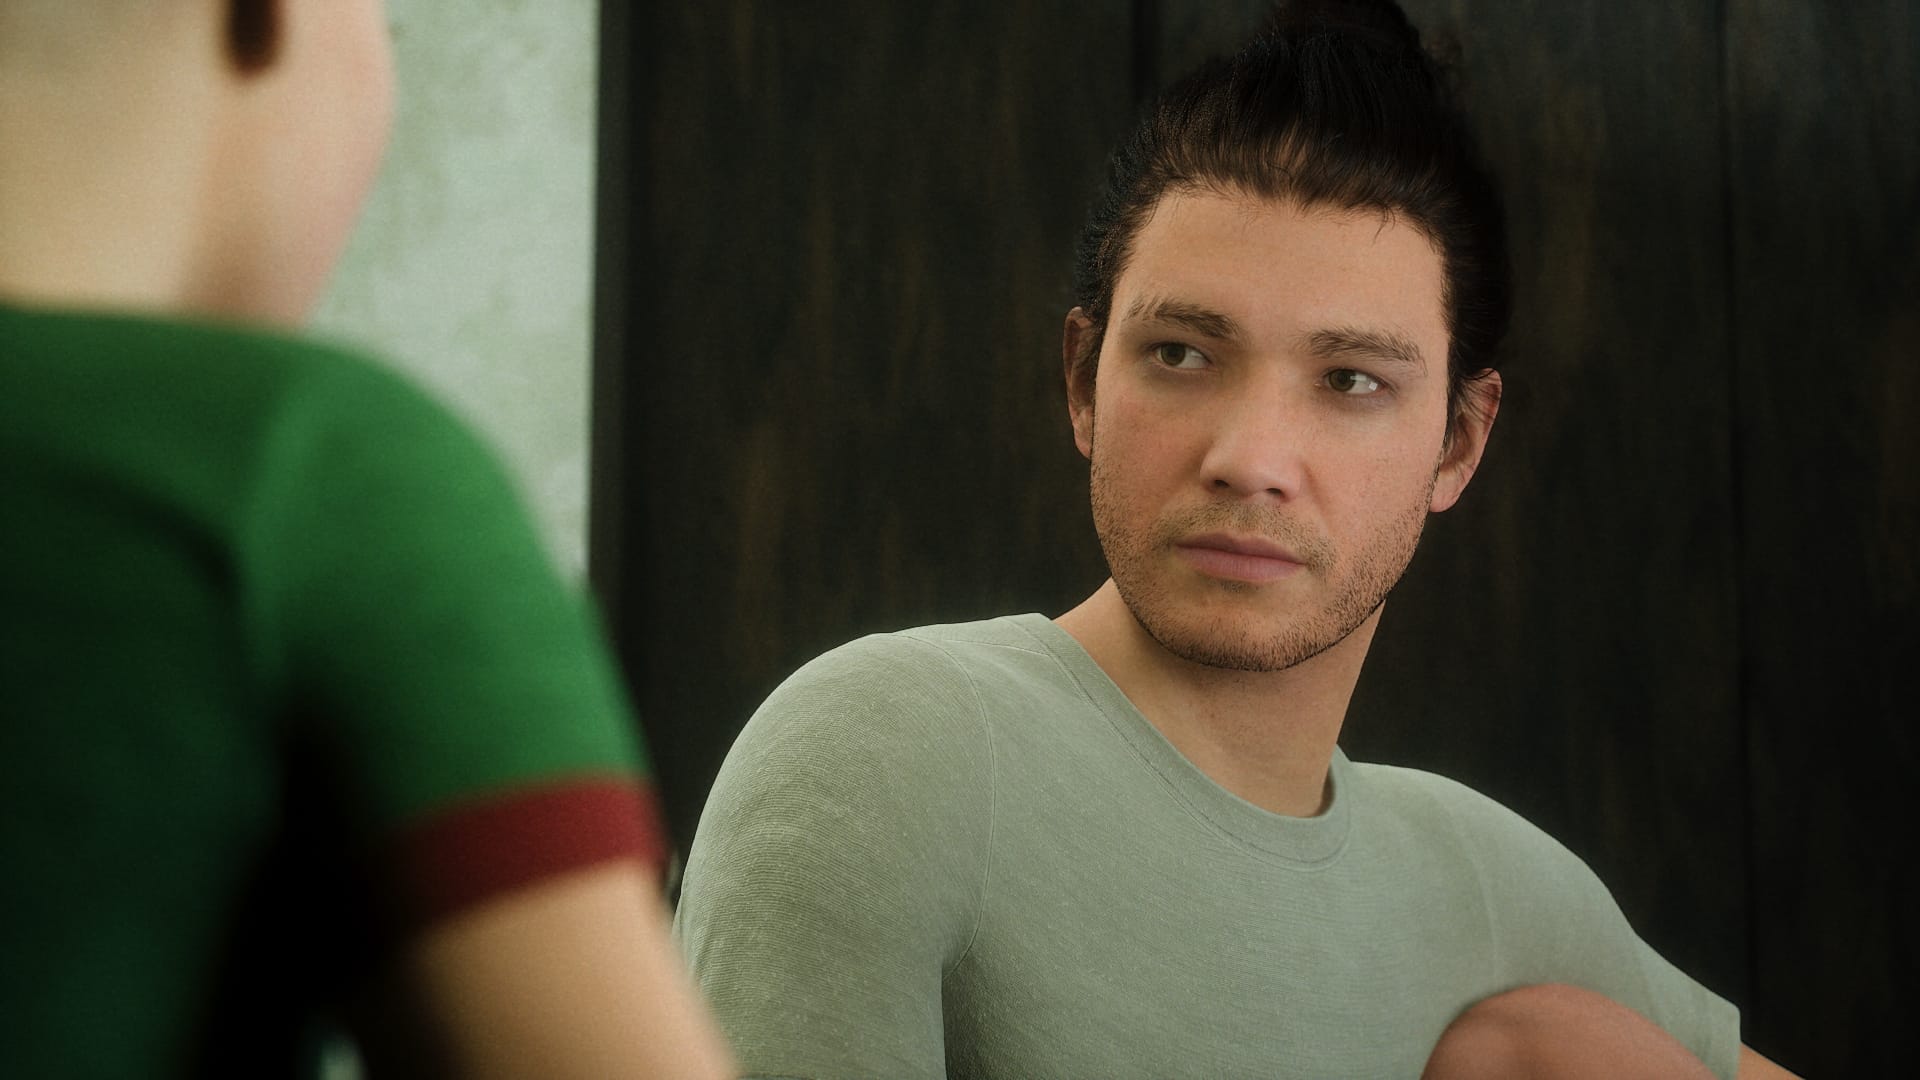
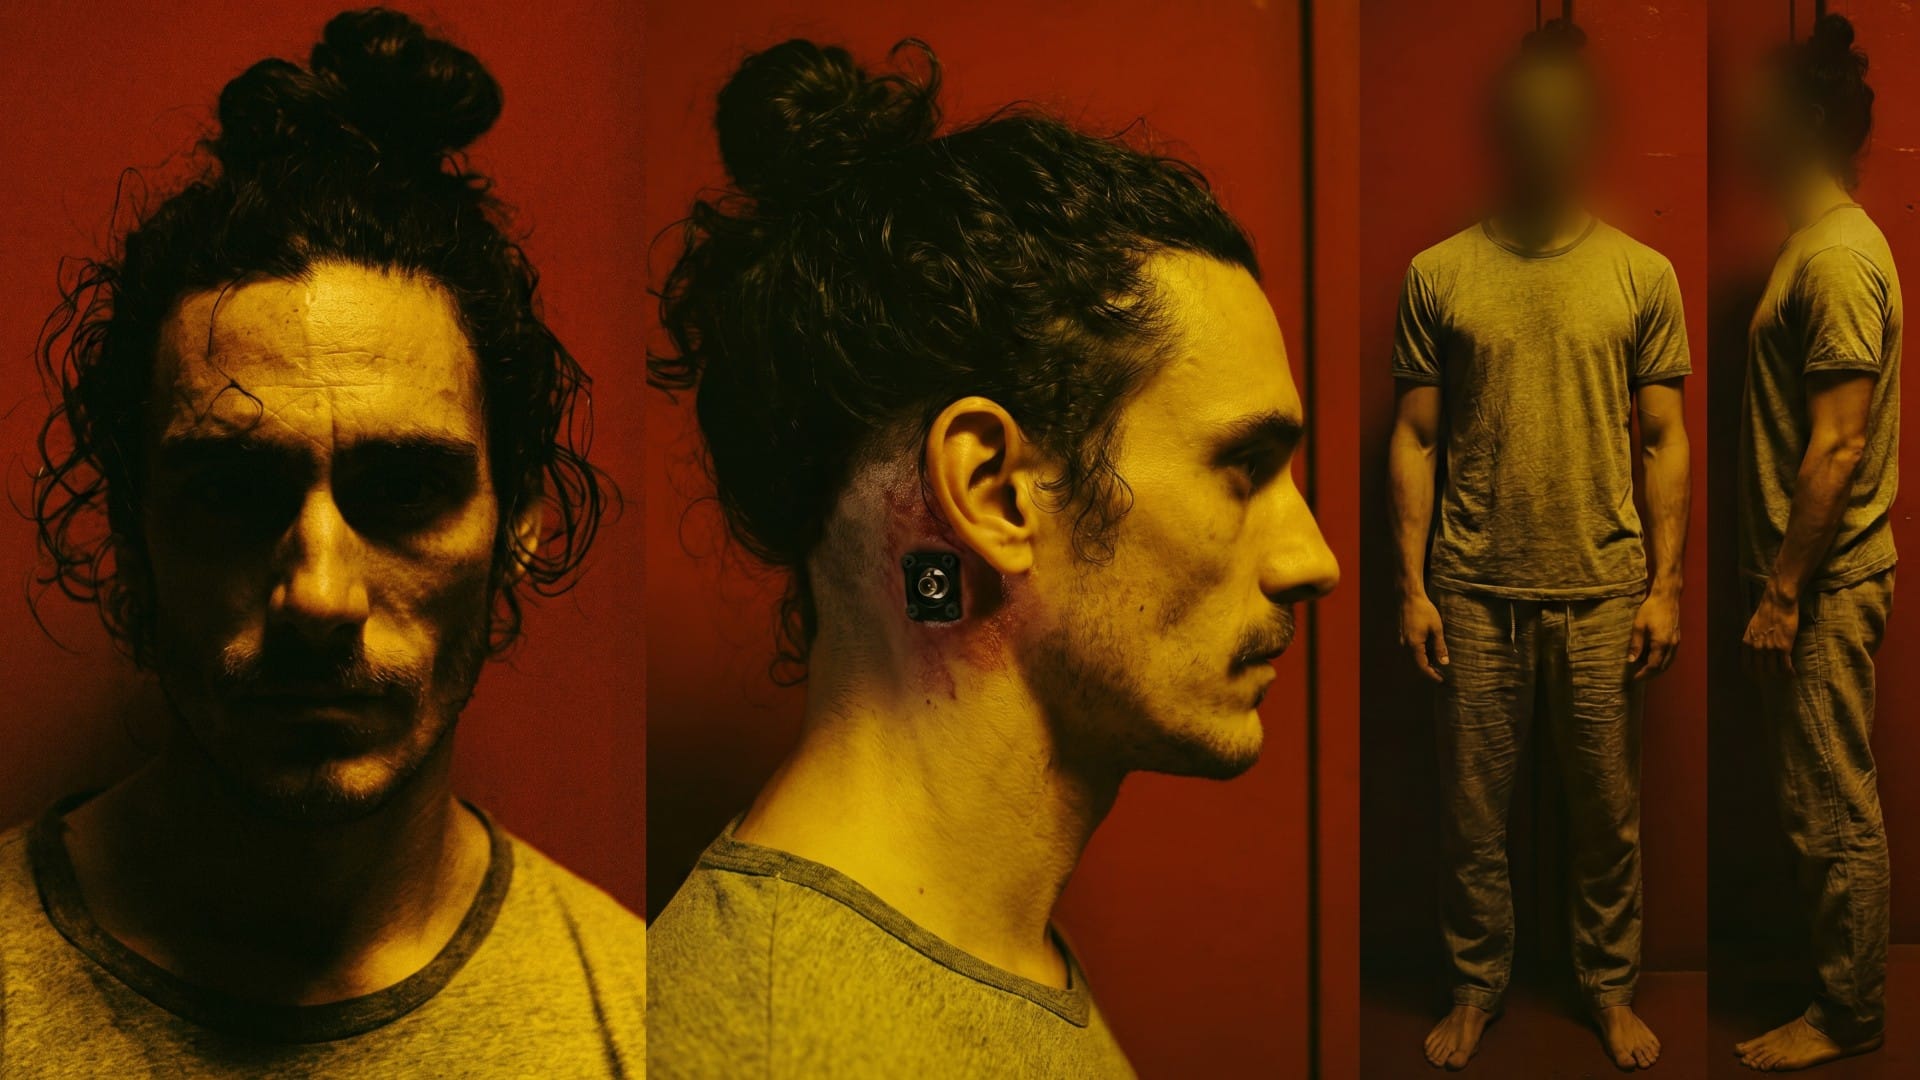
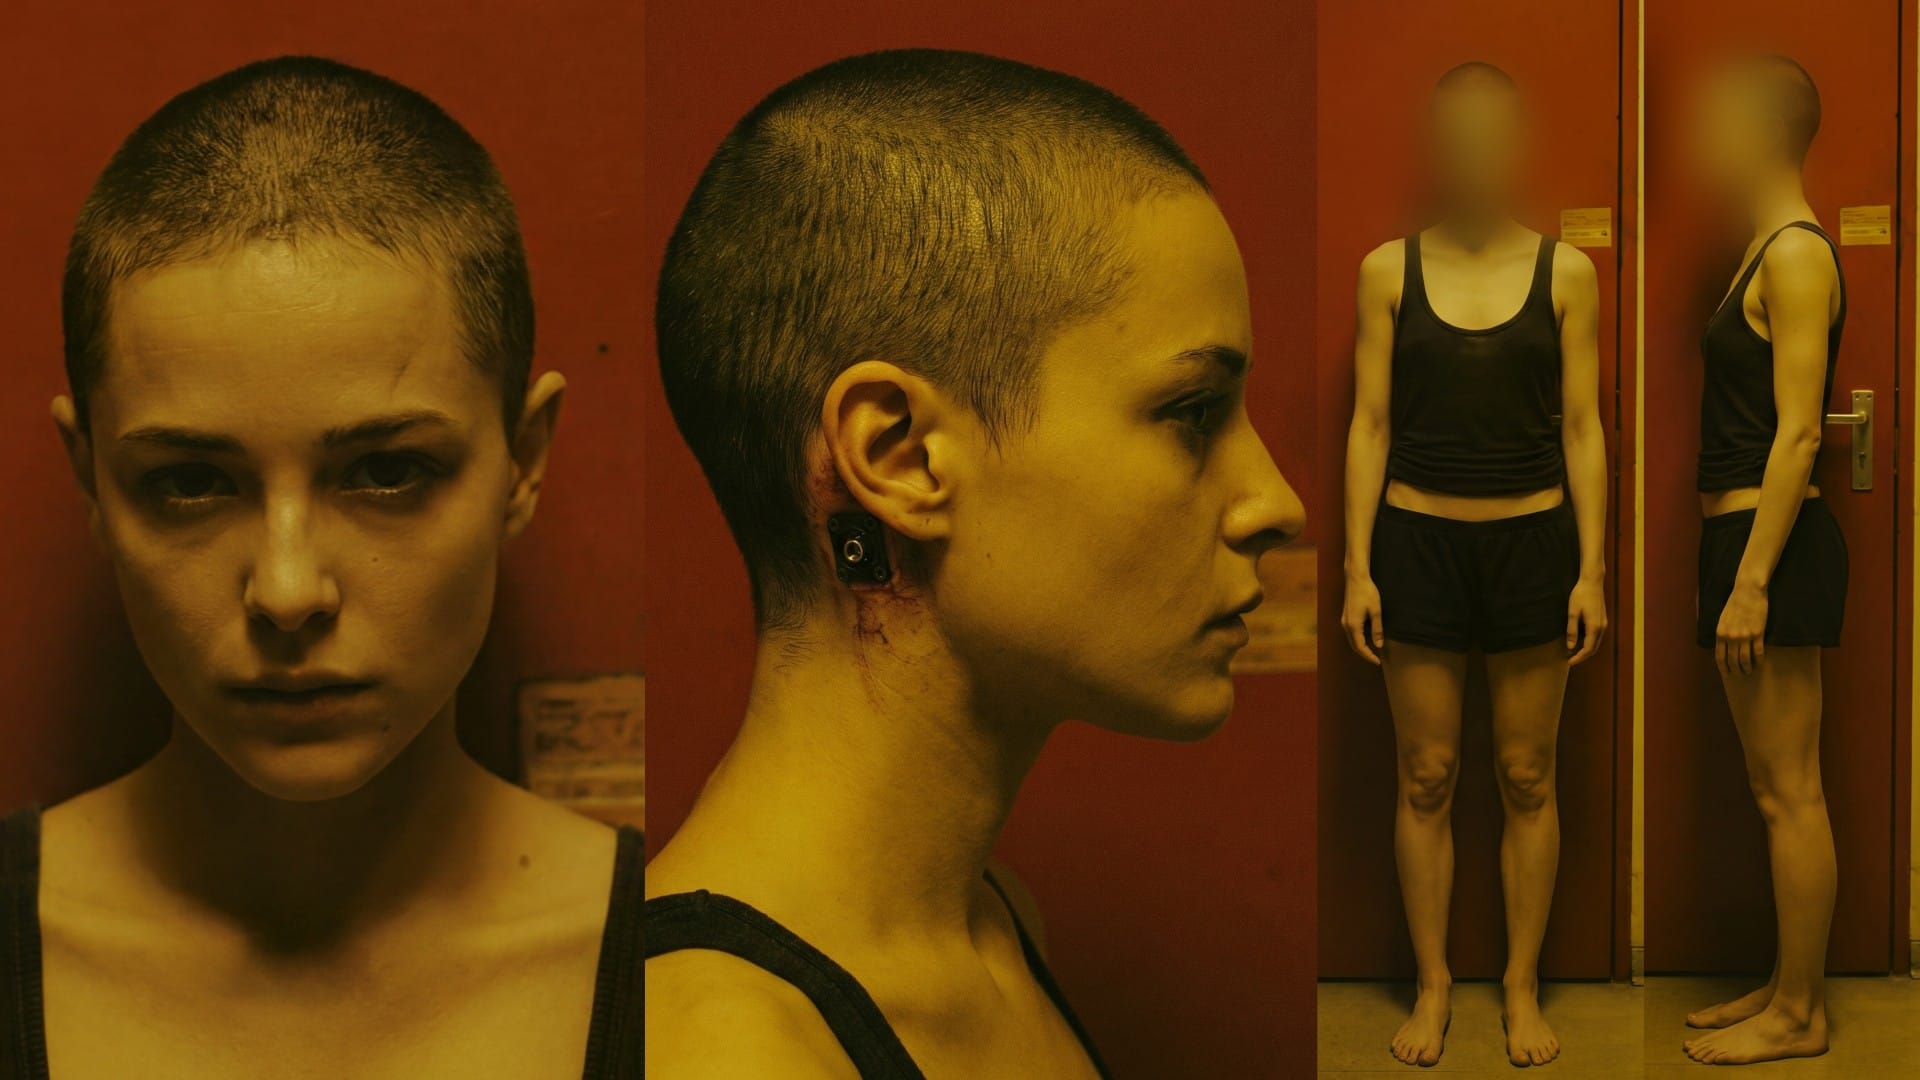
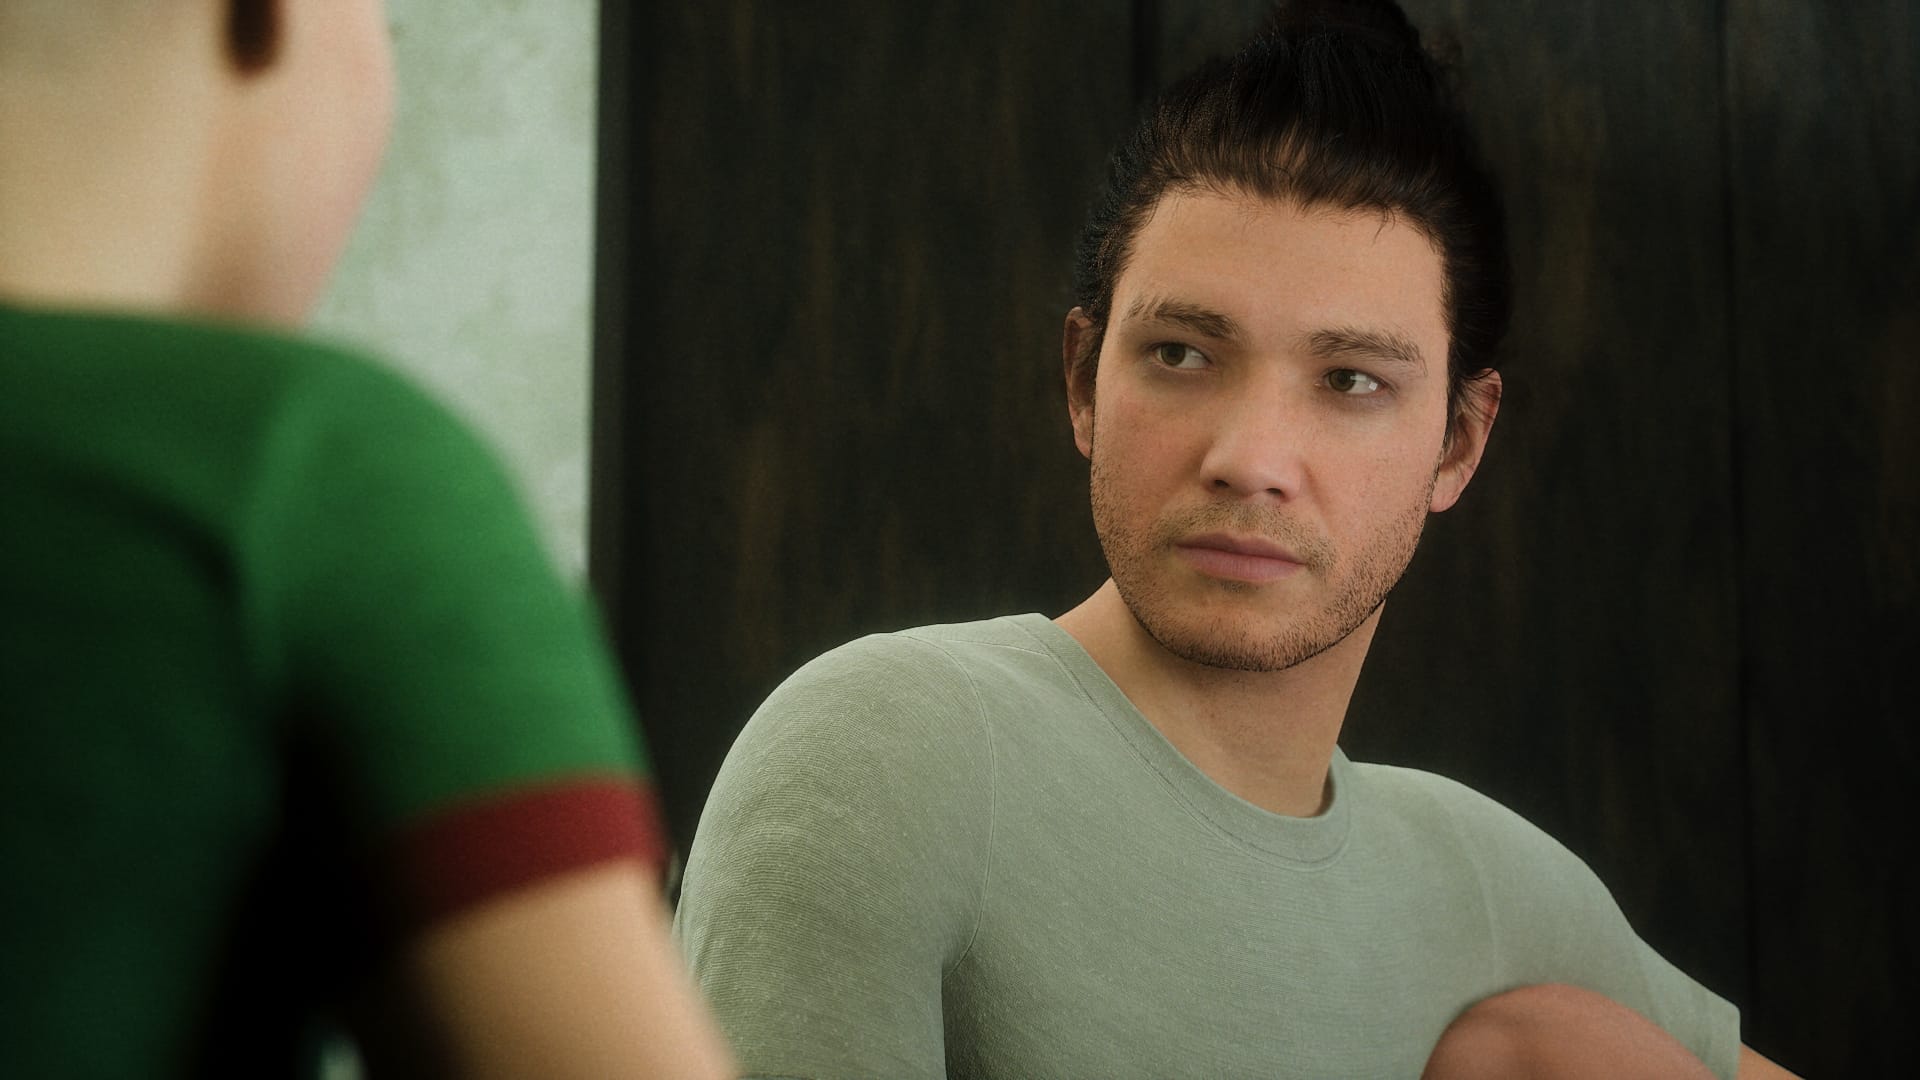
These are the new character sheets I'm working with, for Aneta and Anders:
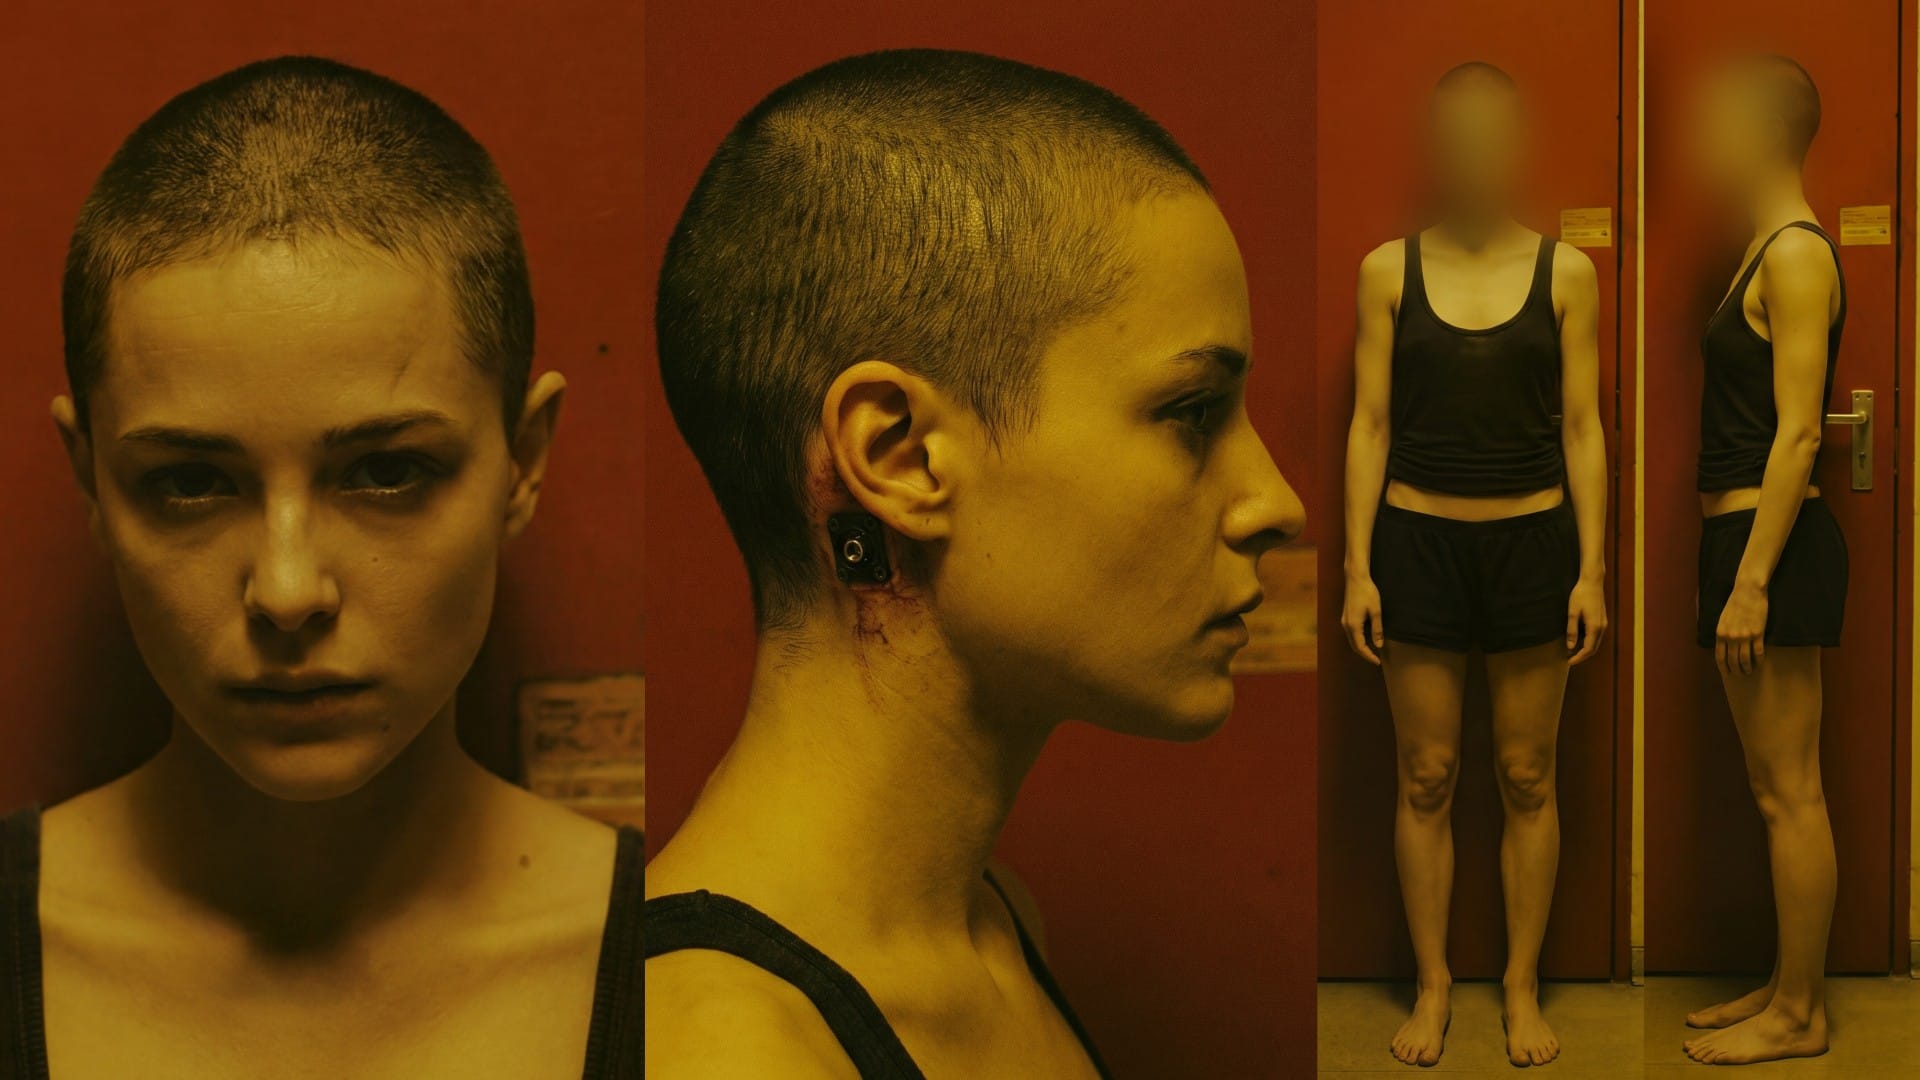
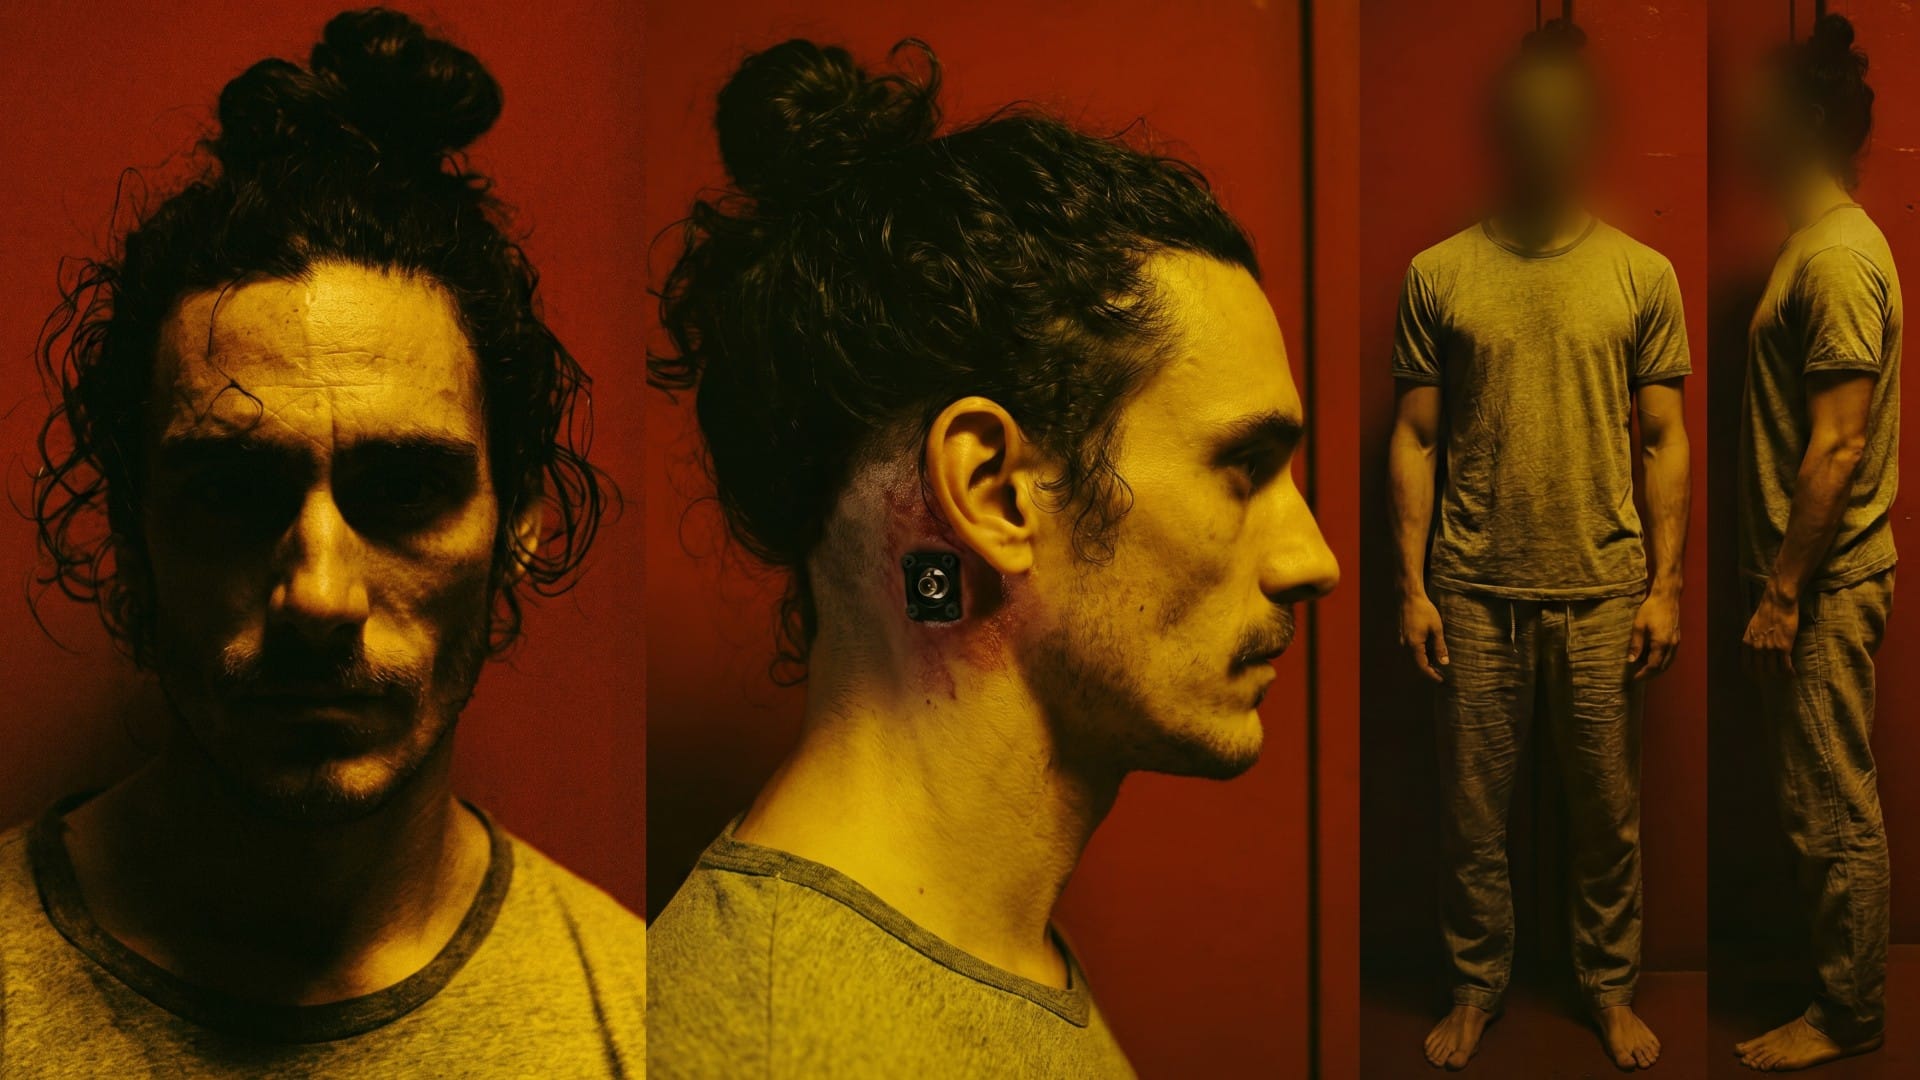
I made them with the same broad strategy I described above: I started with a Midjourney output and edited it with NBP, limiting myself to only a couple edits per image.
My first goal was to recreate a short segment of a scene from the movie. This segment had thirteen storyboards total. Here are the first four:
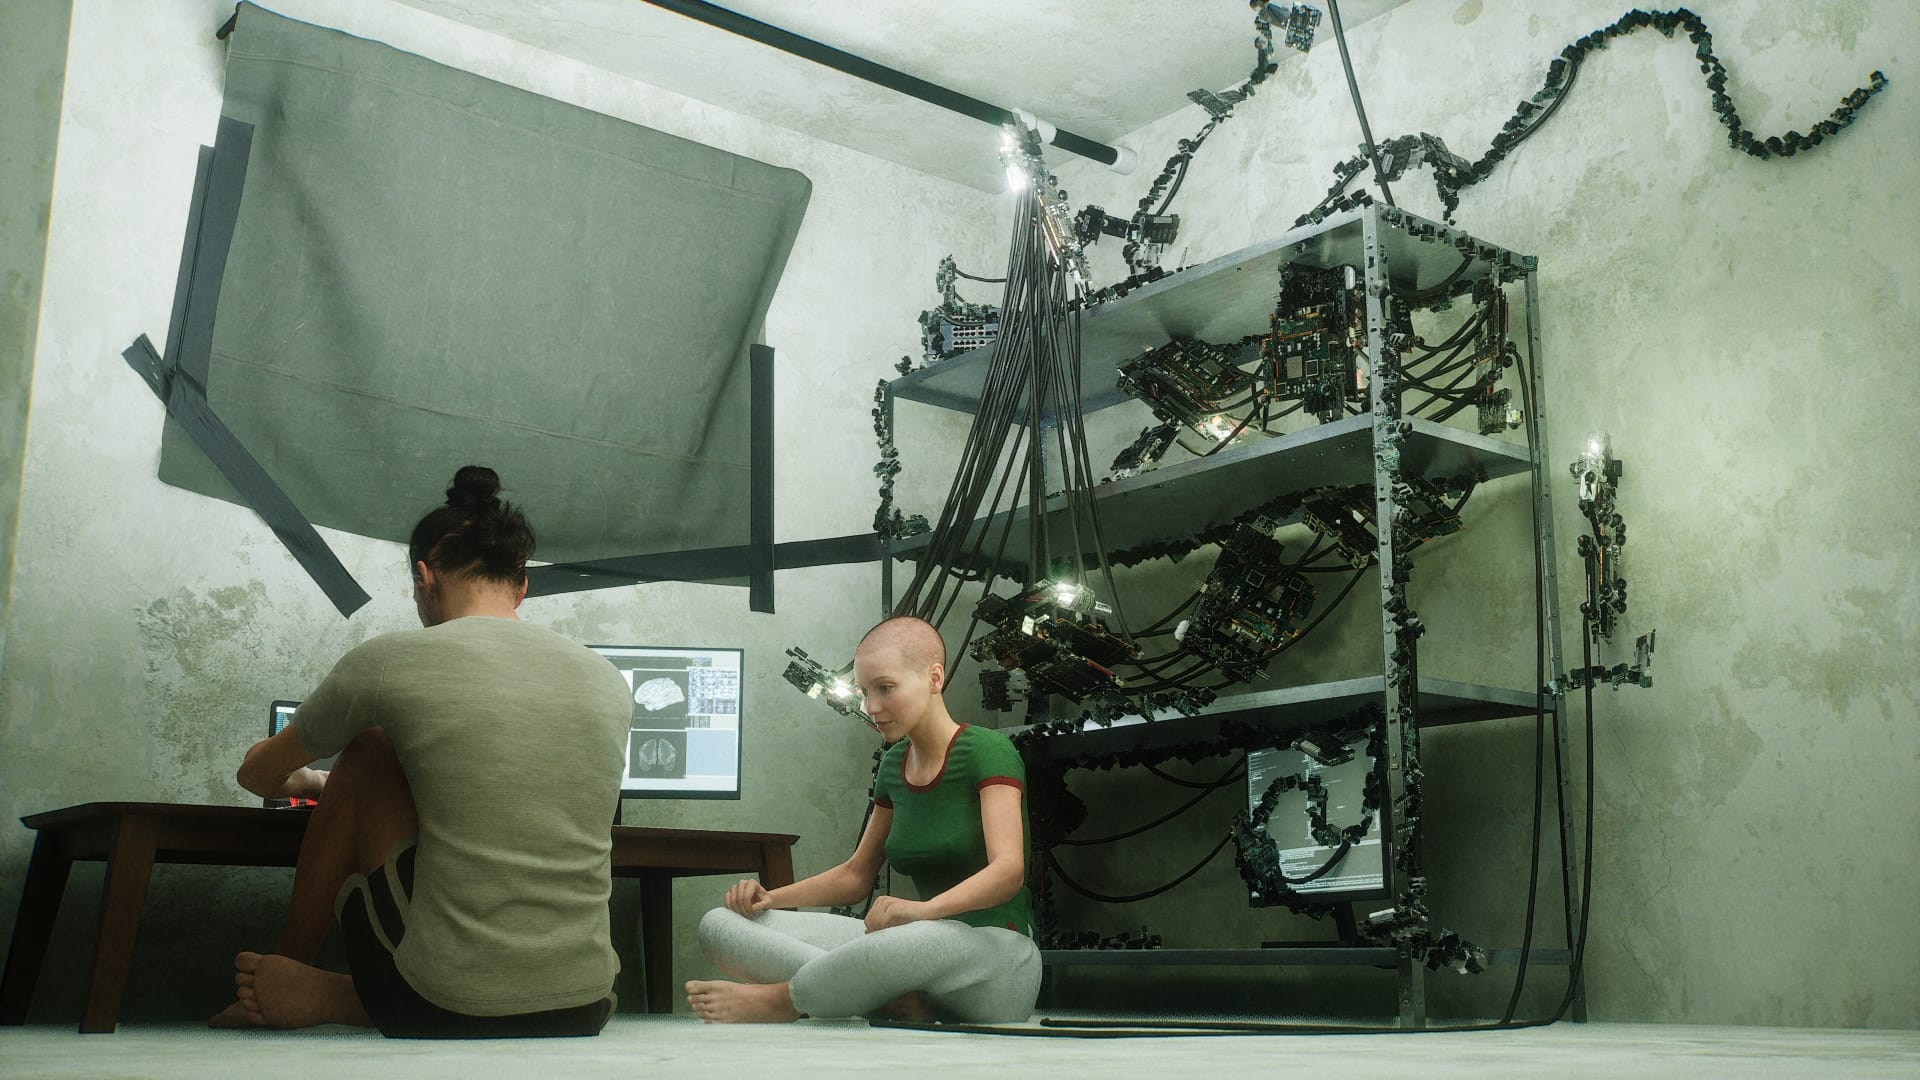
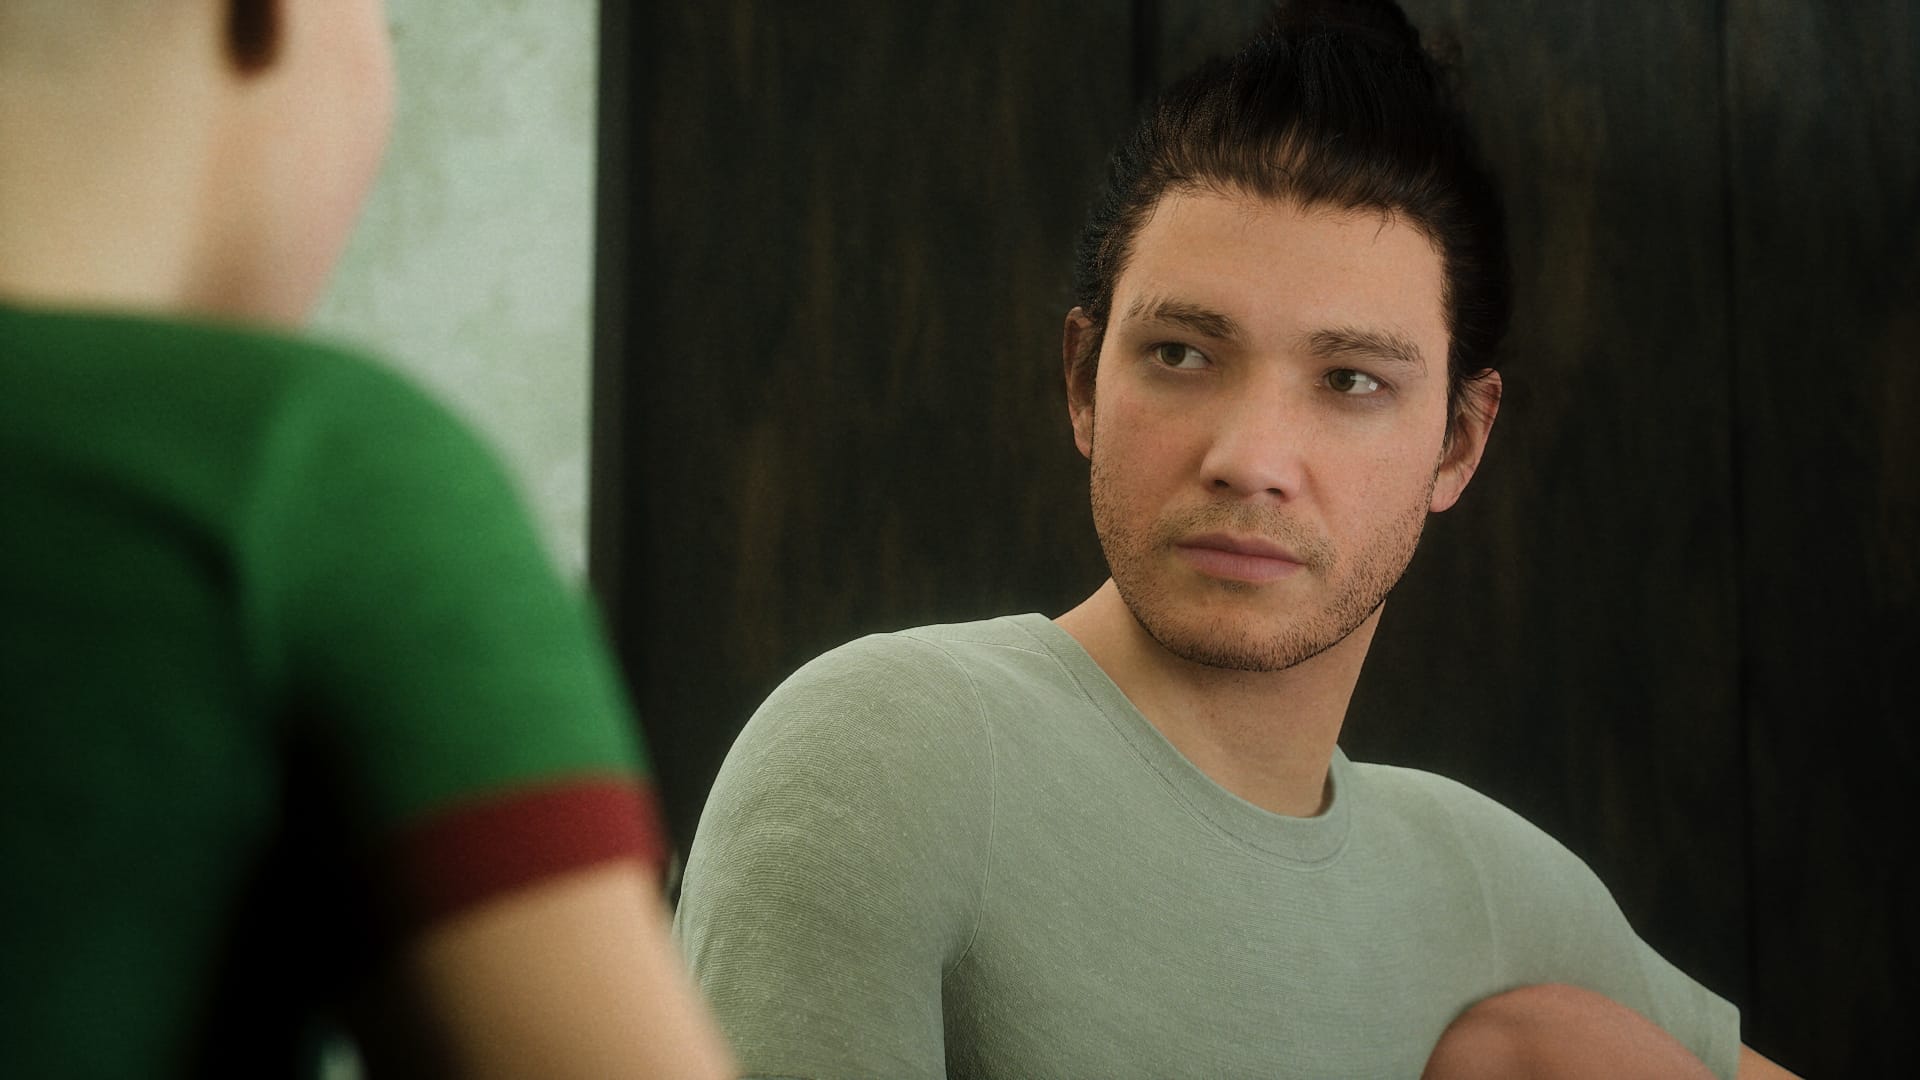
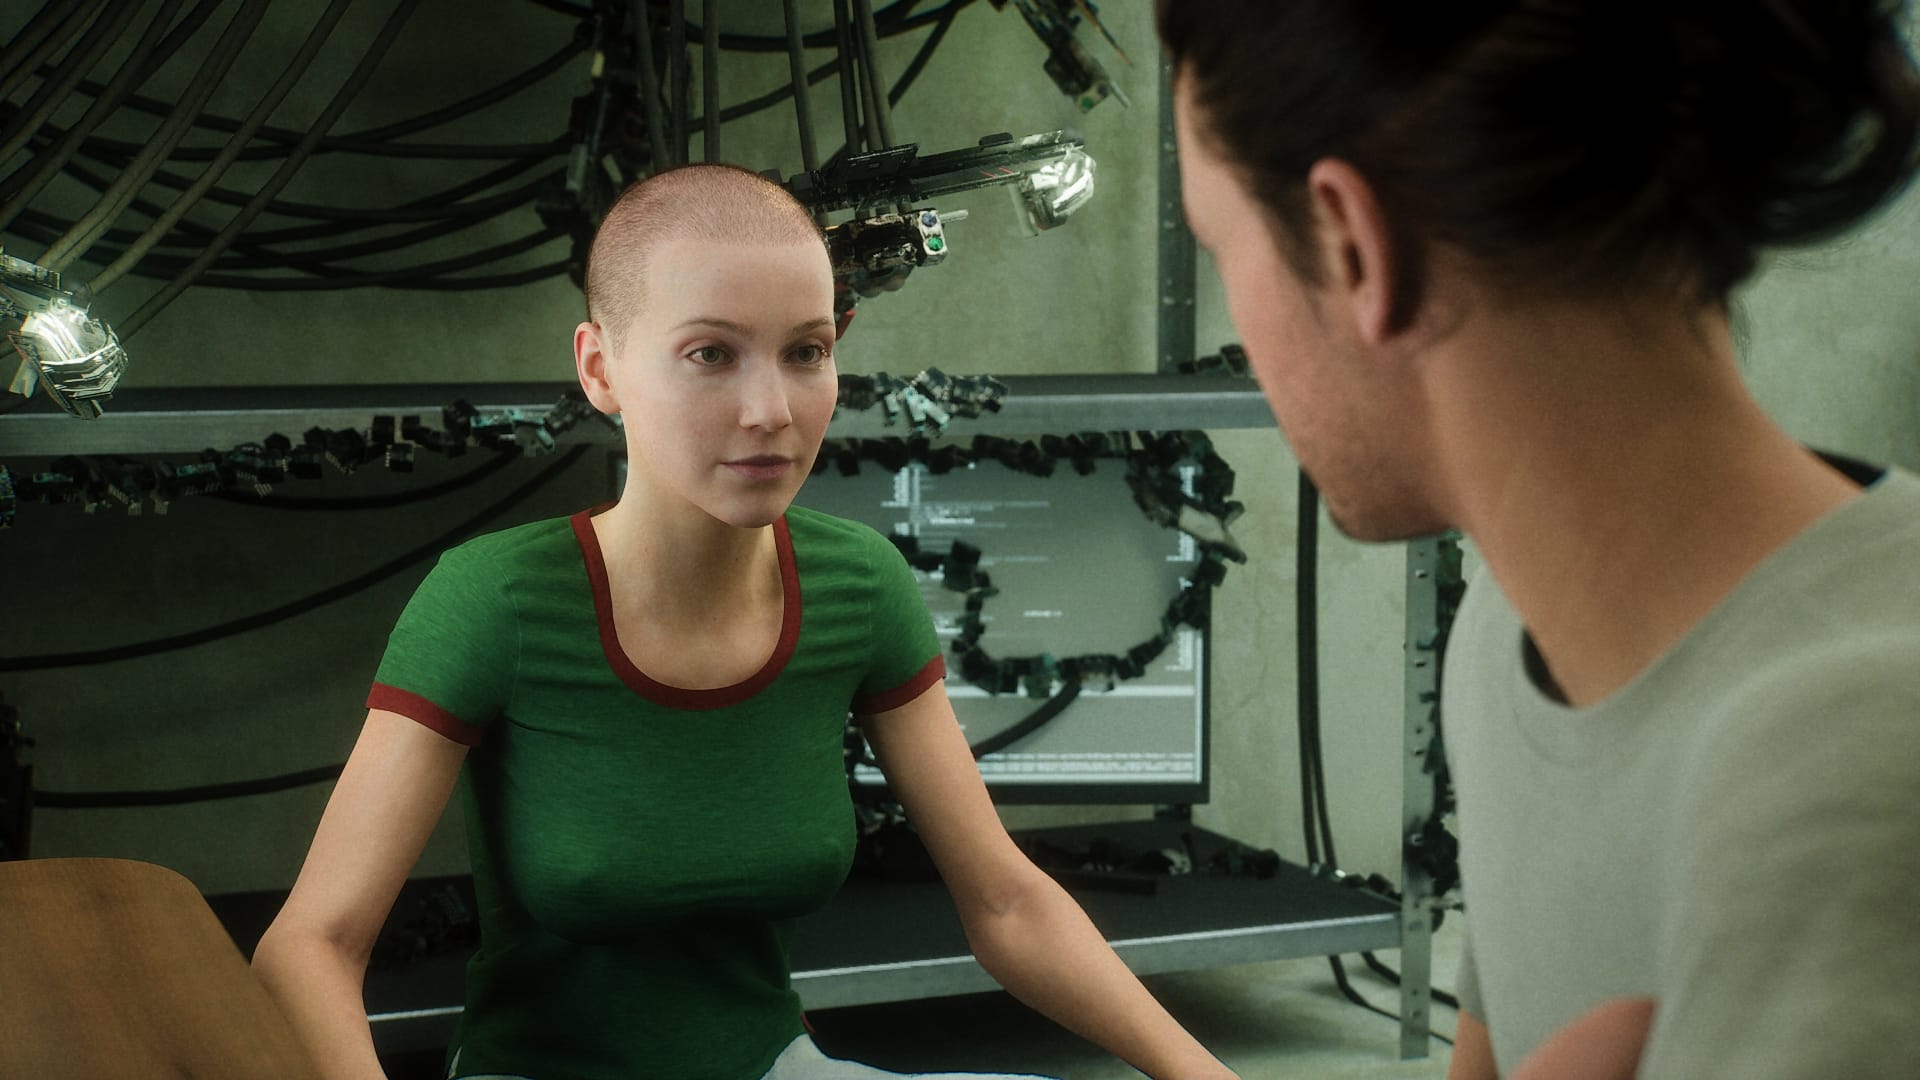
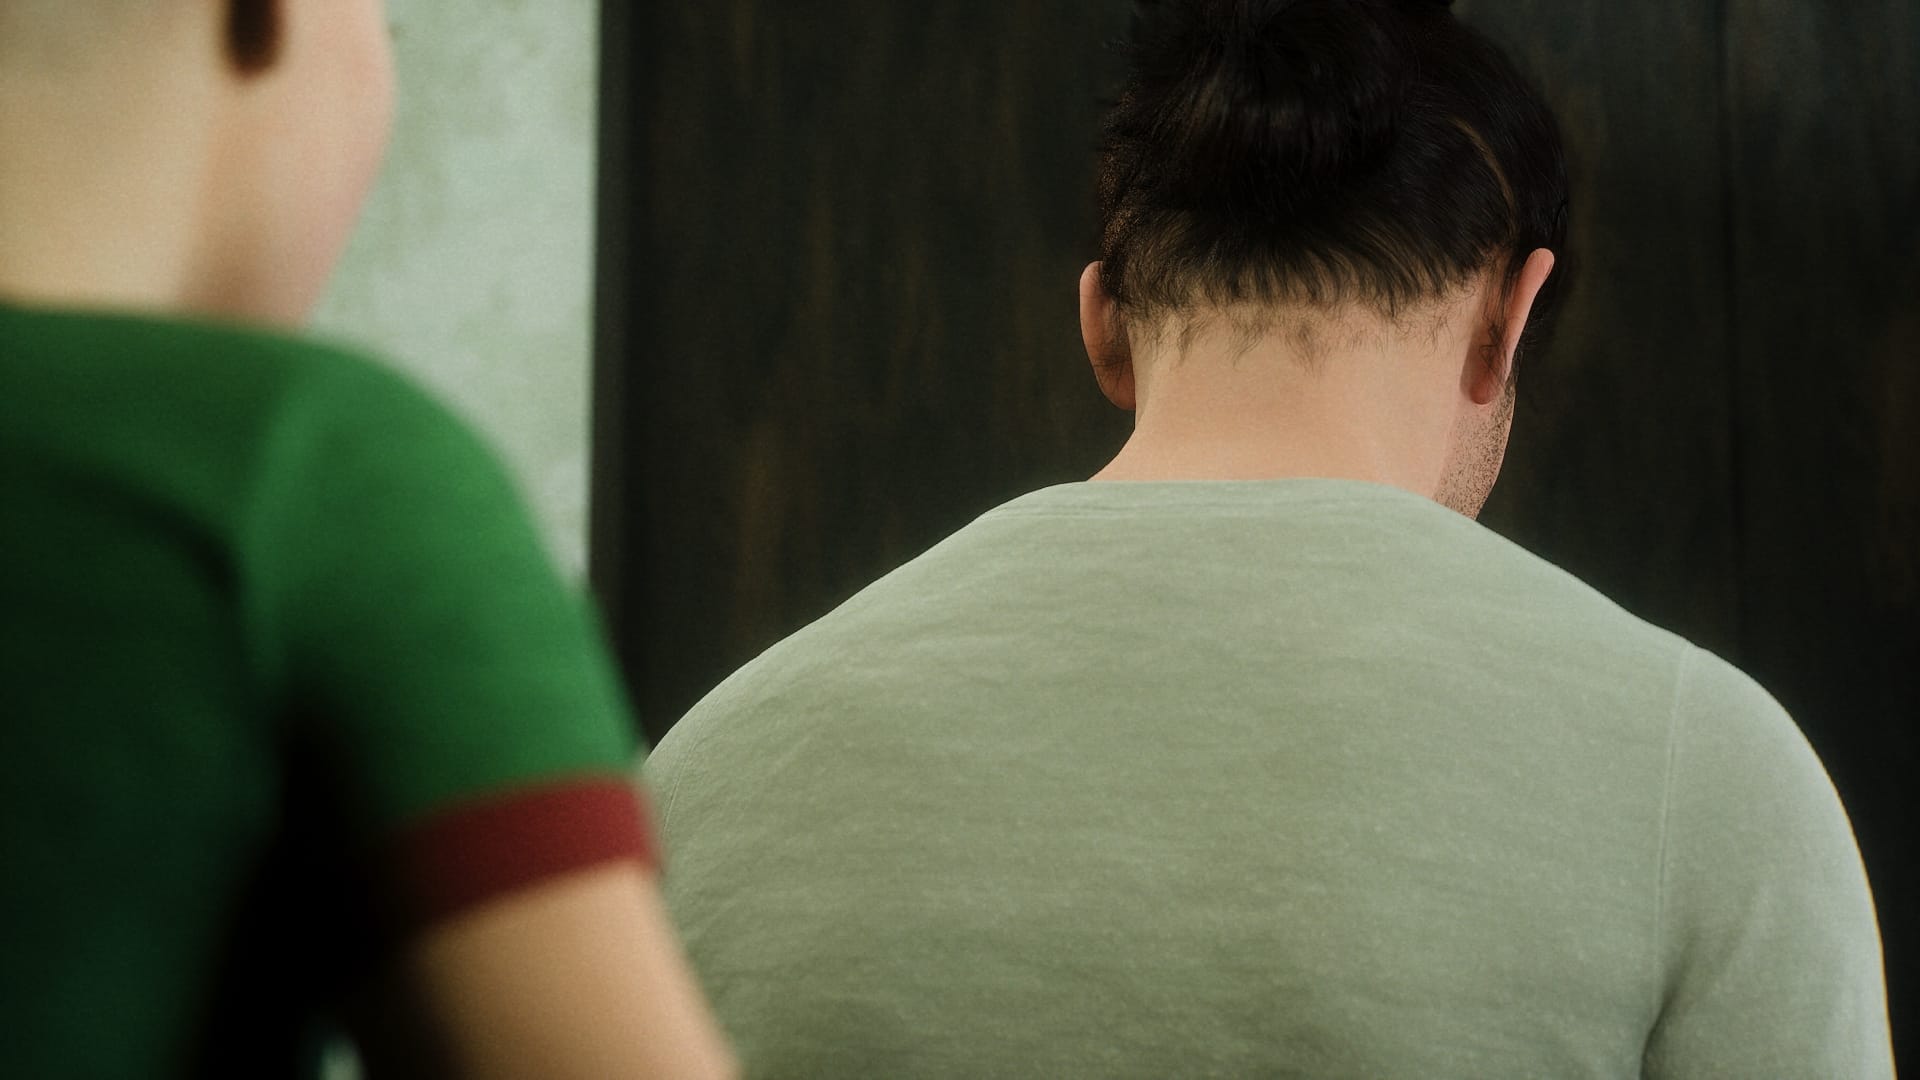
I aimed to recreate each storyboard using the new characters, while matching the shot composition as closely as possible. I would then use those images as a reference to prompt an AI video model to create the animated shots.
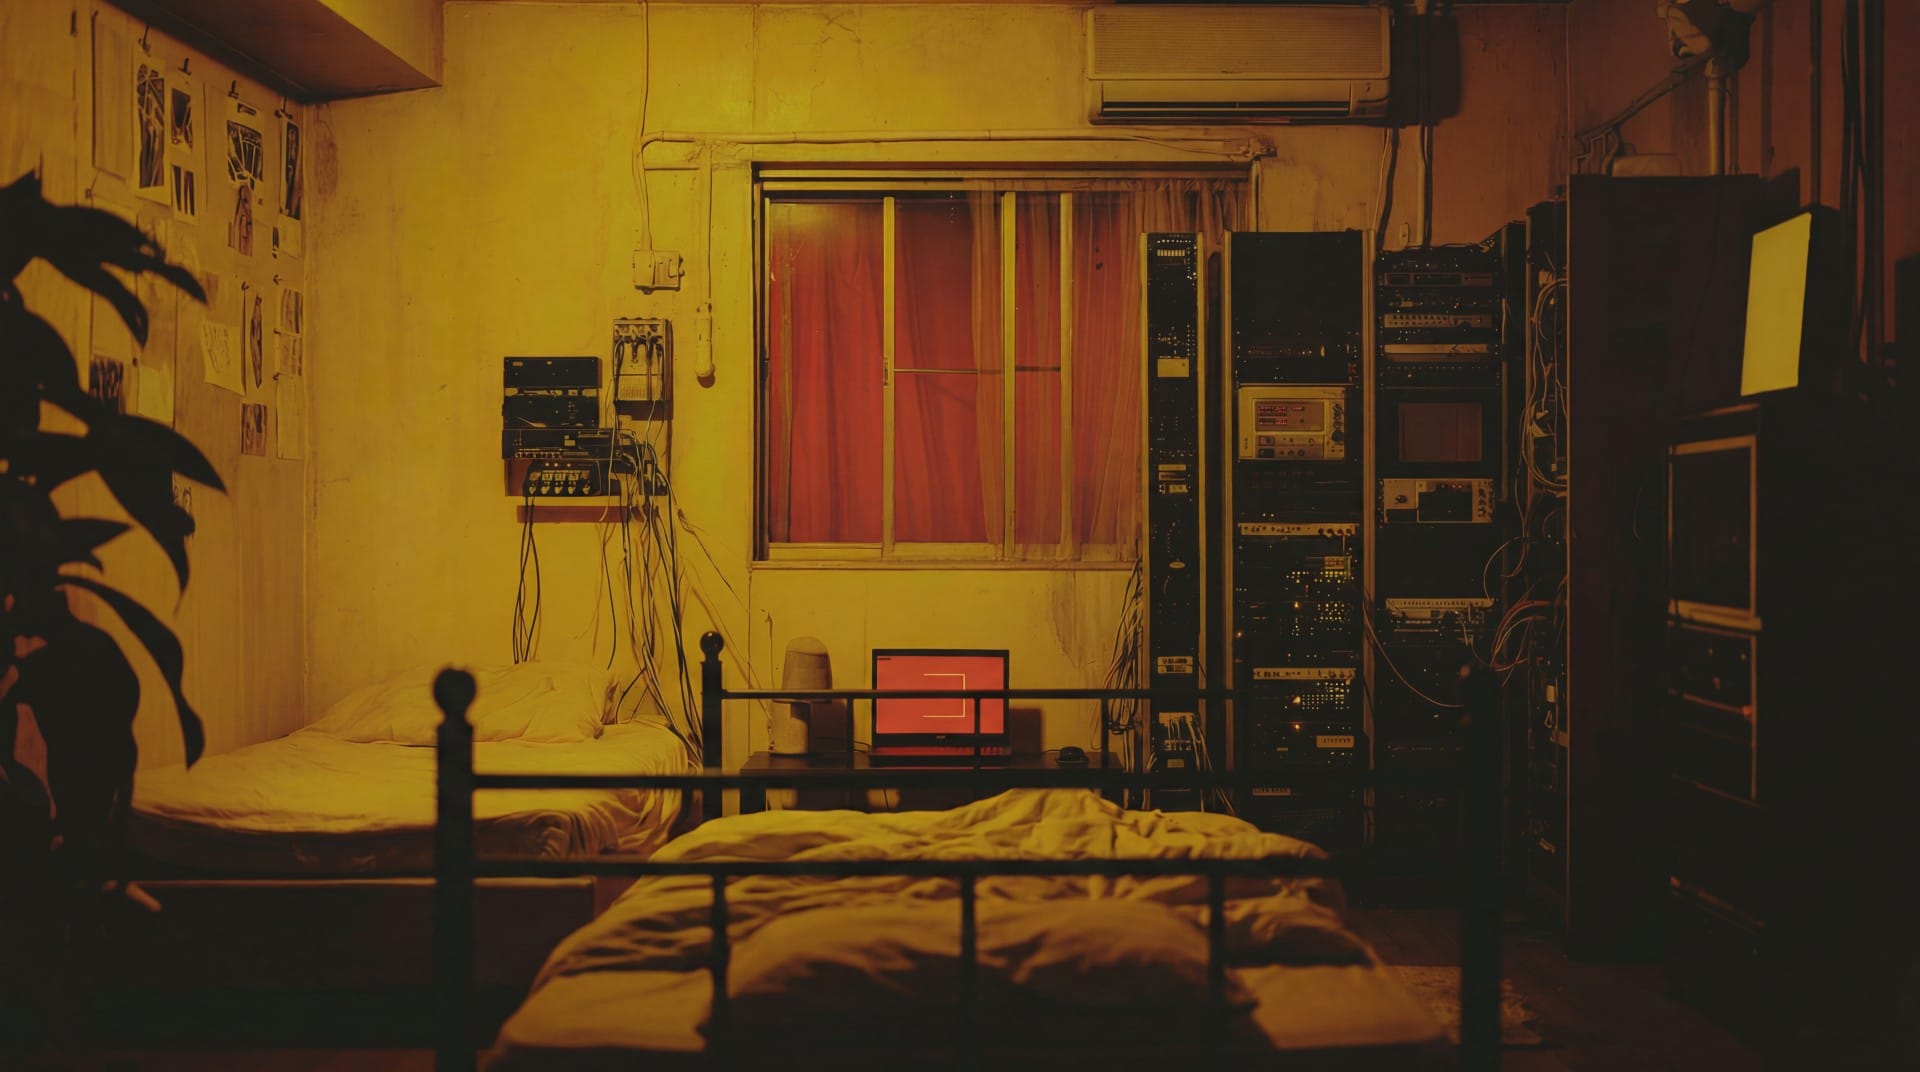
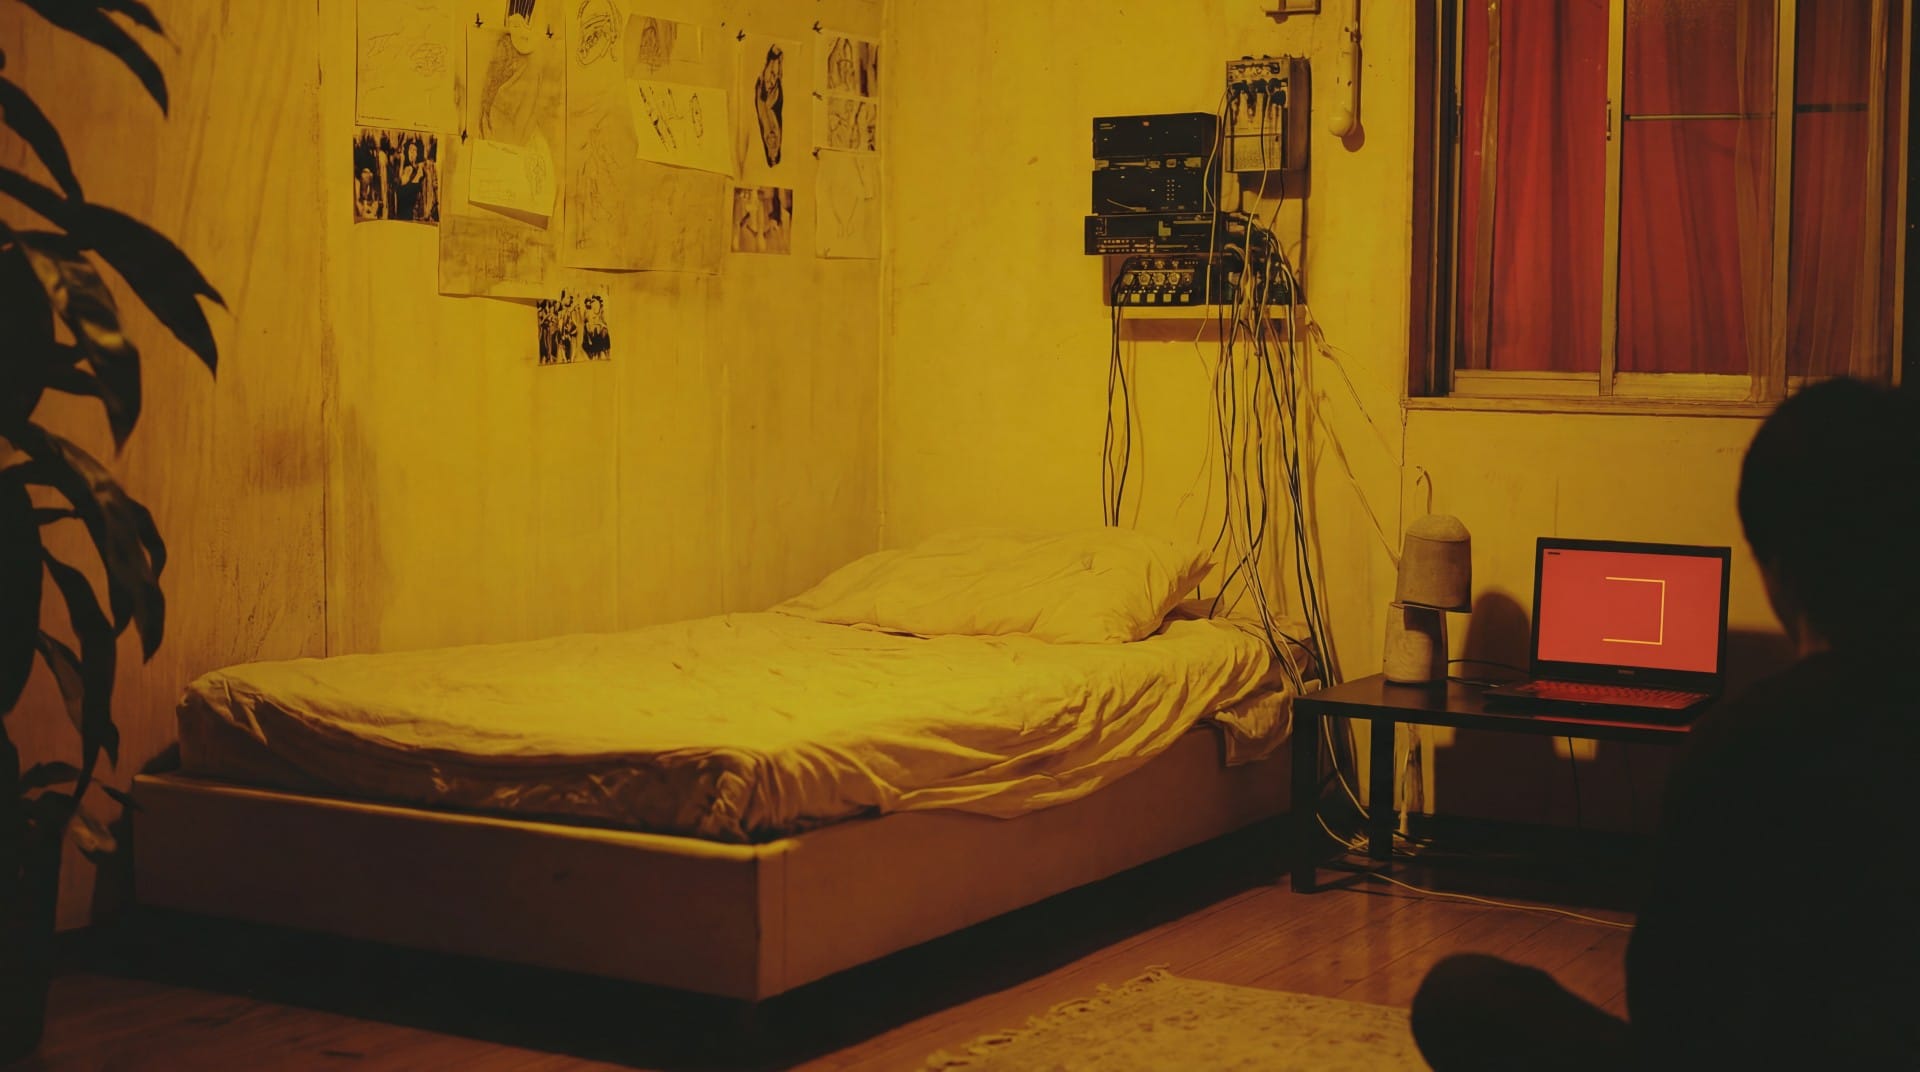
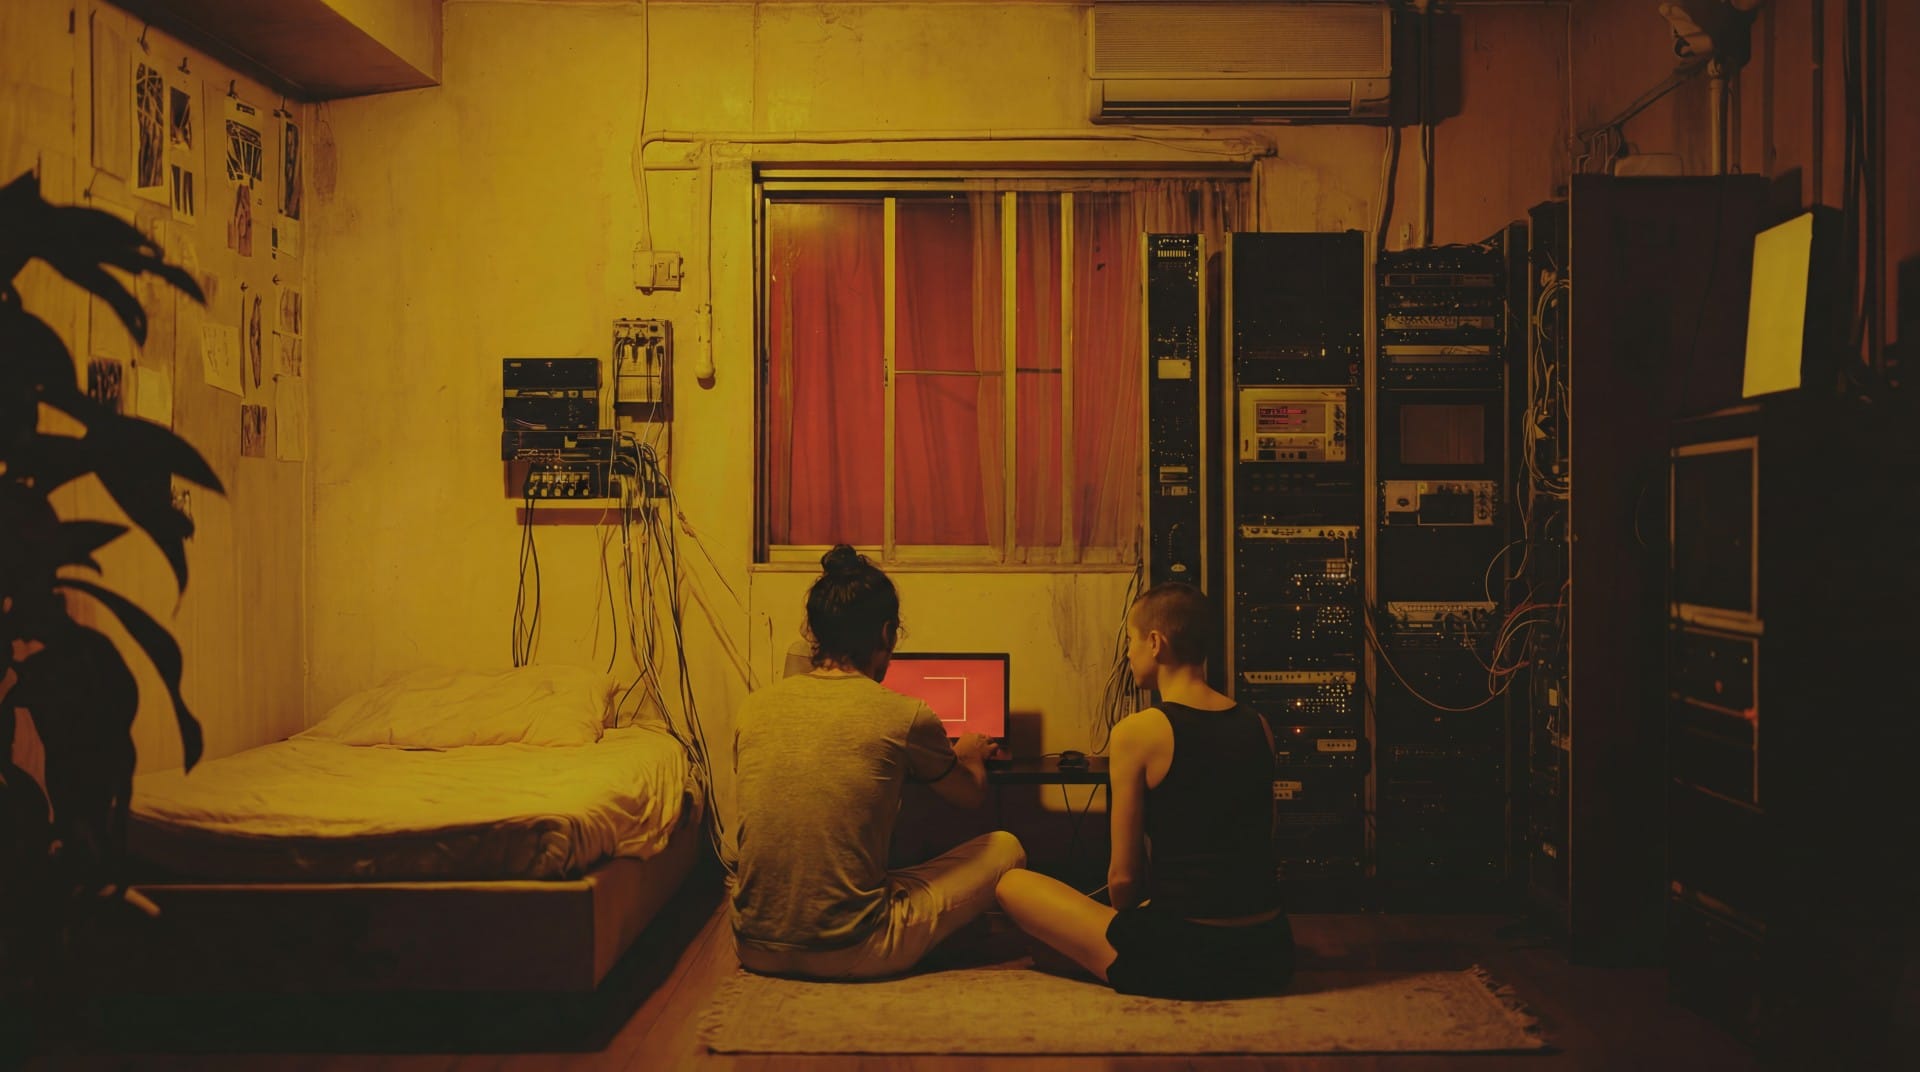
Midjourney gave me a bizarre, striking apartment scene that I used for these early experiments, but ended up discarding later on (the harsh yellow walls overpower the scene, in my opinion):
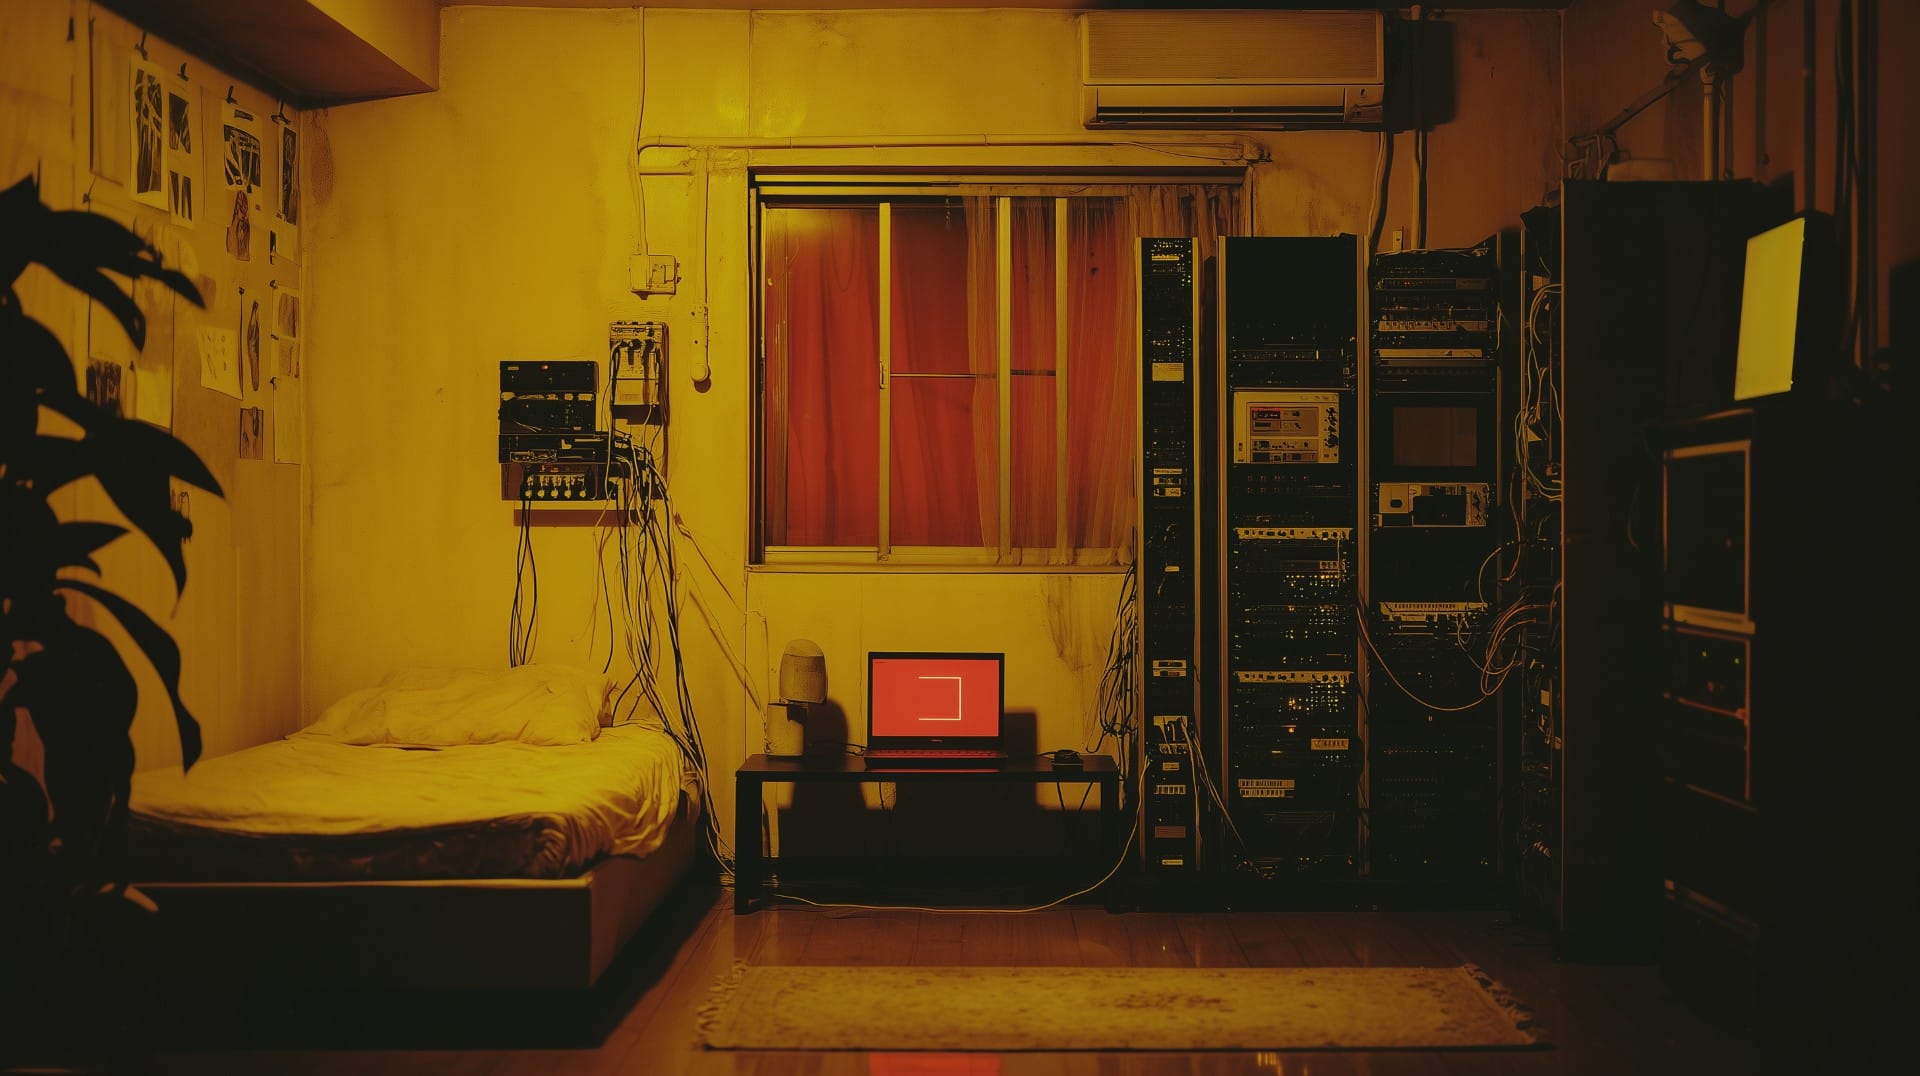
Tackling the first shot, the wide angle, was simple enough. I gave NBP this apartment image, the two character sheets above, and the following prompt:
Add the man in image 1 and the woman in image 2 to the scene in image 3. Preserve the scene and composition of image 3 exactly as it is, only add the man and woman.
The man is sitting on the floor in front of the laptop with the red glowing monitor. His back is facing the camera. His hands are on the laptop keyboard. The woman sits cross-legged directly to the man's right, also with her back to the camera. The man and woman's faces are turned towards each other.
Preserve the identity of the man and woman exactly as they are in image 1 and image 2. Preserve the color palette, lighting, and grainy, high contrast cinematic style of image 3.
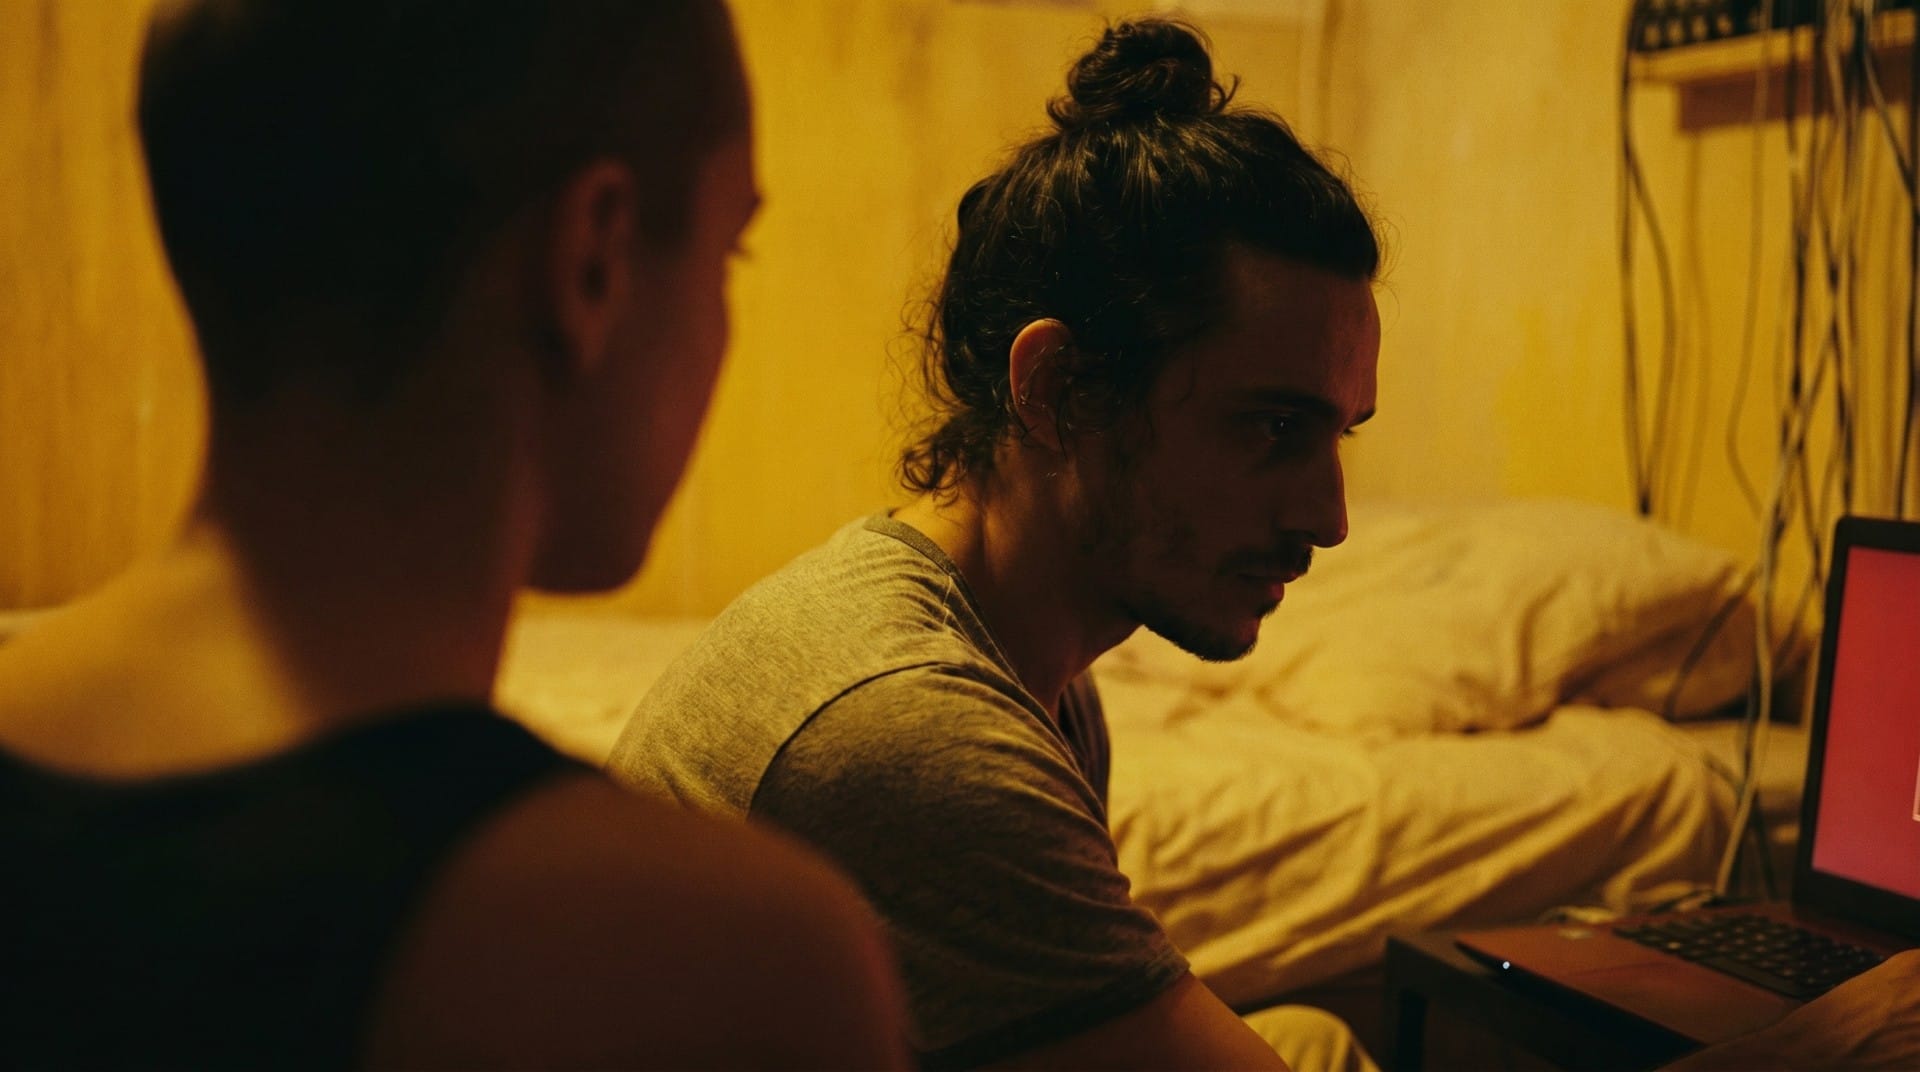
I gave it three tries, all of which were pretty close, and chose the third output:
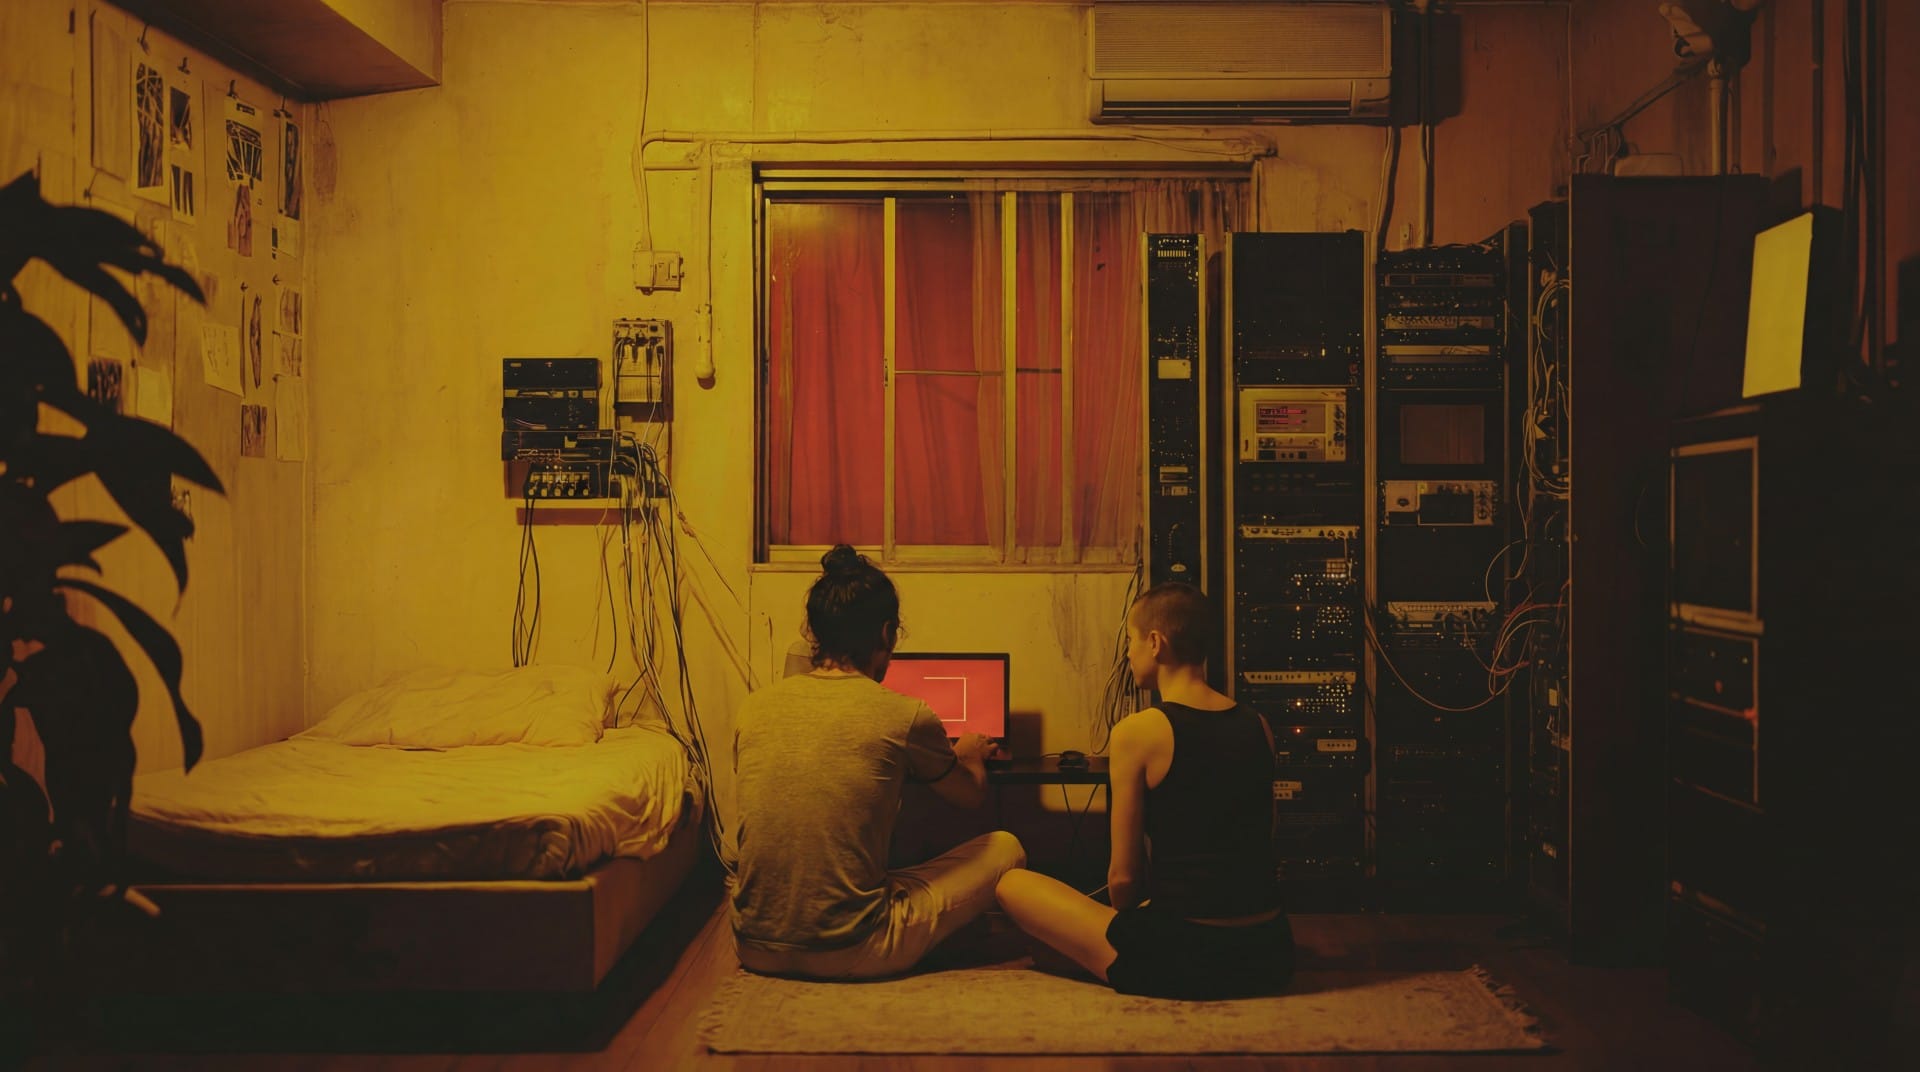
Honestly, the fact that NBP can take those three reference images, that simple block of text, and then create this... is pretty amazing. Moments like this make me feel like AI tools are magical. They can do anything!
The problems started with the second shot:
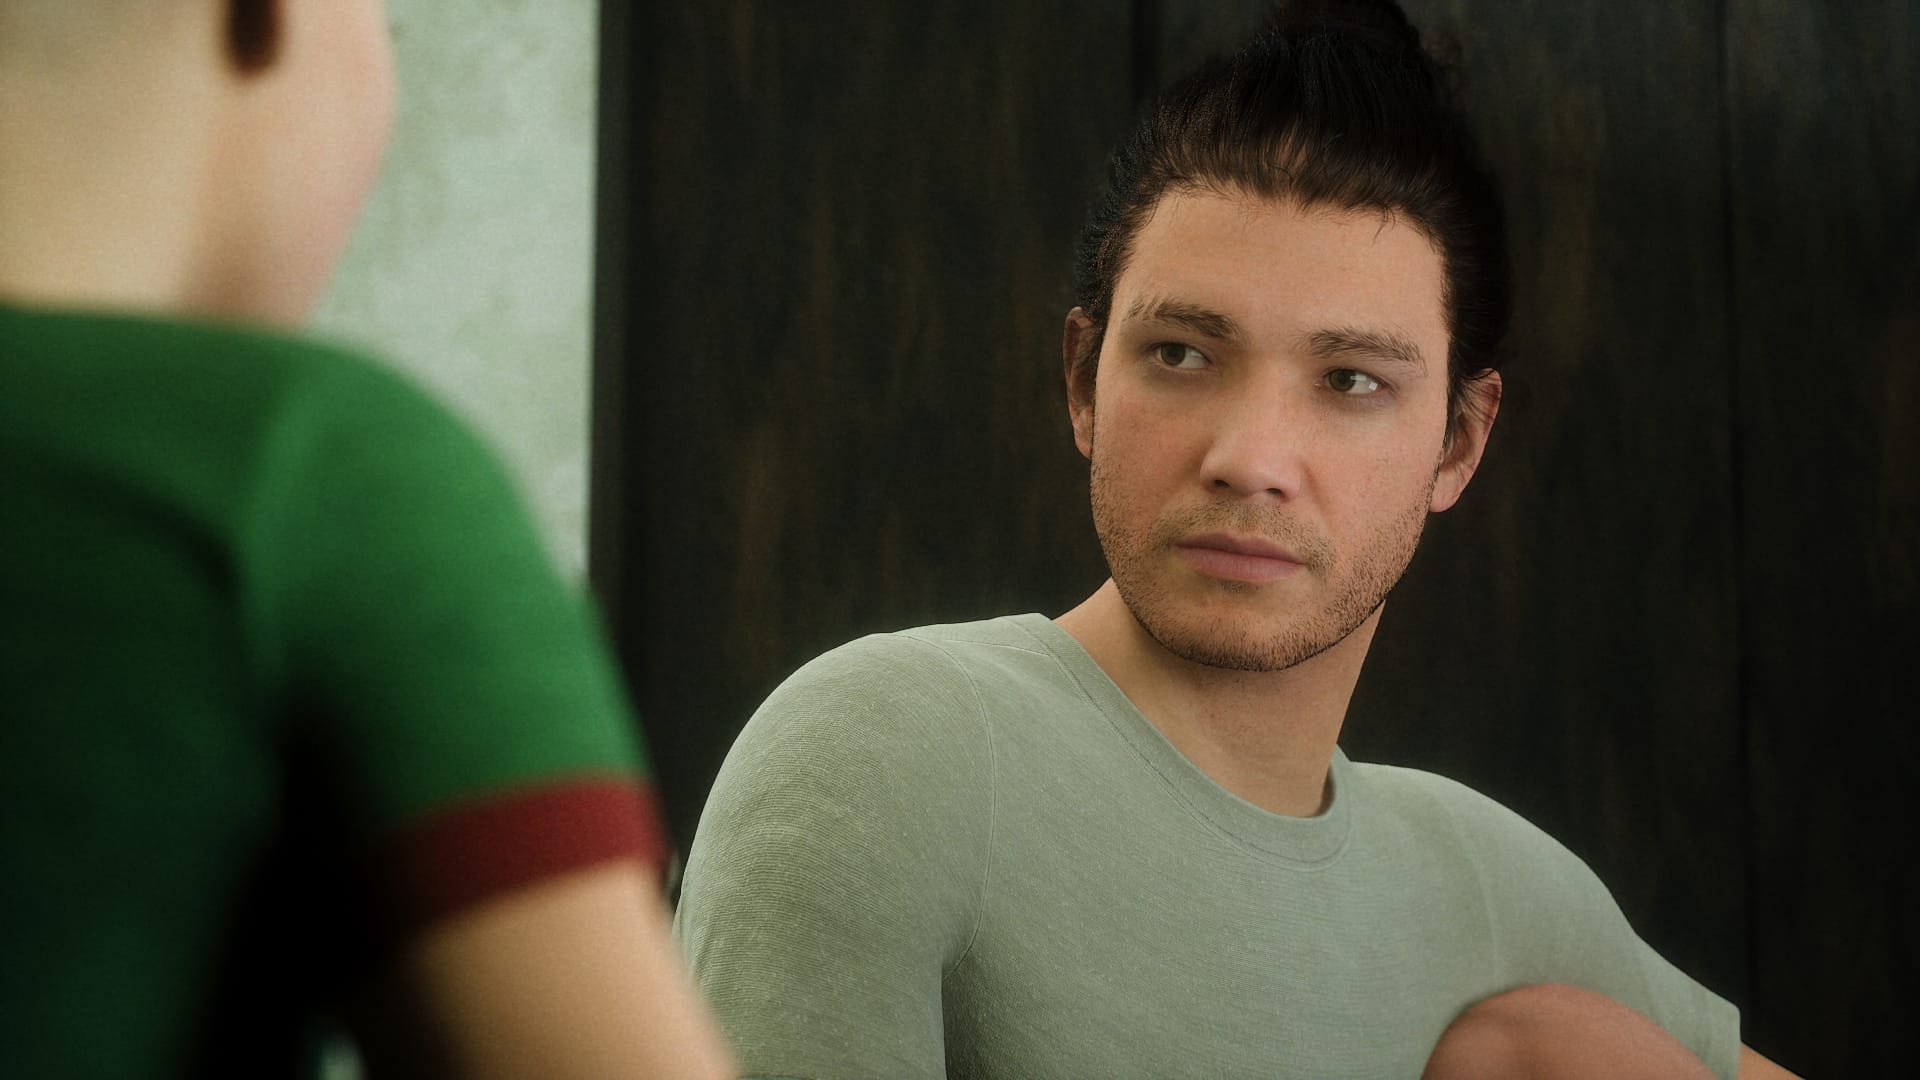
Trying to create this one shot was a saga that involved numerous attempts (a couple hundred? I'm not even sure) using a range of prompting strategies. In the end, I never got the frame I wanted. Part of this is my fault. I overestimated how precisely I could manipulate these tools. Throughout the process I got a handful of outputs that should have been good enough, but I wanted to keep pushing until I had the one. I was also motivated by a desire to deeply understand Nano Banana and map out the best ways to communicate with it (as of now, I'm not convinced this is possible).
The details of my trial and error and what I learned are below. I decided to include many of the exact prompts and reference images I used, for anyone who is interested. It's a little repetitive, so feel free to skim/ignore the block quotes.
Seedance?
An obvious question from anyone who has experience with AI video generation might be, why not describe the shots I need directly to a video generation model, like Seedance 2.0, without going through NBP for a specific shot reference? My answer is that, so far, I don't like the shots that Seedance (or any other video model) makes from scratch. And, video models are far more expensive (and slower) than image models.
Seedance does well with cinematic language and frames shots roughly the way I describe them, but there are usually issues with the appearance of the characters or the lighting. I prefer to iterate with image-gen tools to produce a solid start frame with the composition and lighting exactly the way I want, then have Seedance build the shot from there. Doing more image generation attempts in order to cut down on video generation attempts is a no-brainer.
That Damn Close-Up
I started simple. I used the same two character references, plus the wide shot NBP had just created, with this prompt:
Use image 1 as a reference for the environment and the position of the characters, but reposition the camera to create a new shot.
Characters:
The man referenced in image 2, and the woman referenced in image 3.
Description of the new shot:
The new shot is a tight closeup of the man, framed from the shoulders up. The shot is taken from behind the woman, facing the man, with the bed out of focus in the background behind the man. The woman is sitting close to the man and is out of focus on the left side of the frame. The man is in focus on the right side of the frame. The laptop computer is on the far right edge of the frame.
The man's head is turned towards the woman, and he is looking into her eyes.
Style:
Shot with a 50mm lens, shallow depth of field. Preserve the color palette, lighting, and grainy, high contrast cinematic style of image 1.
I gave this strategy a few dozen tries, occasionally adjusting the prompt. Most outputs did fine with the characters and the room, but not the positioning:
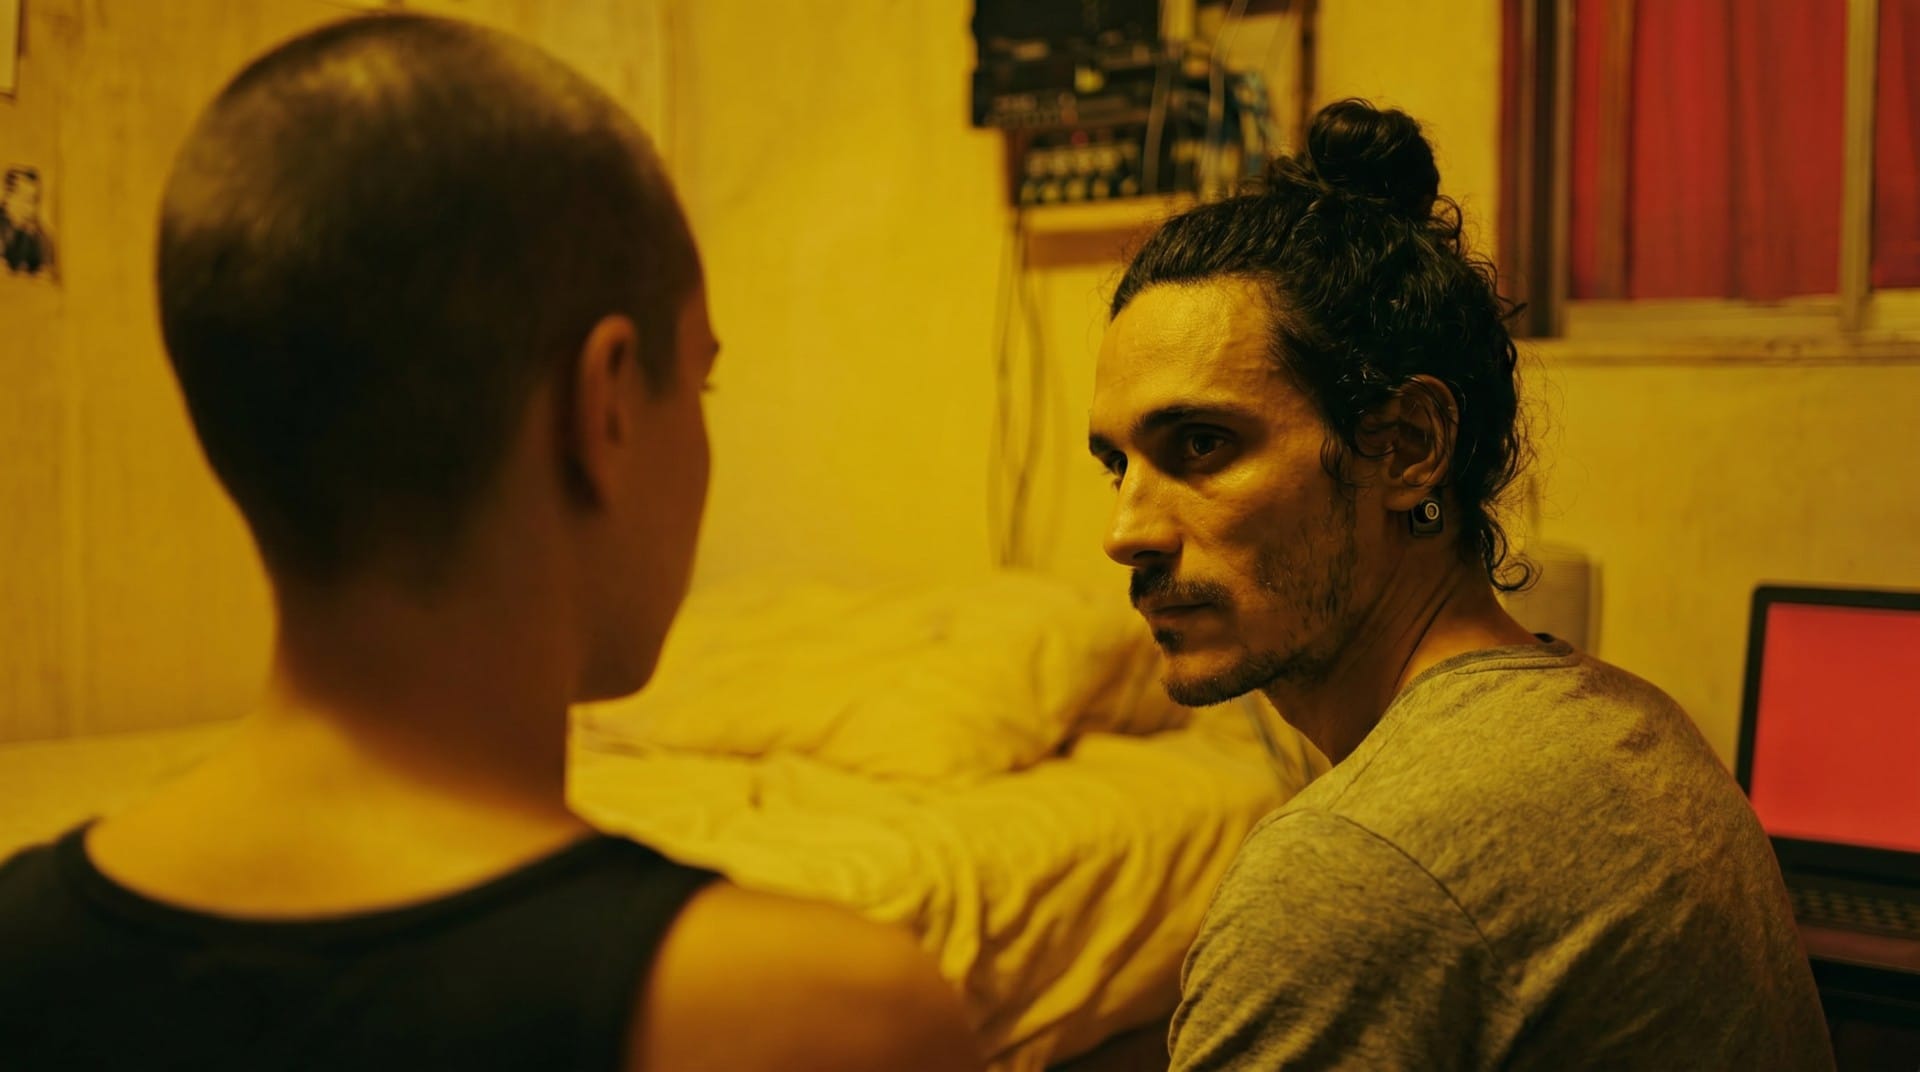
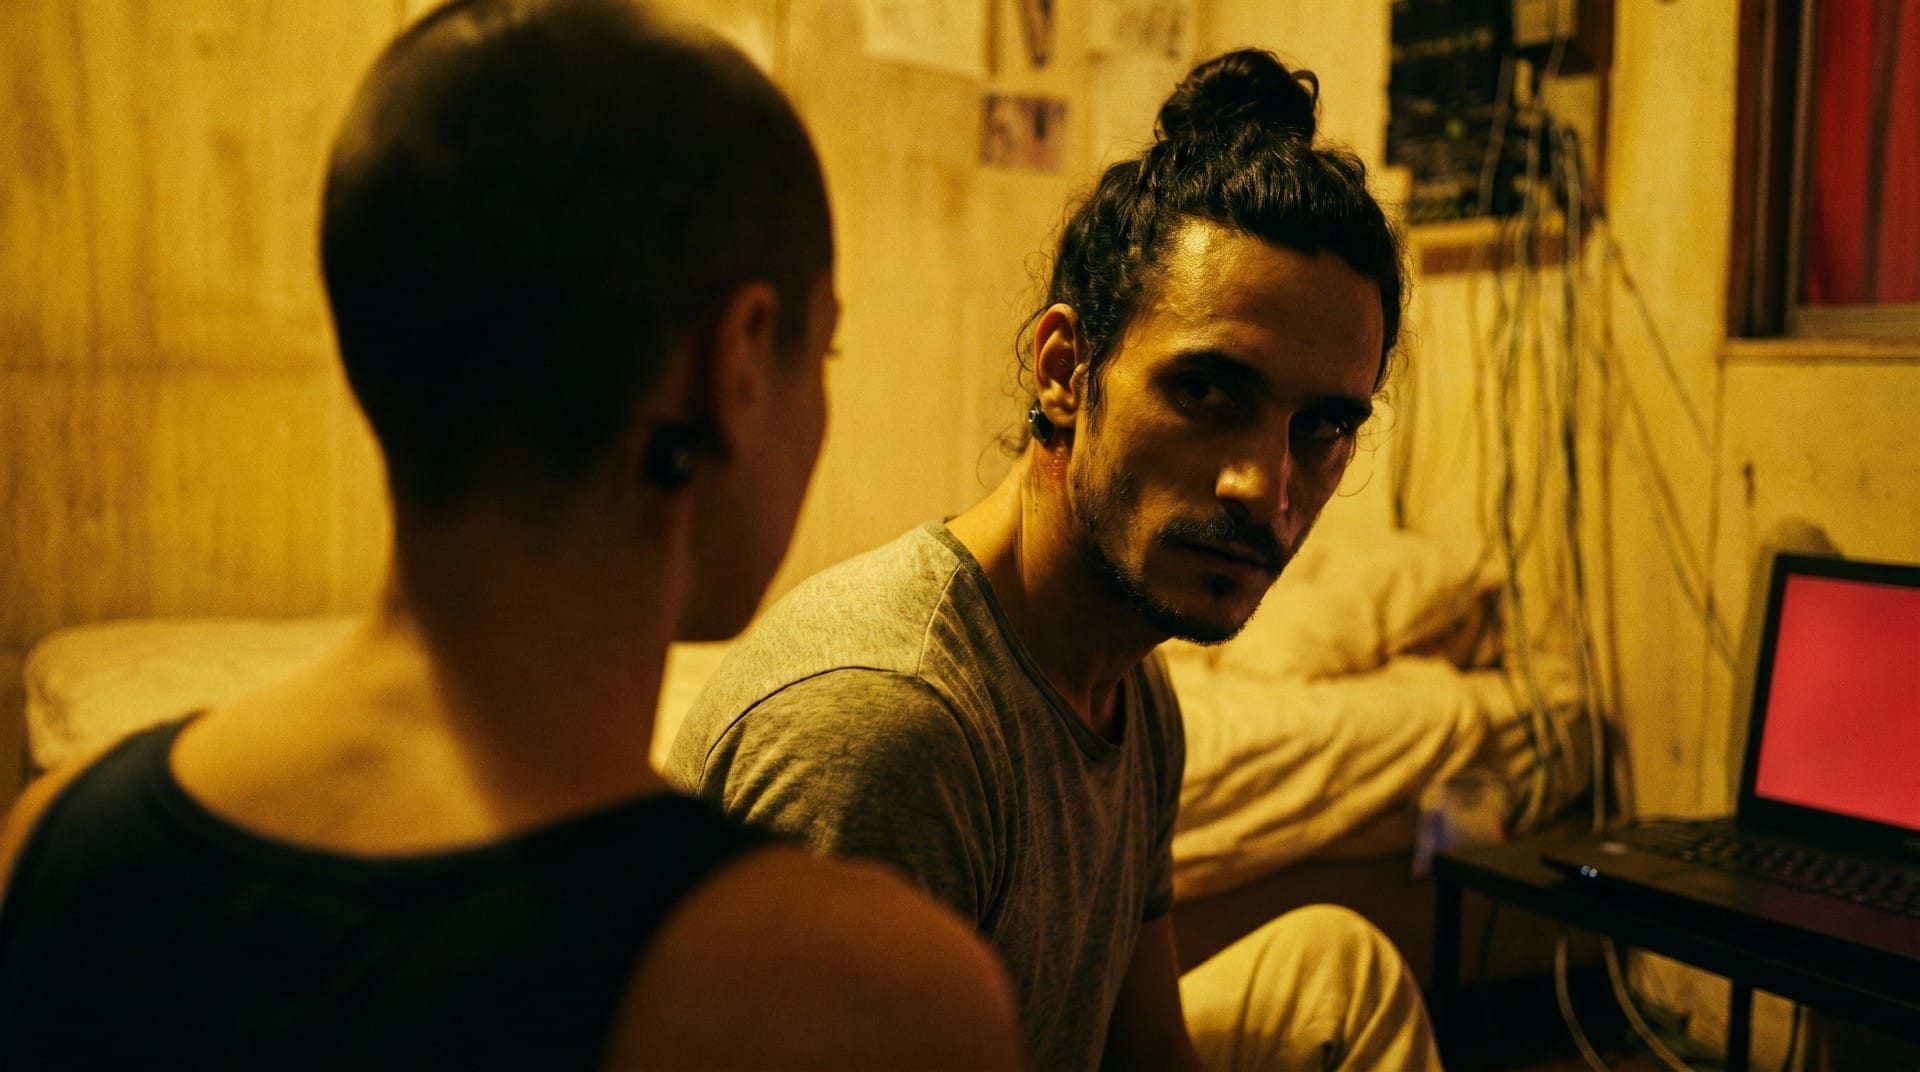
Sometimes NBP fell apart and gave me stuff like this:
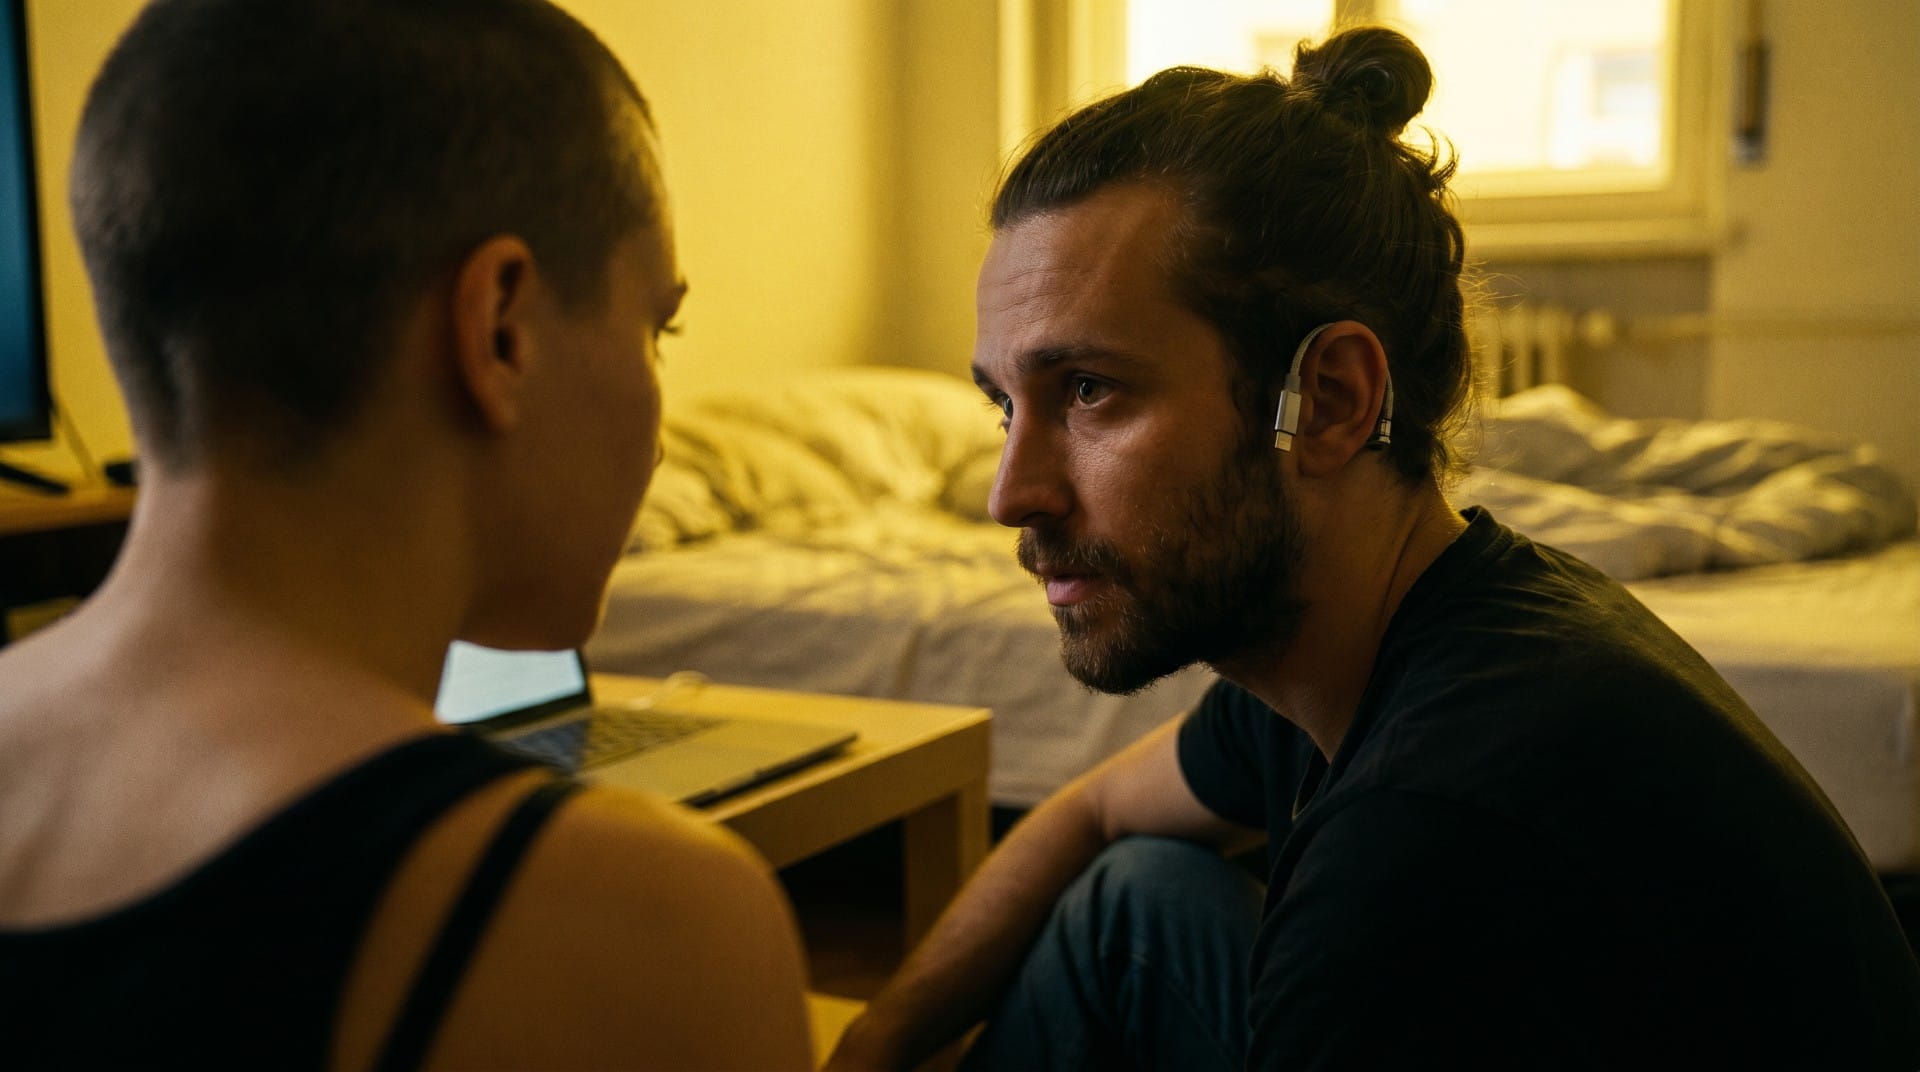
"Here's the image you paid for!"
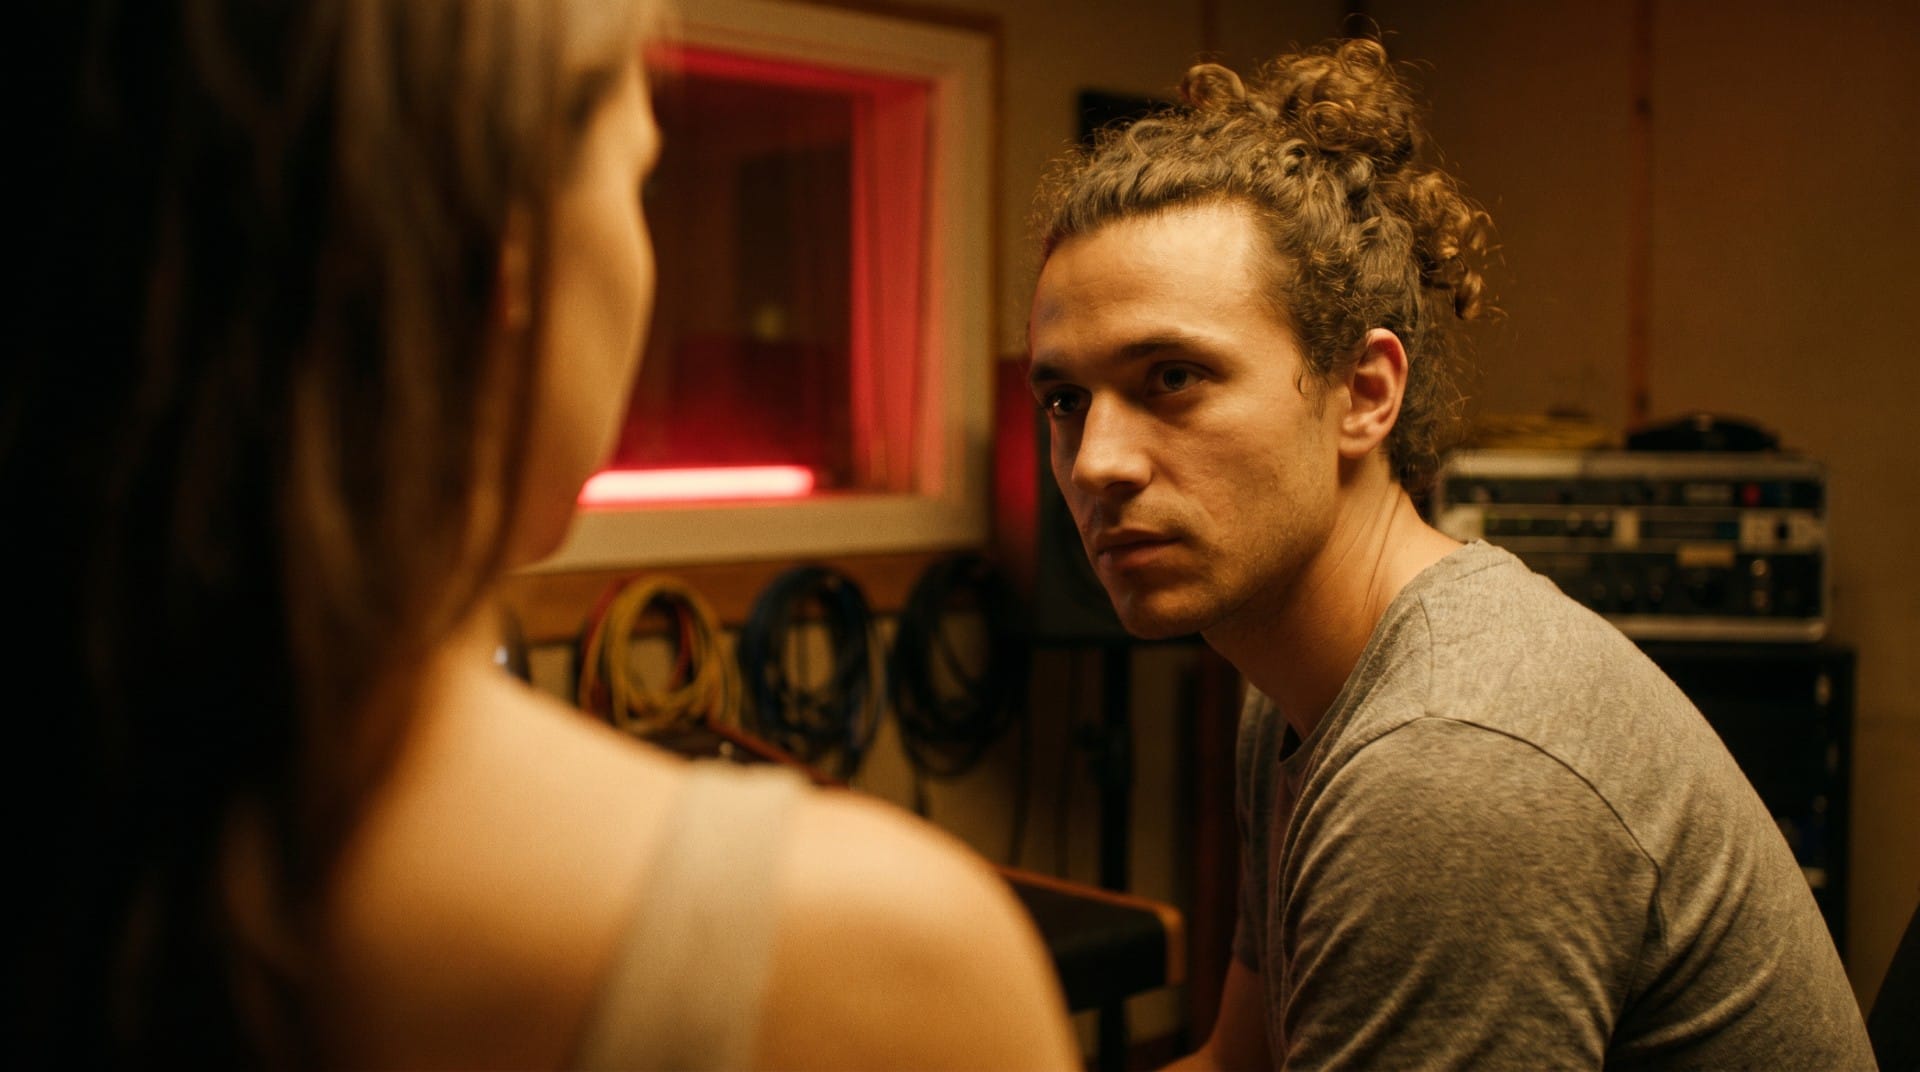
This was the closest output:
Spatial Awareness
I decided to take a detour. I set aside the characters and the storyboards, and tried prompting NBP to give me alternate angles of the apartment scene. It would be a way to learn how to ask NBP to reposition the "camera" within a scene, and I could use the extra angles as references for future image prompts.
Starting again with the apartment wide-shot, I asked for this:
Keep the environment and lighting in image 1 exactly the same, but create a new image showing a medium shot of the left side of the room, including the bed and the wall behind the bed.
Compose the shot so that we are close to the floor and are facing the left wall directly, and see the entire bed and the floor in the lower portion of the frame, and the wall with the drawings and papers pinned to it in the upper half.
Keep the objects and their positions in the room exactly the same. Match the color palette, lighting, and high contrast cinematic style of image 1.
NBP did pretty well with this one. The handful of outputs were all some version of this:
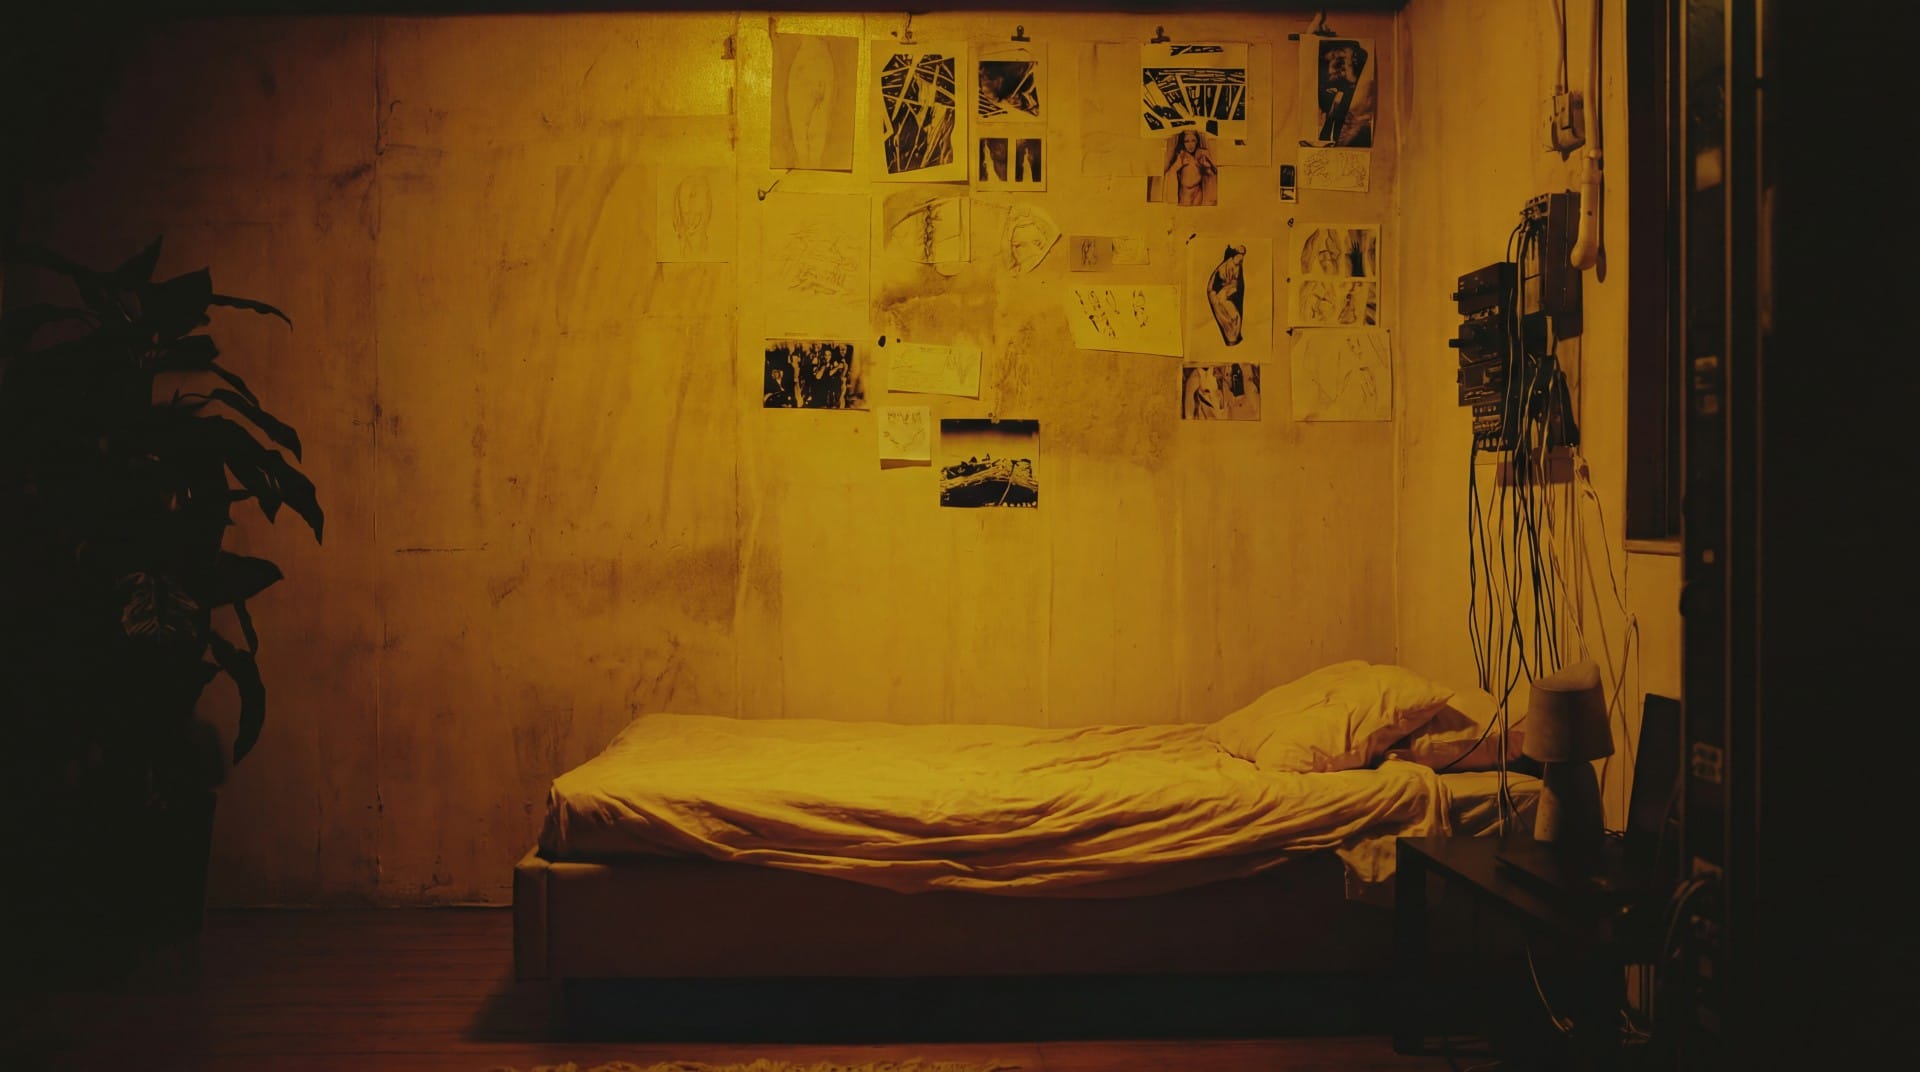
Not really close to the floor, but successful overall.
I also asked for a low-angle shot looking up at the computer racks on the right side of the room, and most of the outputs were pretty close:
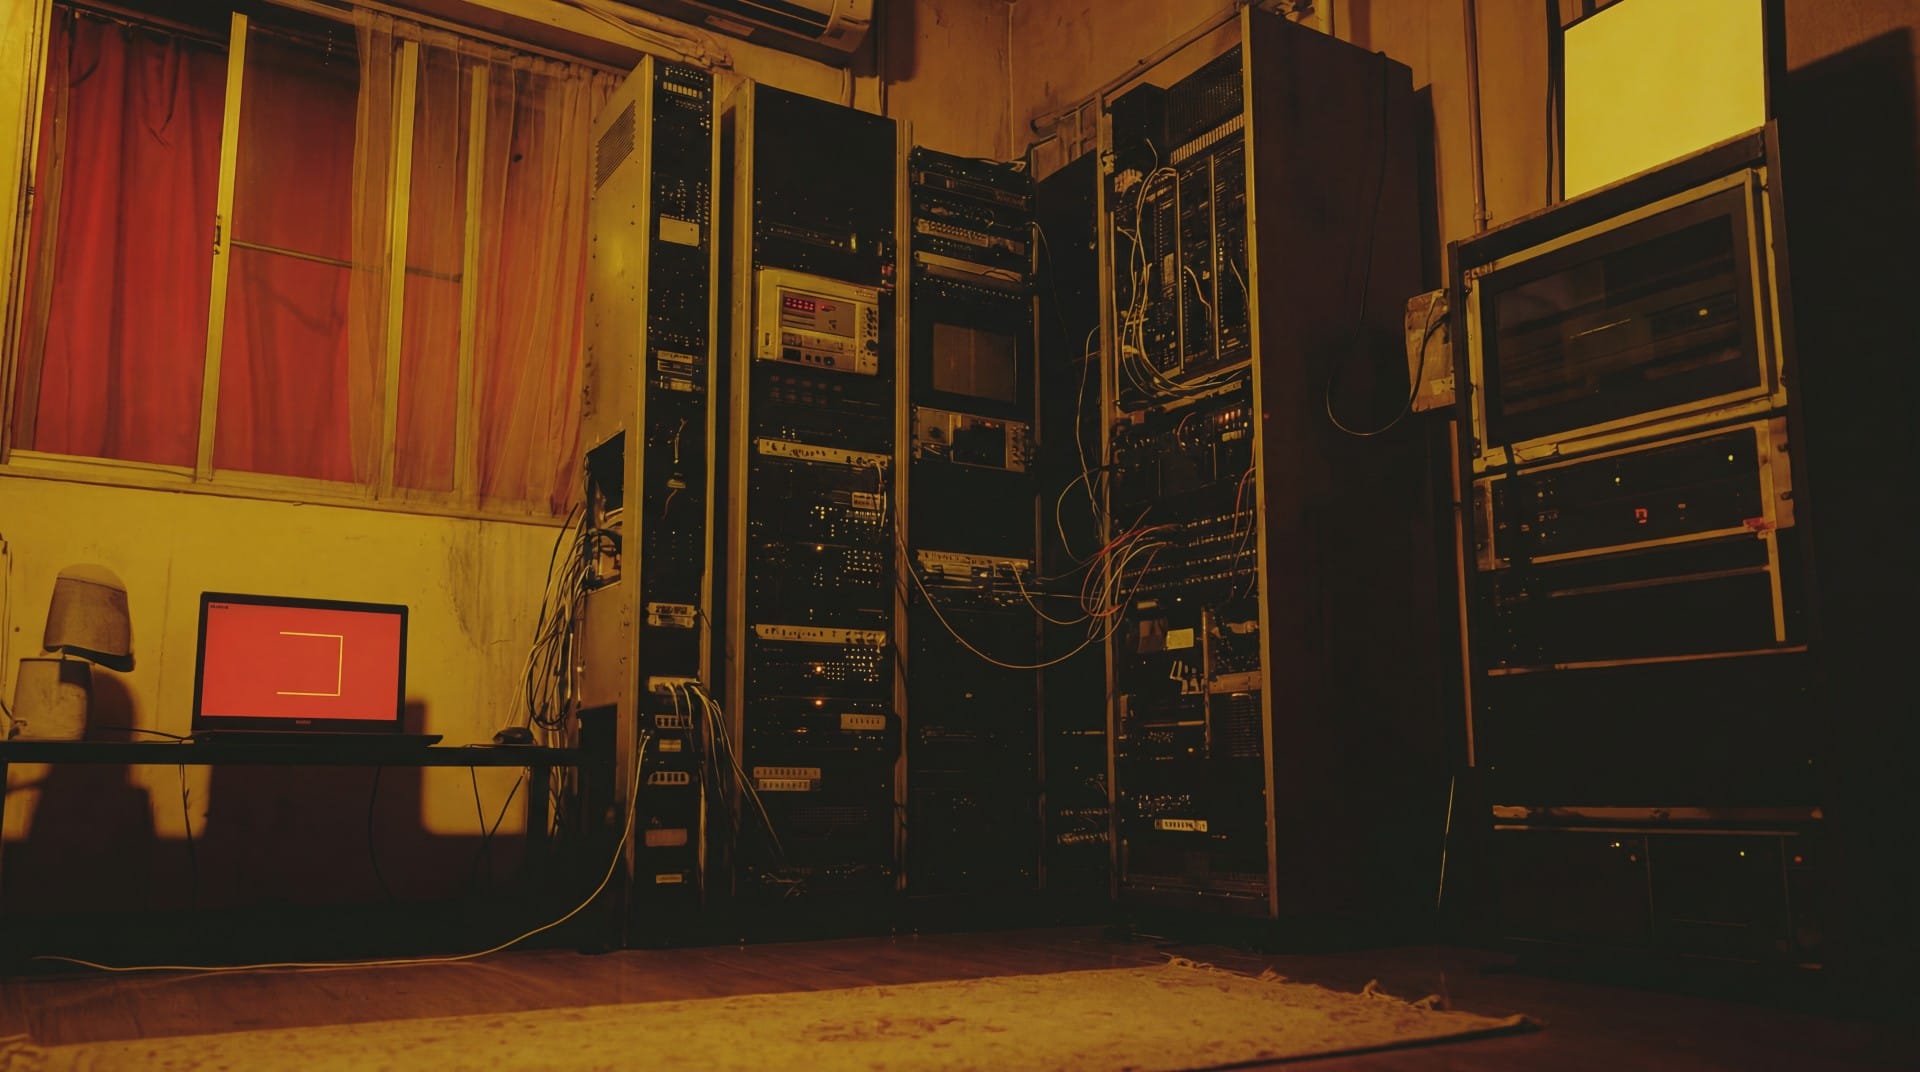
Here is an example of a prompt NBP couldn't get, and I don't understand why, given its performance on the previous two:
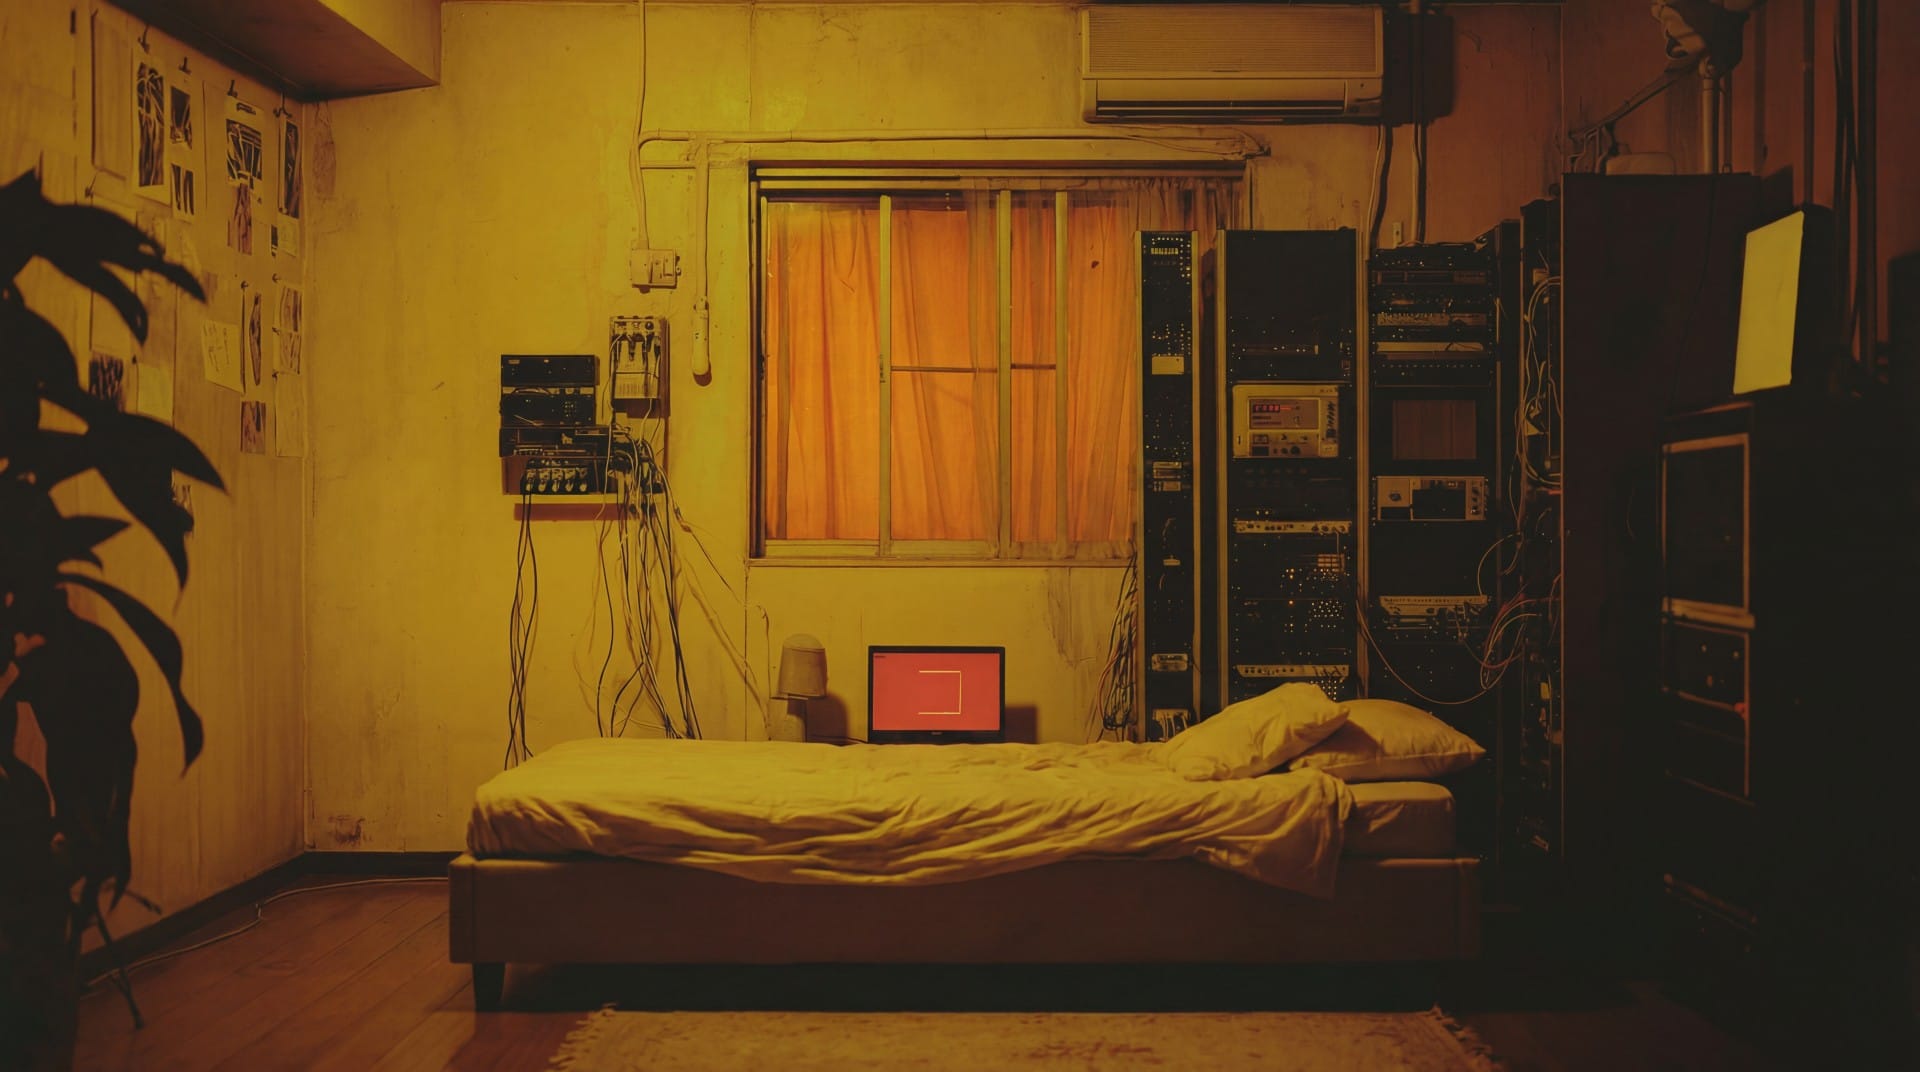
Keep the environment and lighting in image 1 exactly the same, but create a new image that is a medium shot of the bed.
Compose the shot so that we are low to the ground, positioned at the foot of the bed, with the bed fully visible in the center of the frame, directly facing the wall behind the bed with the small shelf of computer equipment and cables.
Keep the objects and their positions in the room exactly the same. Match the color palette, lighting, and high contrast cinematic style of image 1.
NBP kept giving me images like this:
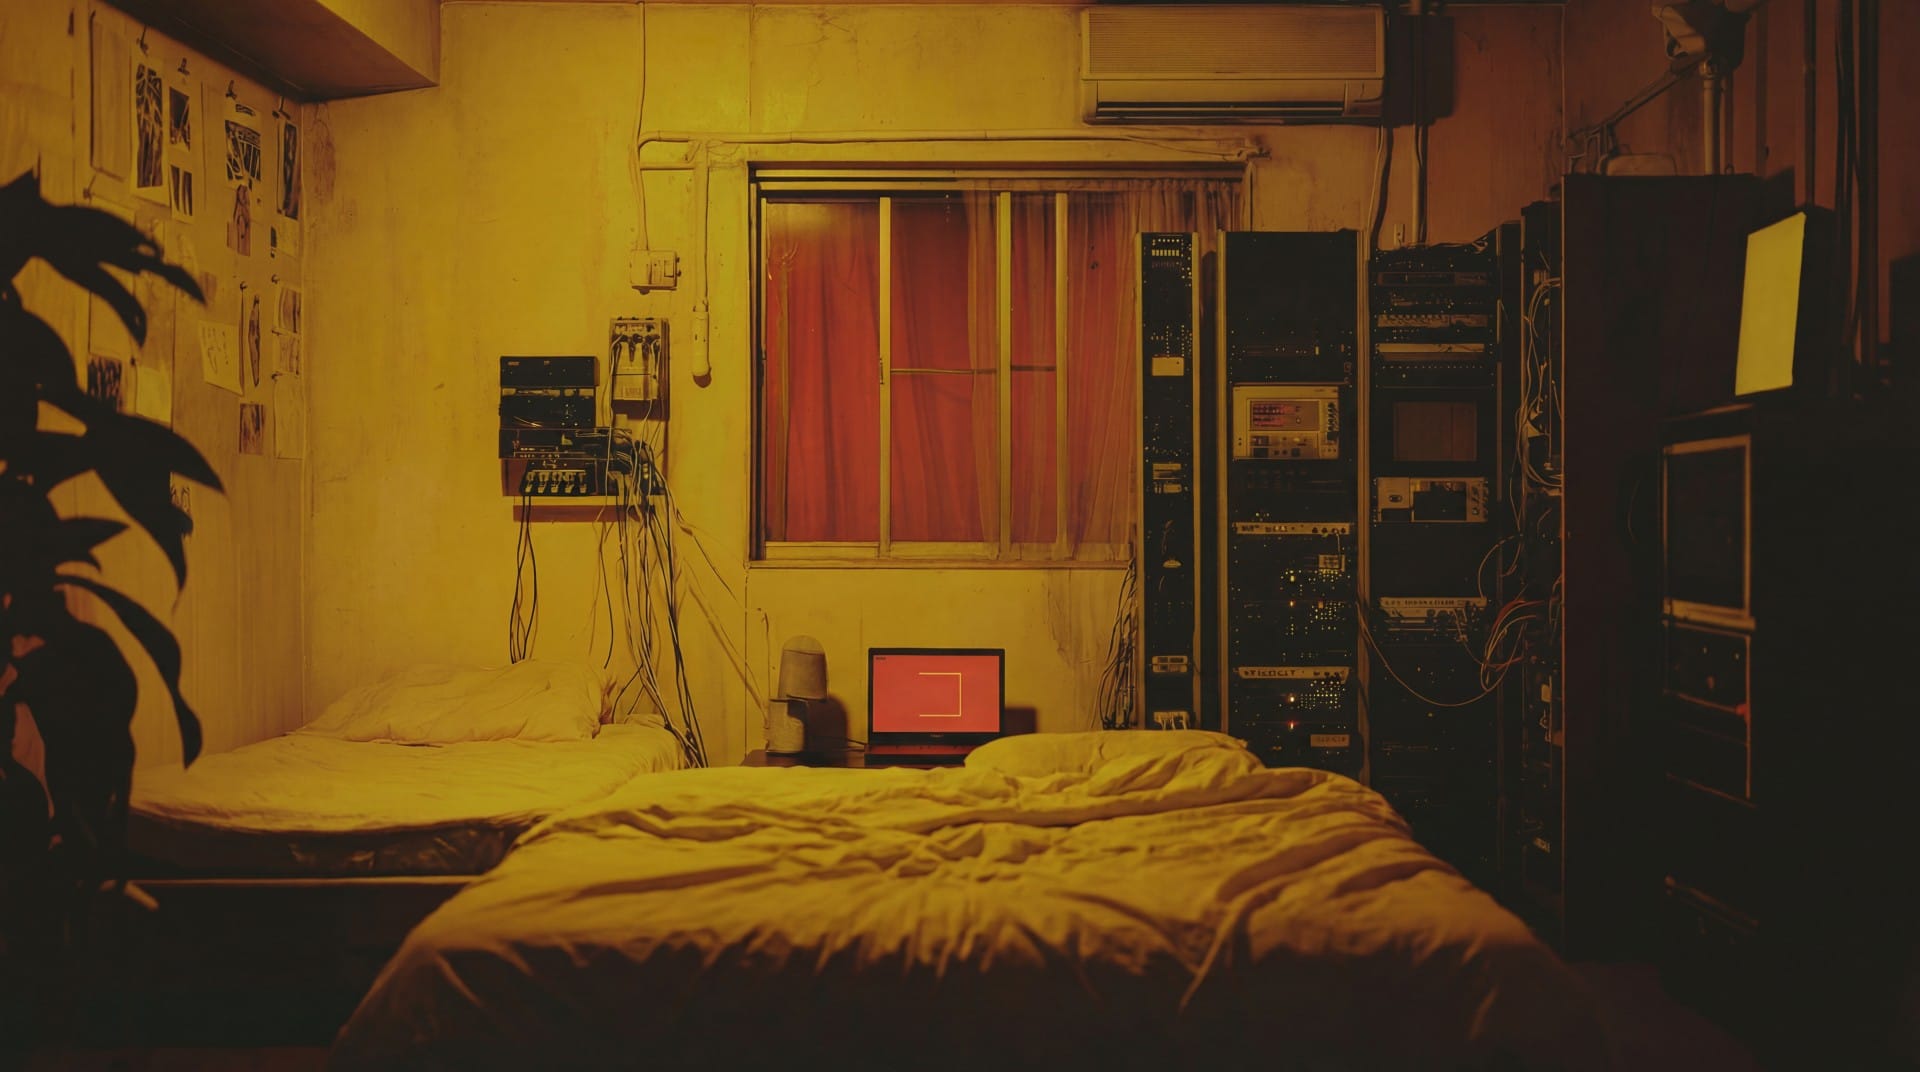
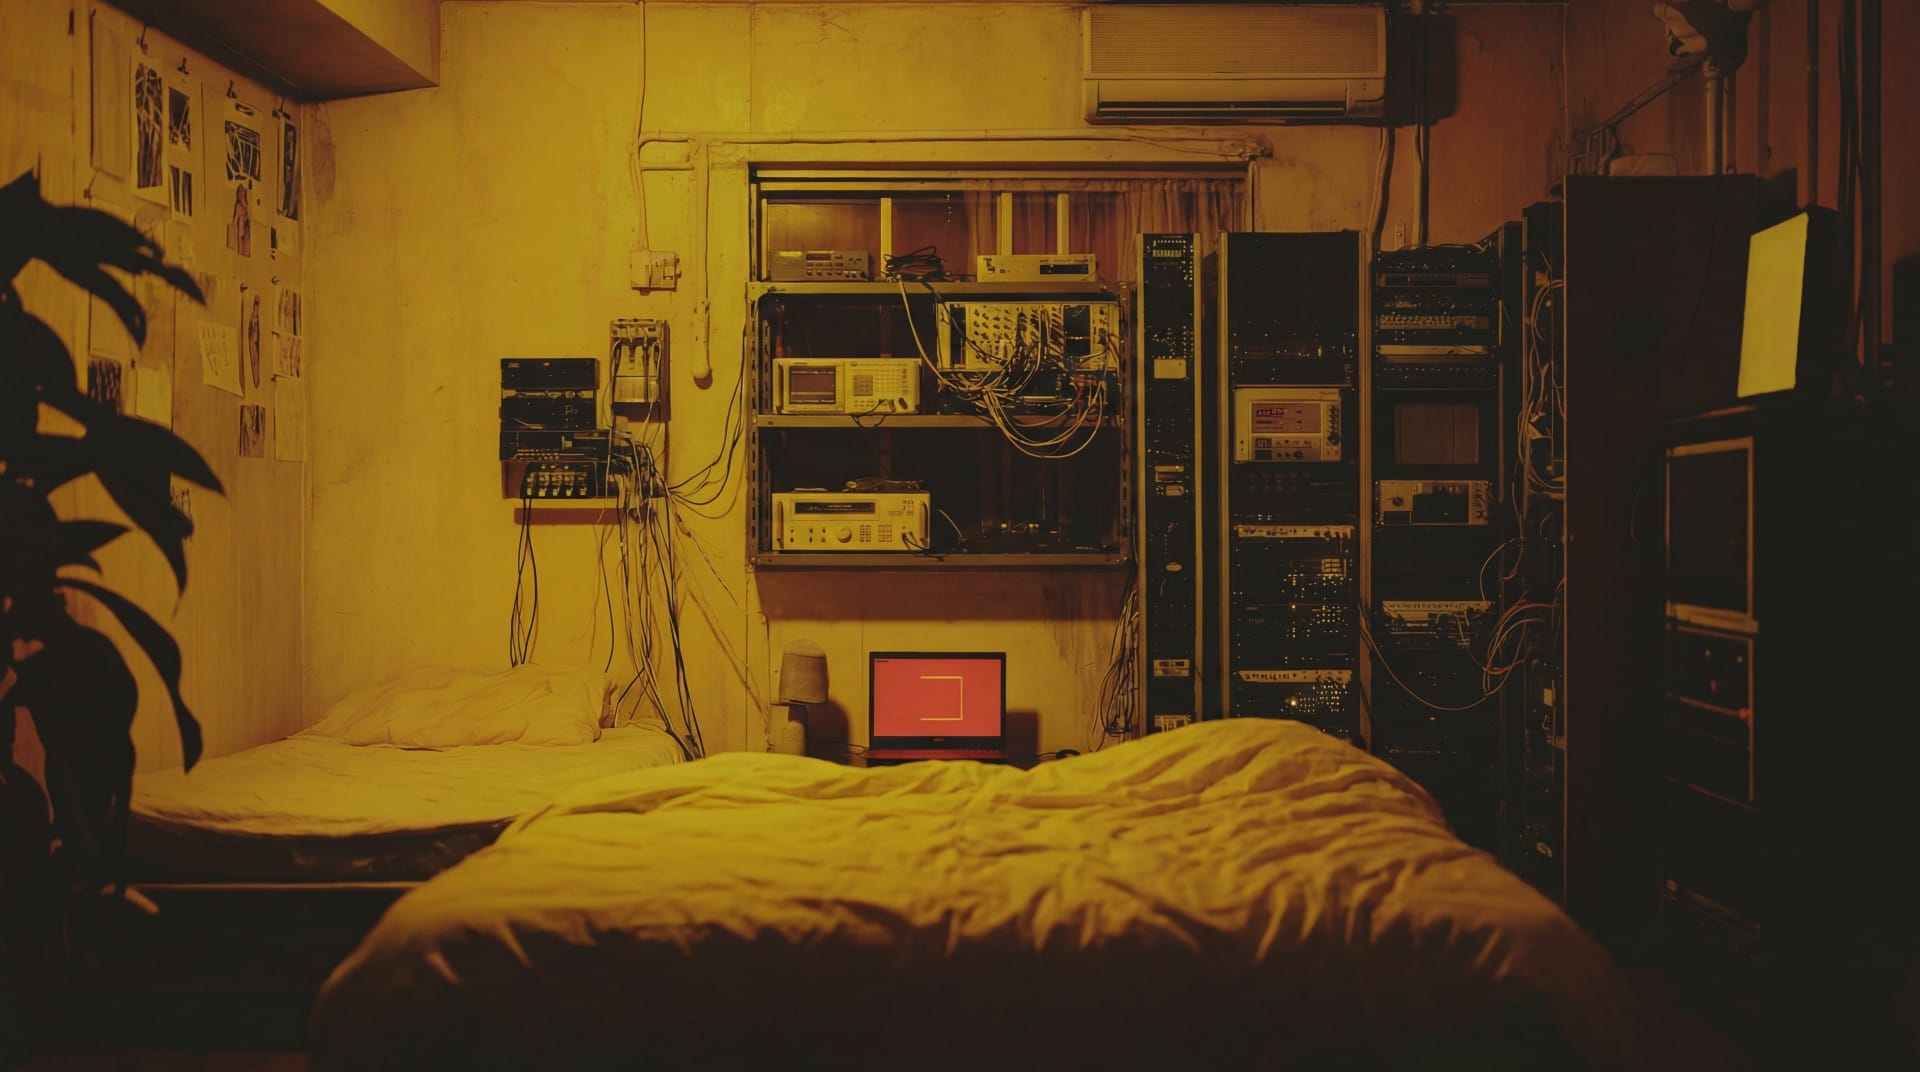
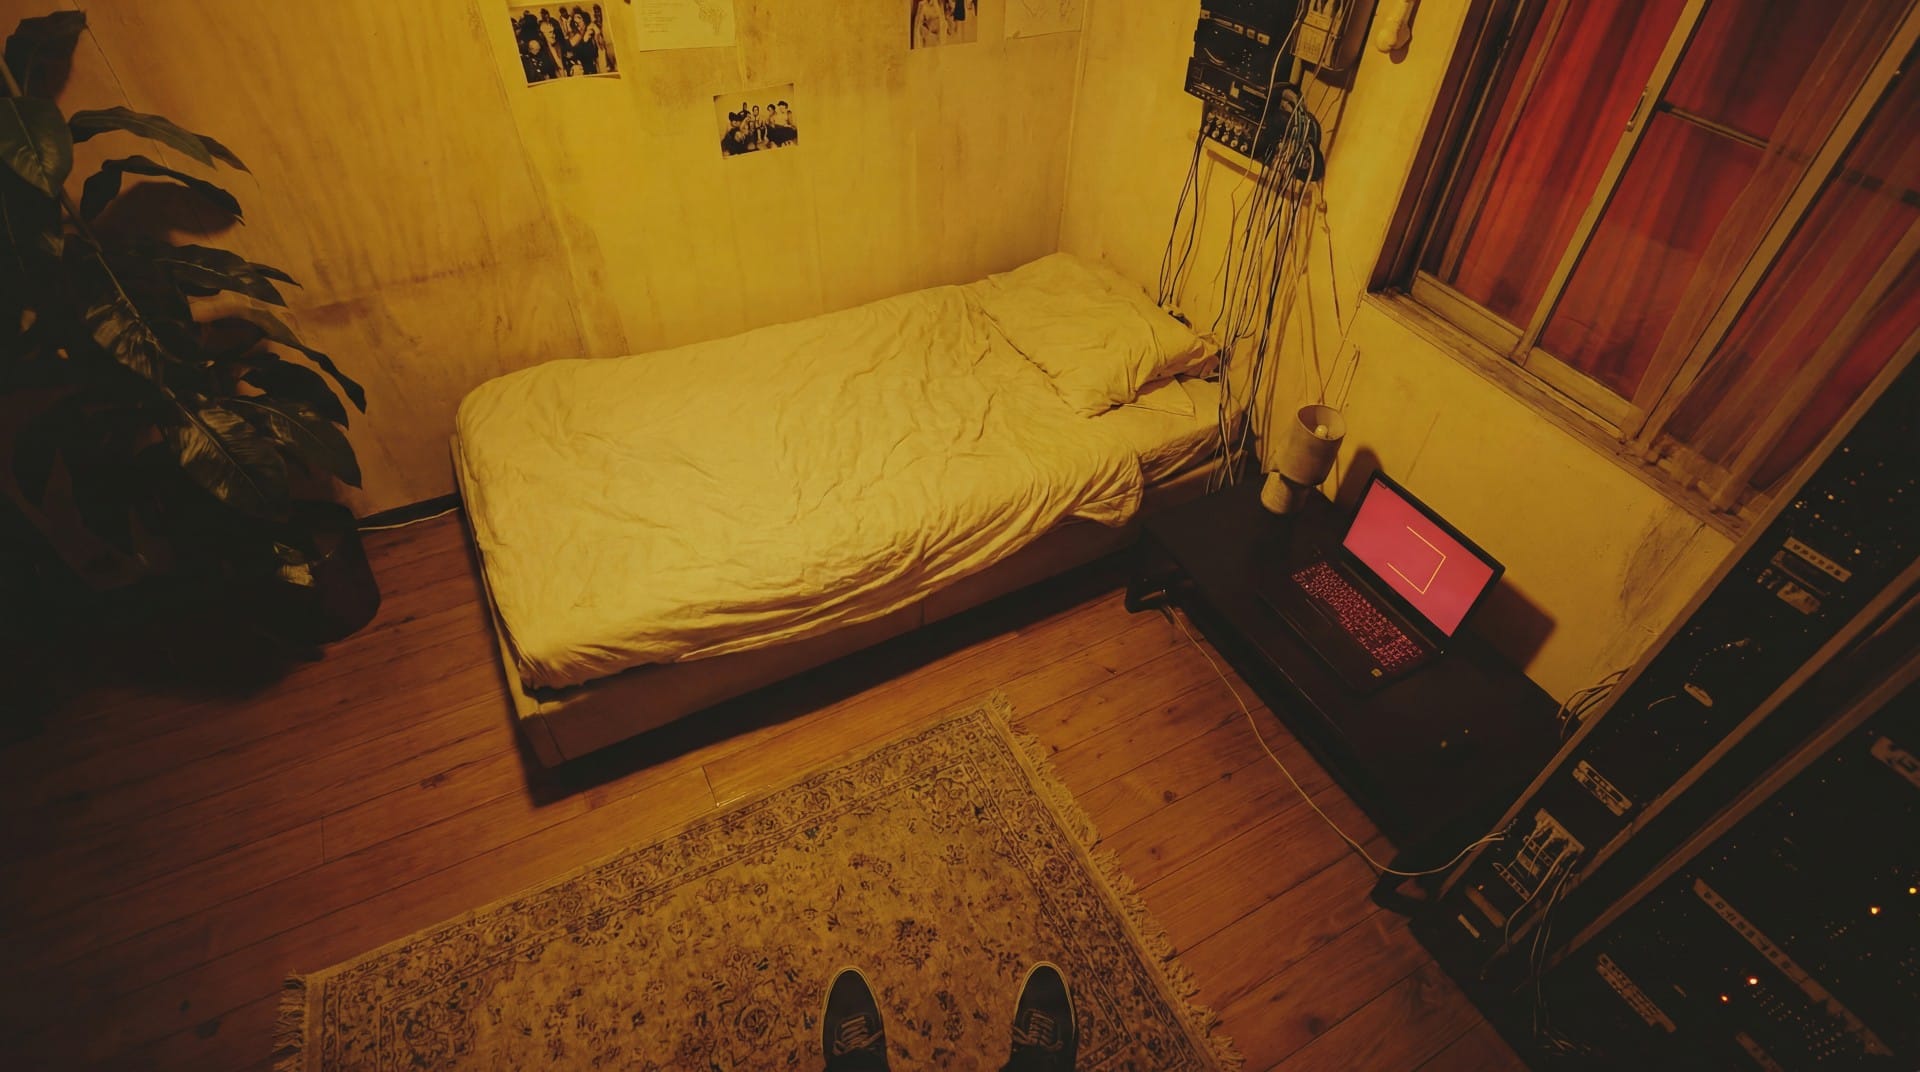
Another strategy I tried was literally asking NBP to "imagine" itself walking into the room and looking in certain directions:
Imagine you are standing and looking at the room from the perspective in image 1. None of the objects move from their locations in image 1.
You walk into the center of the room, stand on the rug, turn to your left, and look down at the bed.
This worked about as consistently as the other method (I'm amazed it worked at all). Sometimes it added a person's feet/legs to the scene, but those could be easily removed:
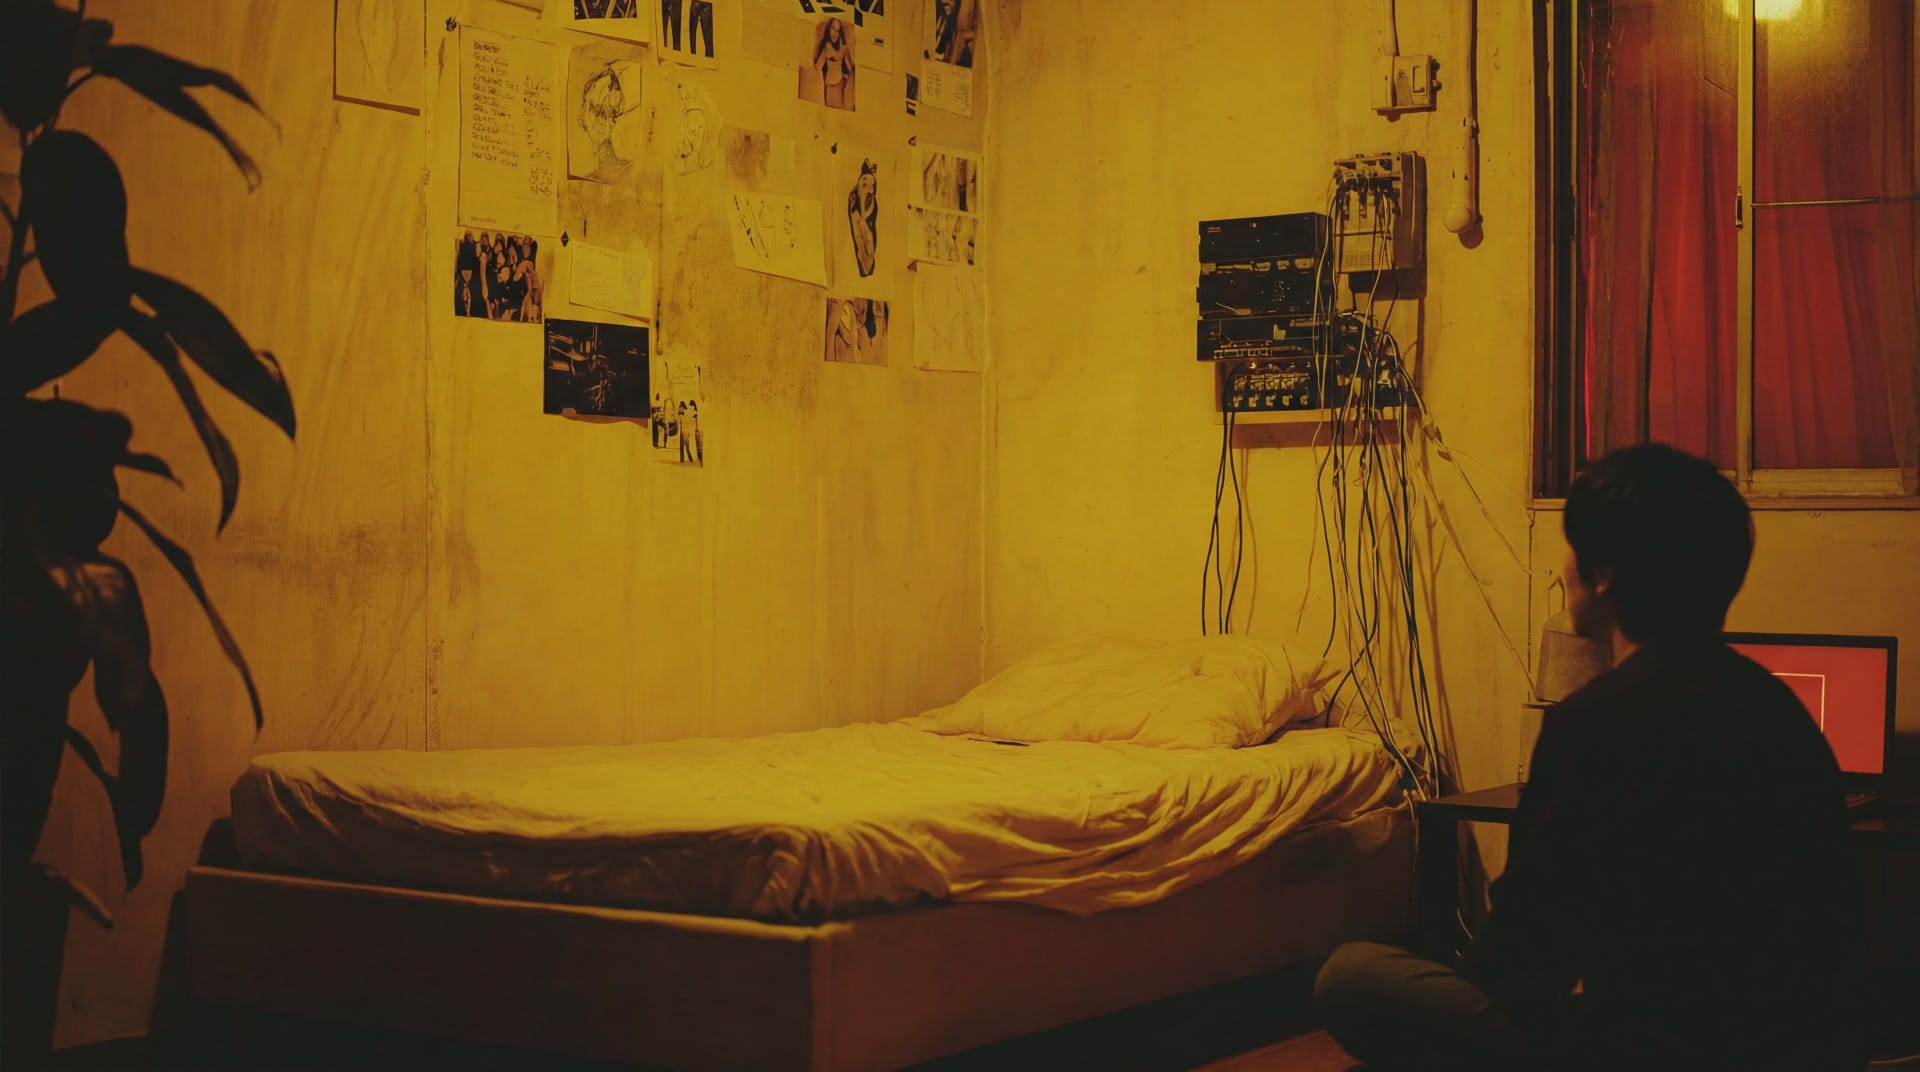
In general, most of the outputs were useless, but occasionally NBP nailed it. Here is another example. This time I'll show all the outputs, not just the successful fourth attempt:
Imagine you are standing and looking at the room from the perspective in image 1. None of the objects move from their locations in image 1.
You walk into the room, sit down on the floor in front of the laptop on the low table, then turn to your left and look at the bed.
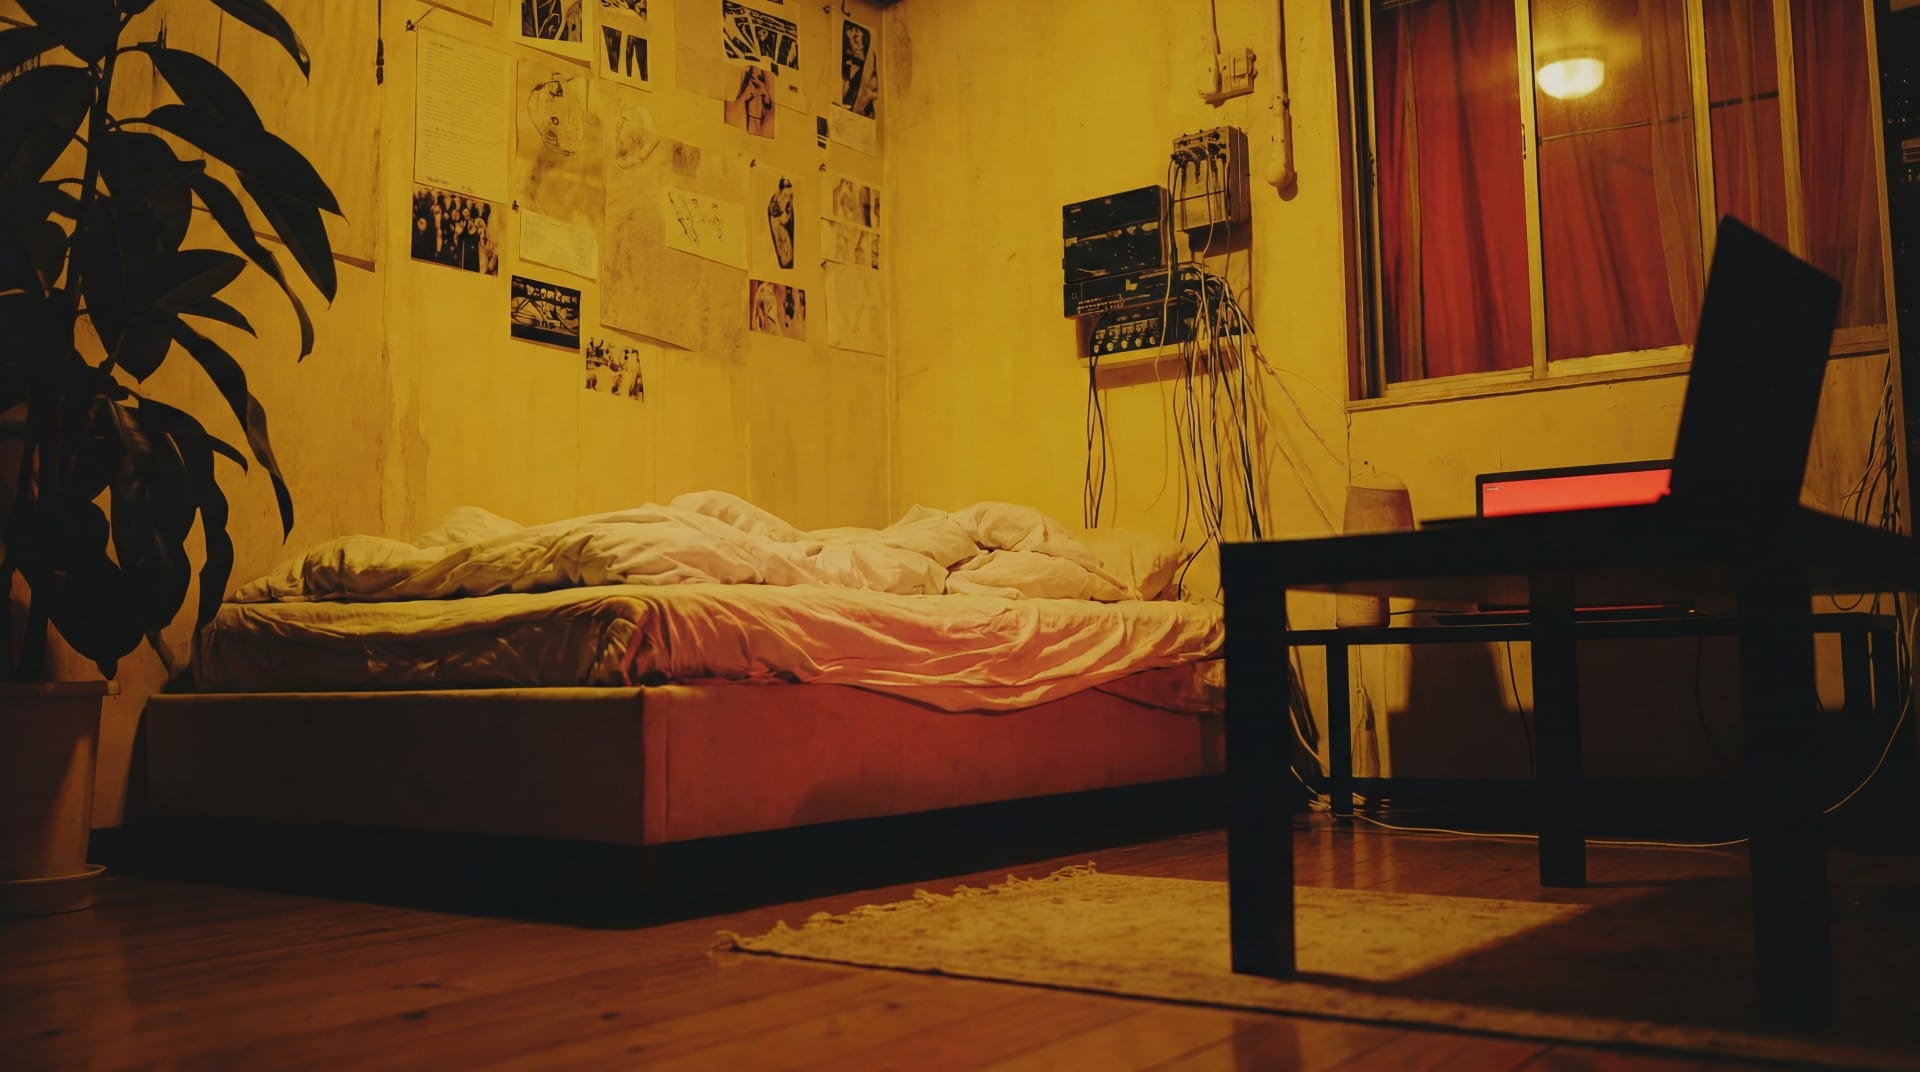
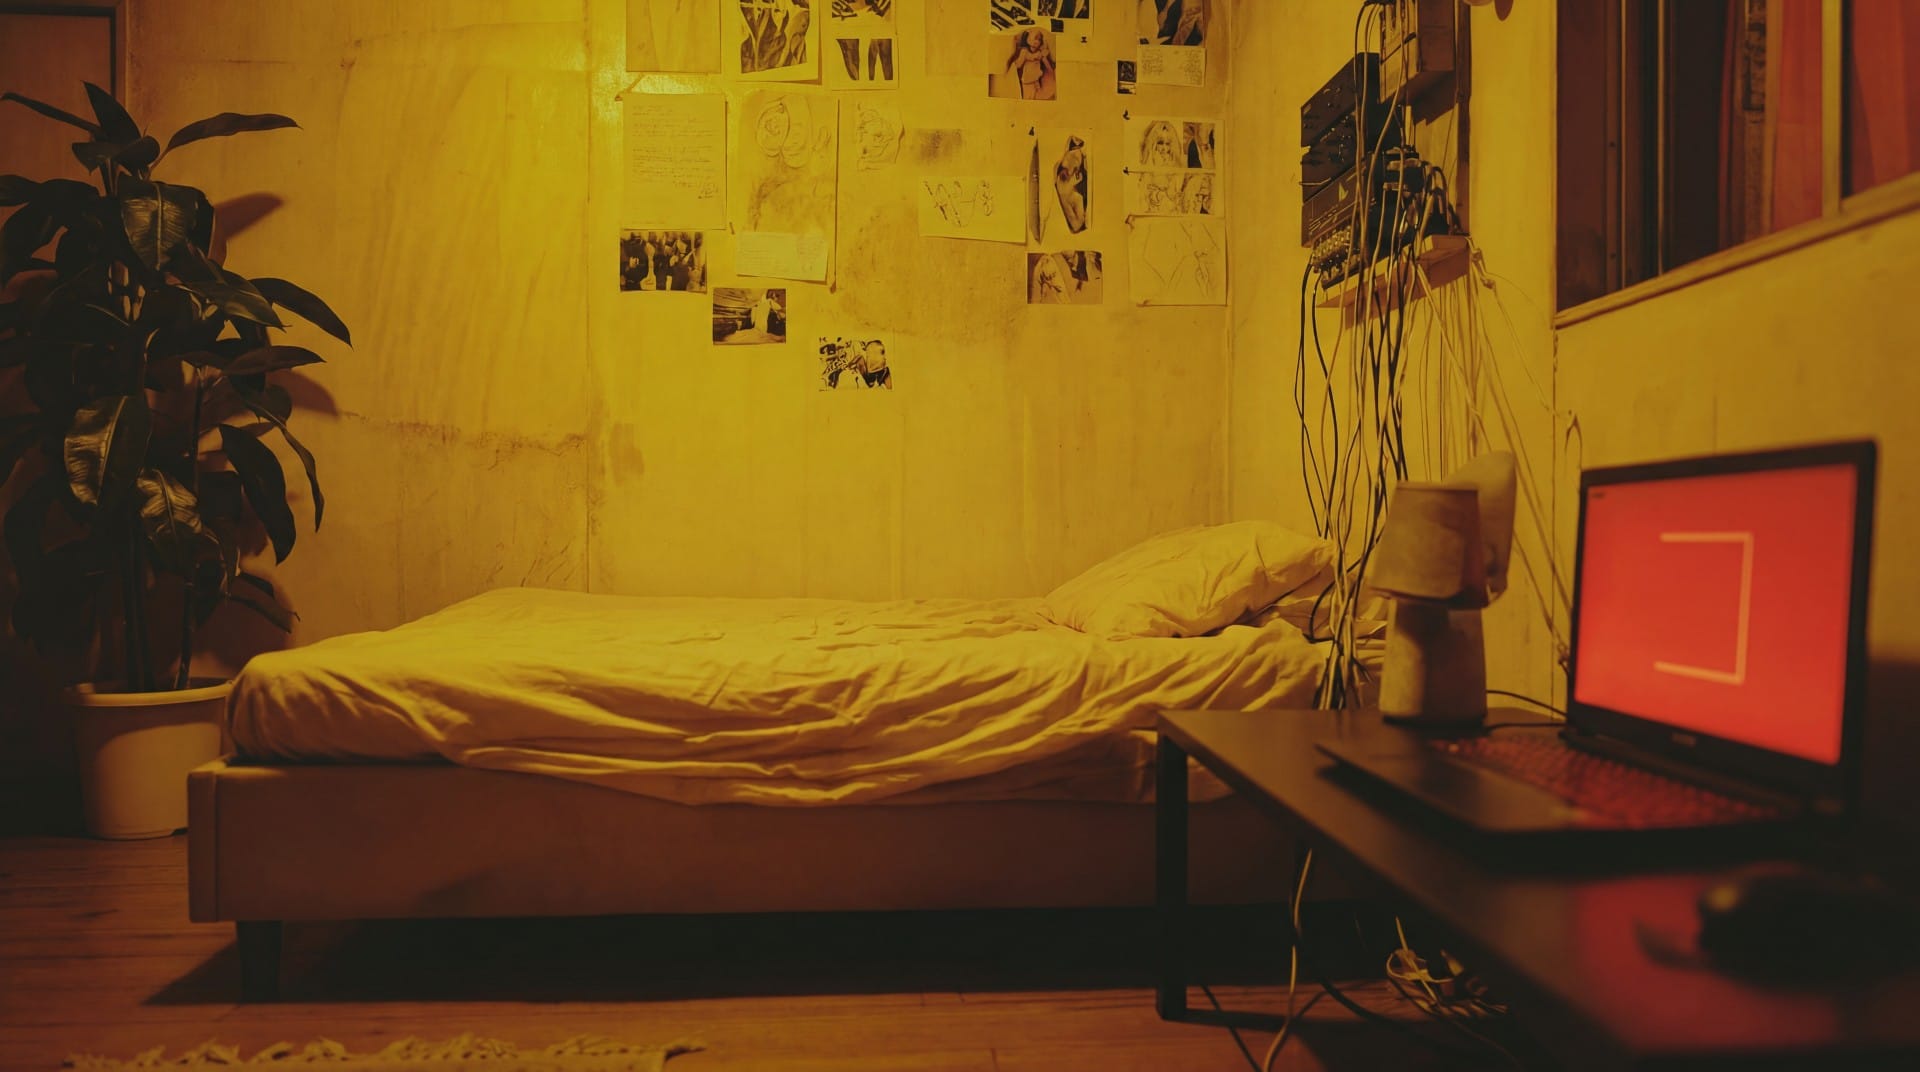
Bad, Terrible, Bad, Great!
I ended up with several high-quality alternate angles of the apartment that I could use to try and recreate my storyboards.
The Close-Up... Still
I tried giving NBP the storyboard itself as a reference image, then asked it to replace the characters and the background with the people and setting in the other reference images. Here are the specific prompt ingredients:
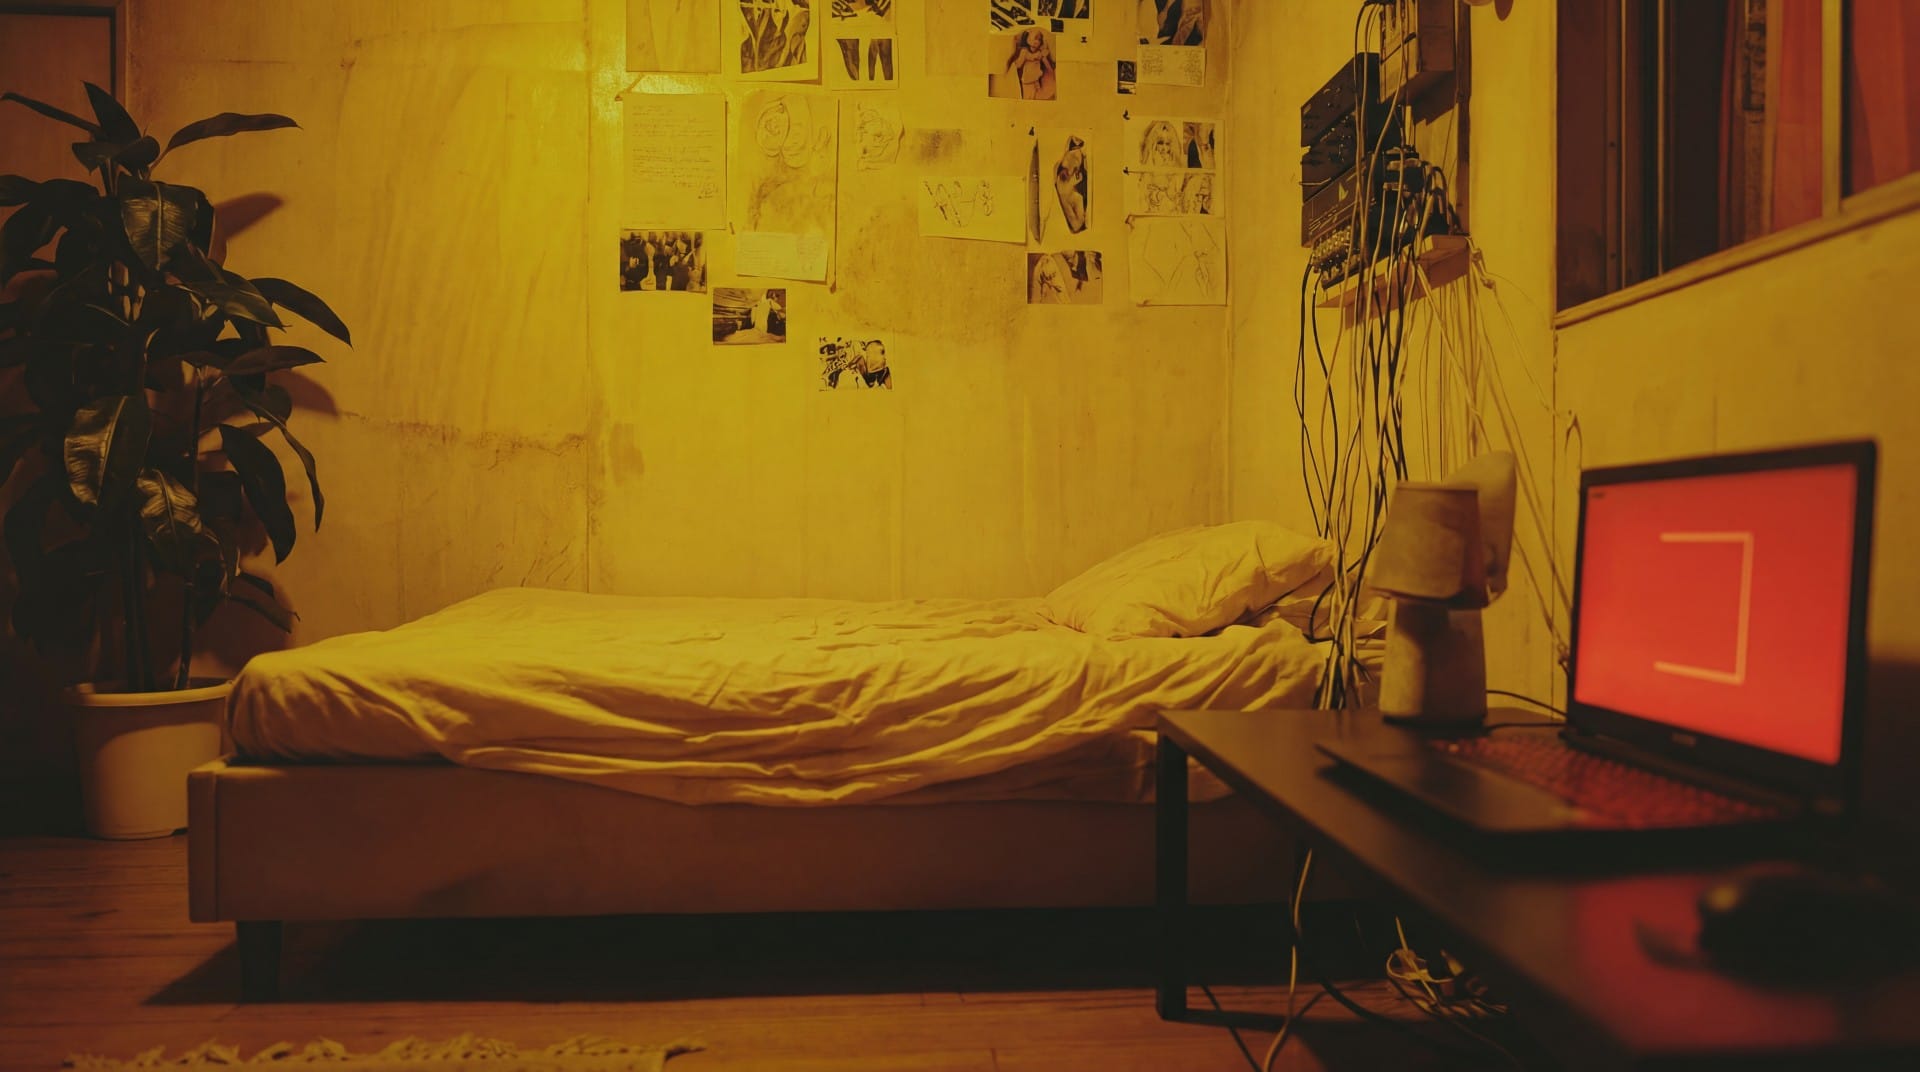
Reference Images
Replace the characters, setting, color palette, and lighting in image 1 with the characters, setting, color palette, and lighting in the other reference images.
Details:
-Replace the man in image 1 with the man referenced in image 2. Preserve the facial features, hairstyle, body proportions, clothing, accessories, and skin tone of the man in image 2, but match the pose of the man in image 1. The man's upper body is turned towards the right side of the frame, but his head is turned to the left, and he is looking into the woman's eyes.
-Replace the woman on the left side of image 1 with the woman referenced in image 3. Preserve the facial features, hairstyle, body proportions, clothing, accessories, and skin tone of the woman in image 3, but match the pose of the woman in image 1. The woman's body is facing the man, and she is looking into his eyes. Keep the woman out of focus, like in image 1.
-Replace the background of image 1 with the setting referenced in image 4 and image 5. The bed and wall are visible behind the man, but out of focus.
-Shot with a 50mm lens, shallow depth of field. Preserve the color palette, lighting, and grainy, high contrast cinematic style of image 4 and image 5.
The results were no better than the first strategy, when I simply described the shot I wanted in words.
Next I thought, why not ask a LLM to describe the storyboard in exhaustive detail, and give that to NBP? First, I gave Claude Opus 4.8 and GPT 5.4 the same storyboard and prompt:
Use cinematic language to describe this 16x9 widescreen image, like a still frame taken from a movie.
Describe the shot in high detail, but limit your description to the people in the shot, their relative positions, and the direction their faces and eyes are pointing. If they are holding any objects, describe those objects, too.
Do not describe the colors, lighting, style, or scene environment. Do not describe the characters' appearance or facial expressions.
Describe the characters' position as foreground, midground, or background. Describe who is in focus or out of focus. Describe what parts of their bodies are in what areas of the frame. Refer to the male character as "the man," and the female character as "the woman."
Both LLMs gave competent, detailed descriptions, but I slightly preferred Opus 4.8's wording, so I went with that.
I also gave both LLMs a background image and asked for a similar description:
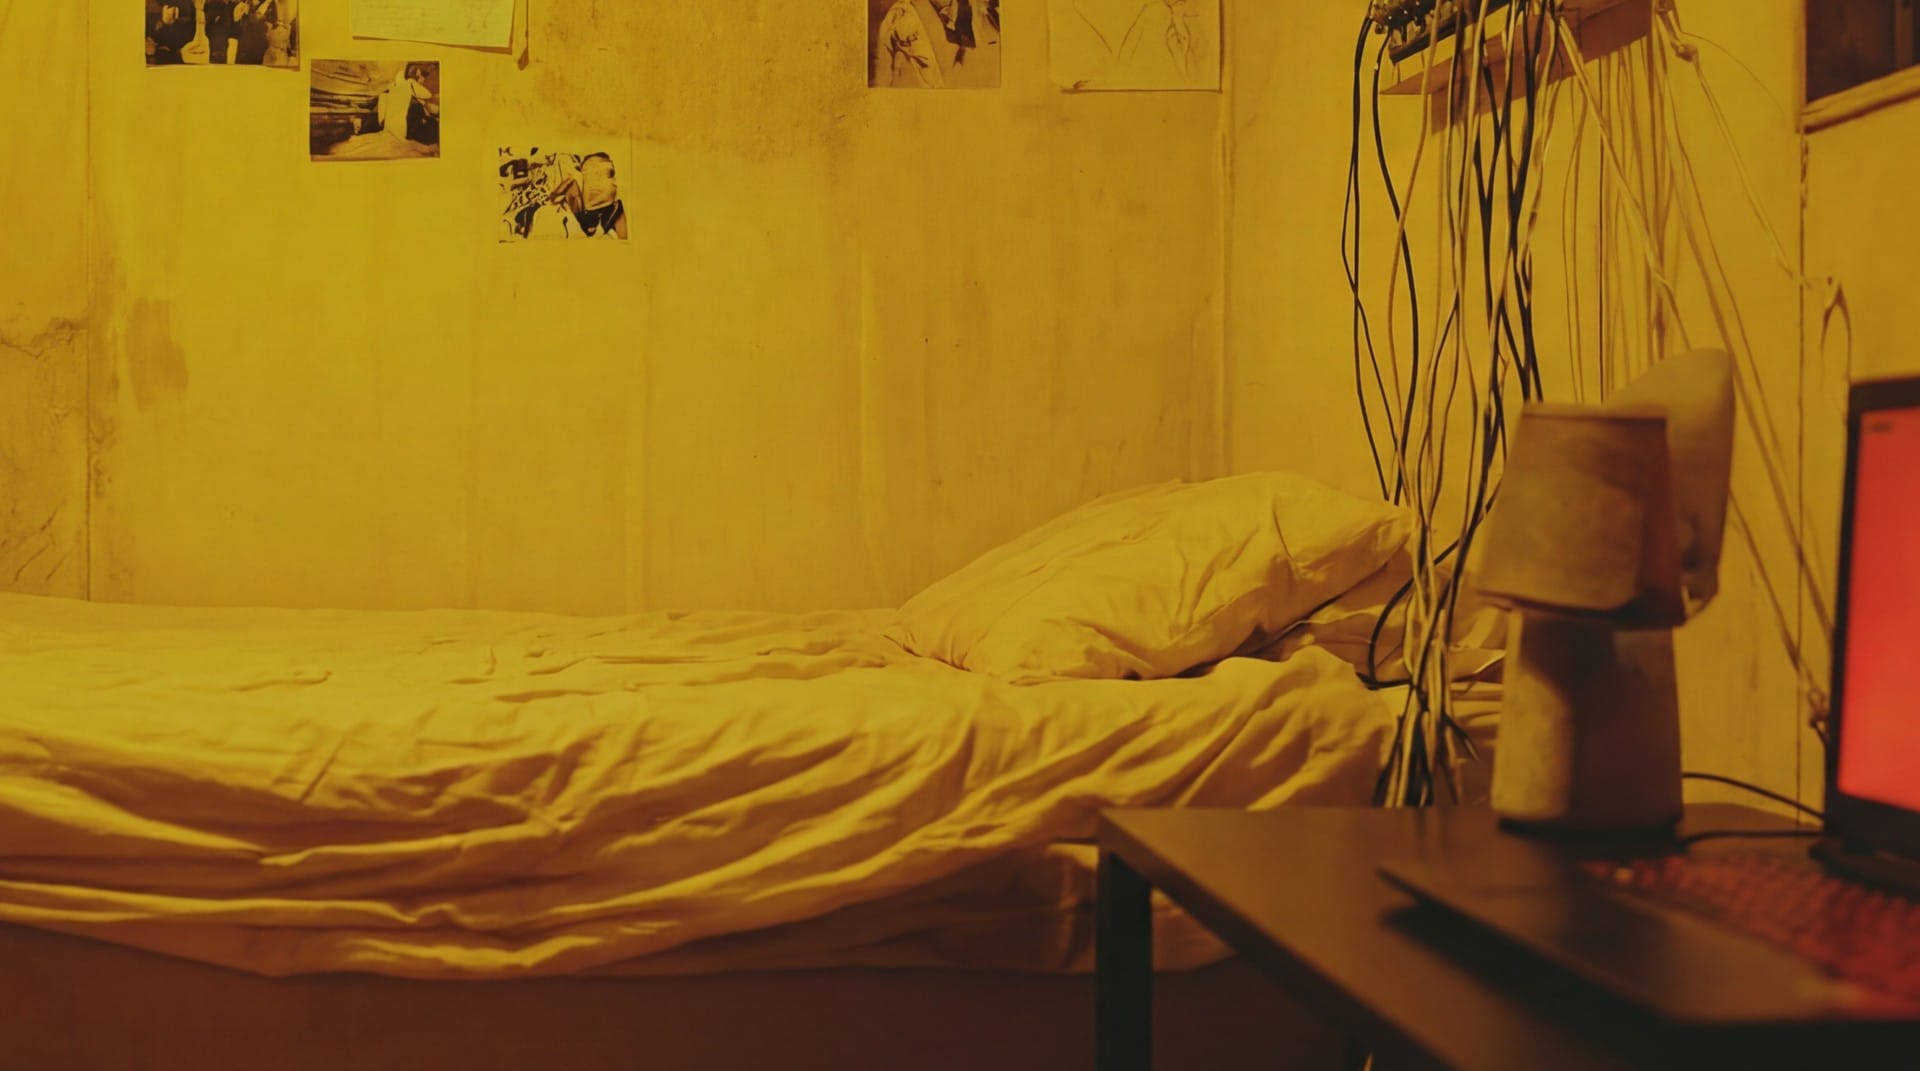
Describe the objects in the image and their relative positions. Describe which objects take up what areas of the frame. Do not describe the lighting, style, or color palette of the image.
In your description refer to the image or frame as "the background," and start your description with "In the background, we see..."
Again, both described the image well, but Opus 4.8 didn't follow my second instruction to refer to everything as being "in the background." GPT 5.4 did, so I went with GPT 5.4's background description.
Armed with five reference images covering the characters and the setting, plus the meticulous LLM-generated shot descriptions, I gave NBP this prompt:
Create a cinematic still image using the characters and setting provided in the reference images and the description below.
CHARACTERS: The man referenced in image 1. The woman referenced in image 2.
SETTING: The room referenced in image 3, image 4, and image 5.
SHOT DESCRIPTION:
The shot is a tight over-the-shoulder composition. In the foreground, occupying the left third of the frame, the woman is seen from behind, out of focus. Her shoulder, upper back, and the back of her head fill the lower-left and left-edge portions of the frame, positioning her as the near reference point of the exchange.
In the midground, sharply in focus, the man occupies the right two-thirds of the frame. His head sits in the upper-center-right area, while his torso and shoulders extend downward, filling the lower-center and lower-right of the composition. His body is angled slightly toward the left, facing in the woman's direction. His face is turned toward her, and his eyes are directed to the left, meeting her across the space between them. The lower-right corner of the frame includes the top of his raised knee or forearm near his lap.
The two figures are positioned face-to-face along a diagonal axis, the man's gaze locked toward the out-of-focus woman in the foreground.
In the background, out of focus, we see a bed stretching across nearly the full width of the scene. The mattress and rumpled blanket occupy most of the lower and middle portions of the background, with the blanket forming uneven folds across the surface. A pillow is positioned at the upper right corner of the bed, taking up a noticeable area along the right edge. Behind the bed, a wall fills the entire upper portion of the background. The lower front edge of the bed frame or base runs horizontally across the bottom part of the background, occupying a band along the lower edge.
IMPORTANT POINTS:
Maintain the facial features, hair style, body proportions, skin tone, and clothing of the man and woman in the reference images. But, adapt their appearance to fit the setting, color palette, lighting, and grainy, high-contrast cinematic style of image 3, image 4, and image 5.
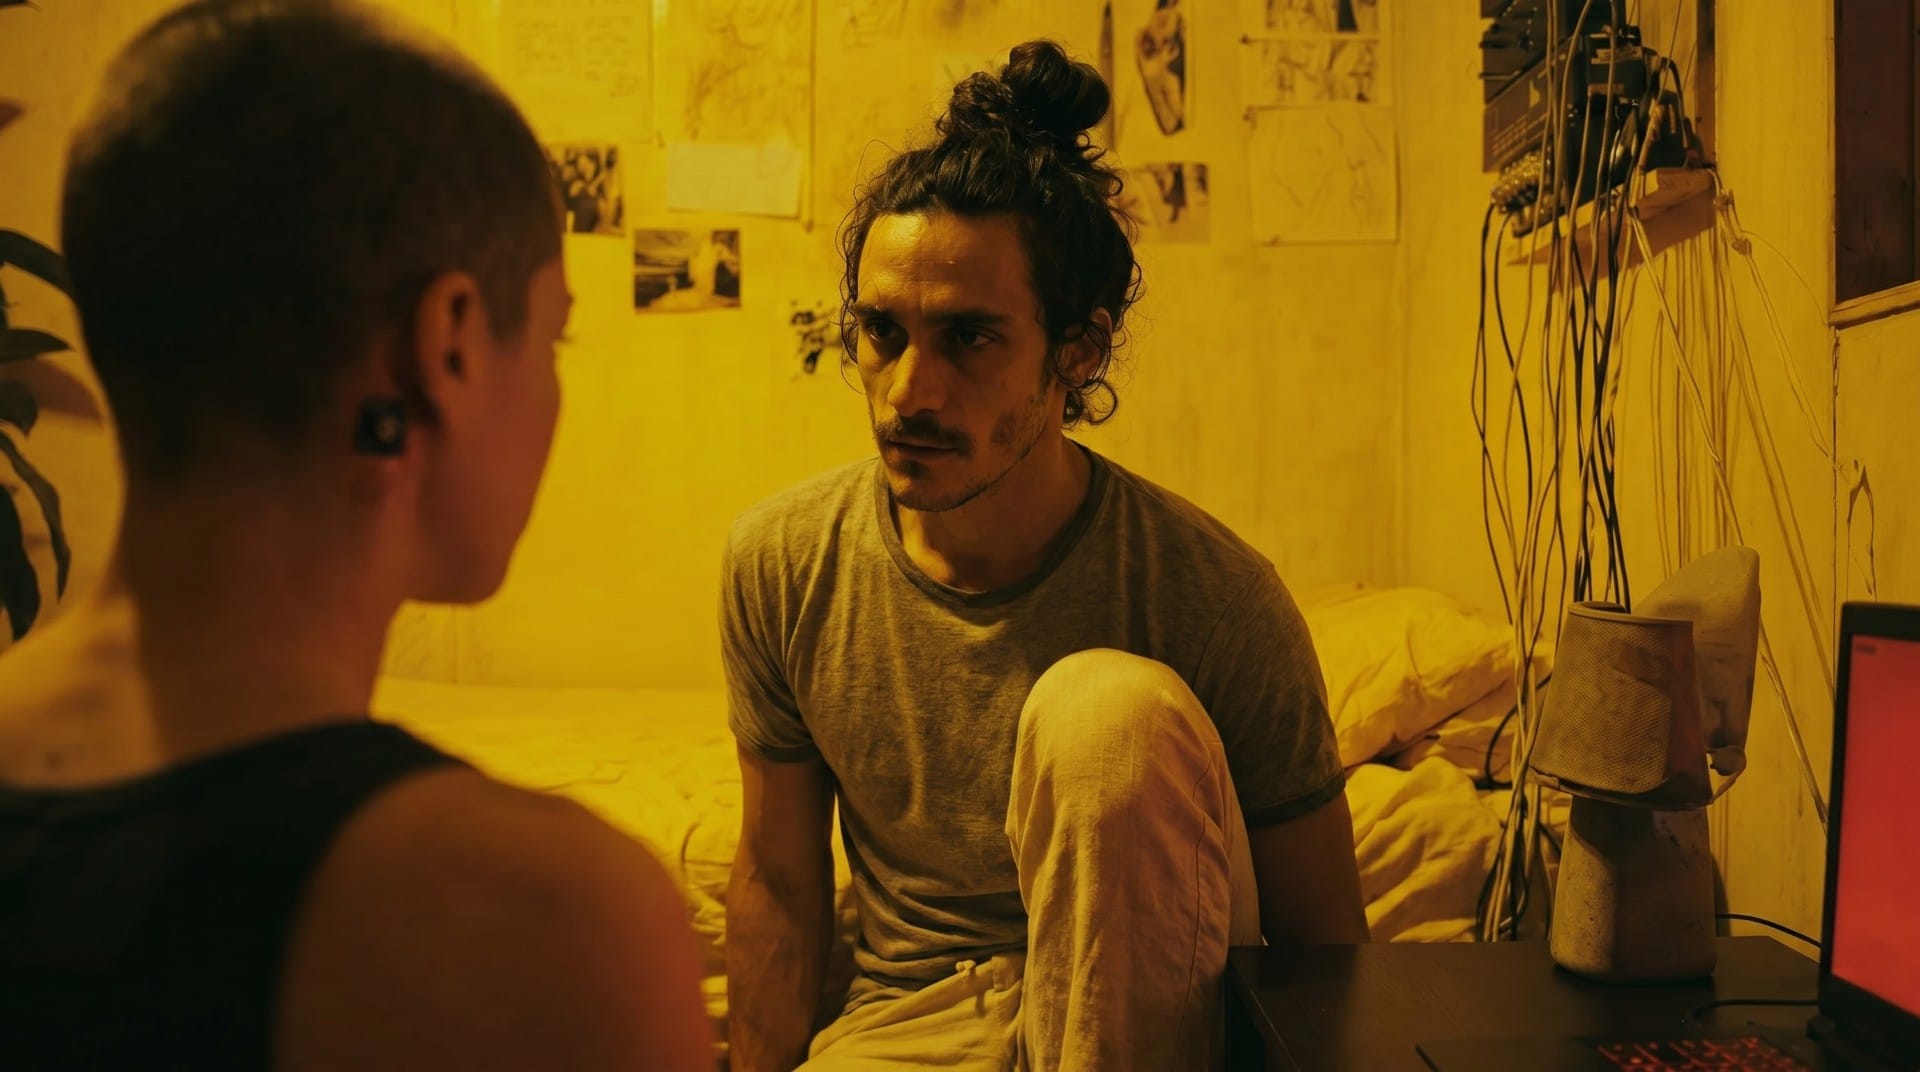
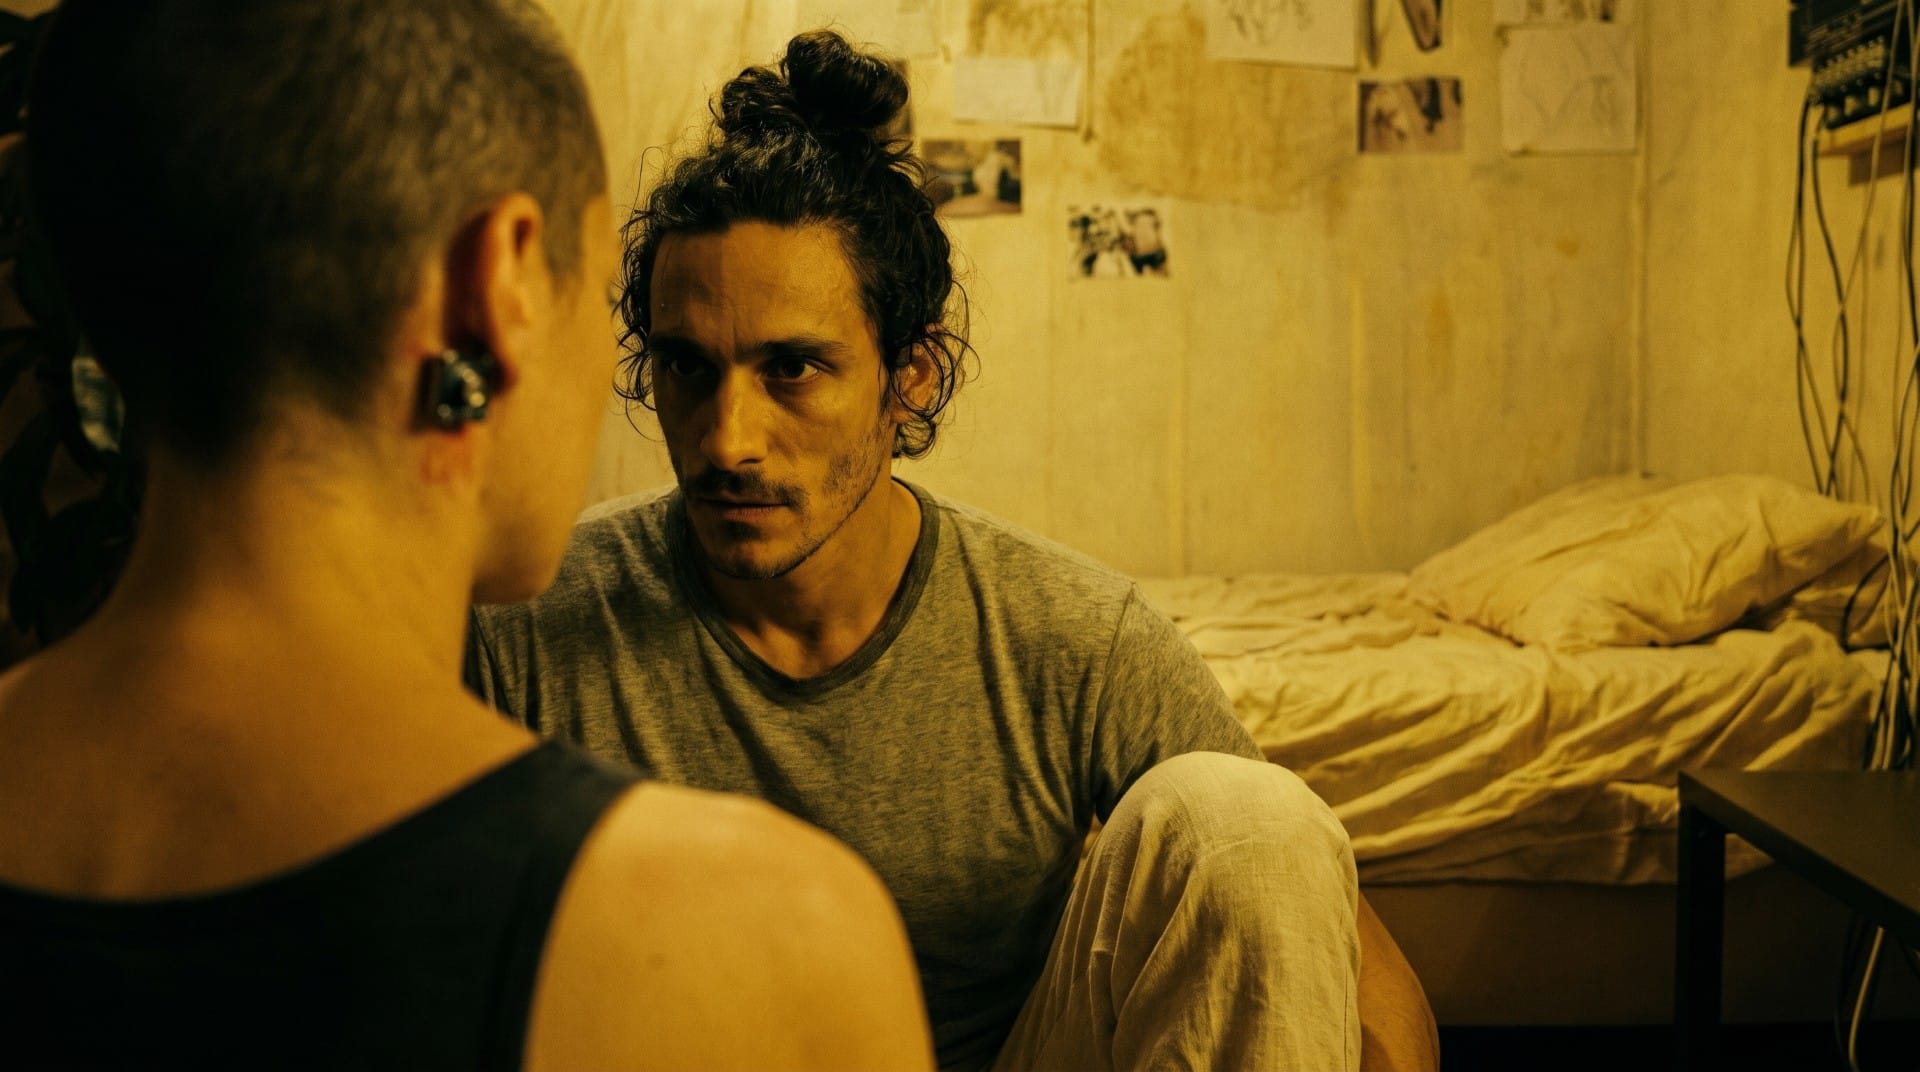
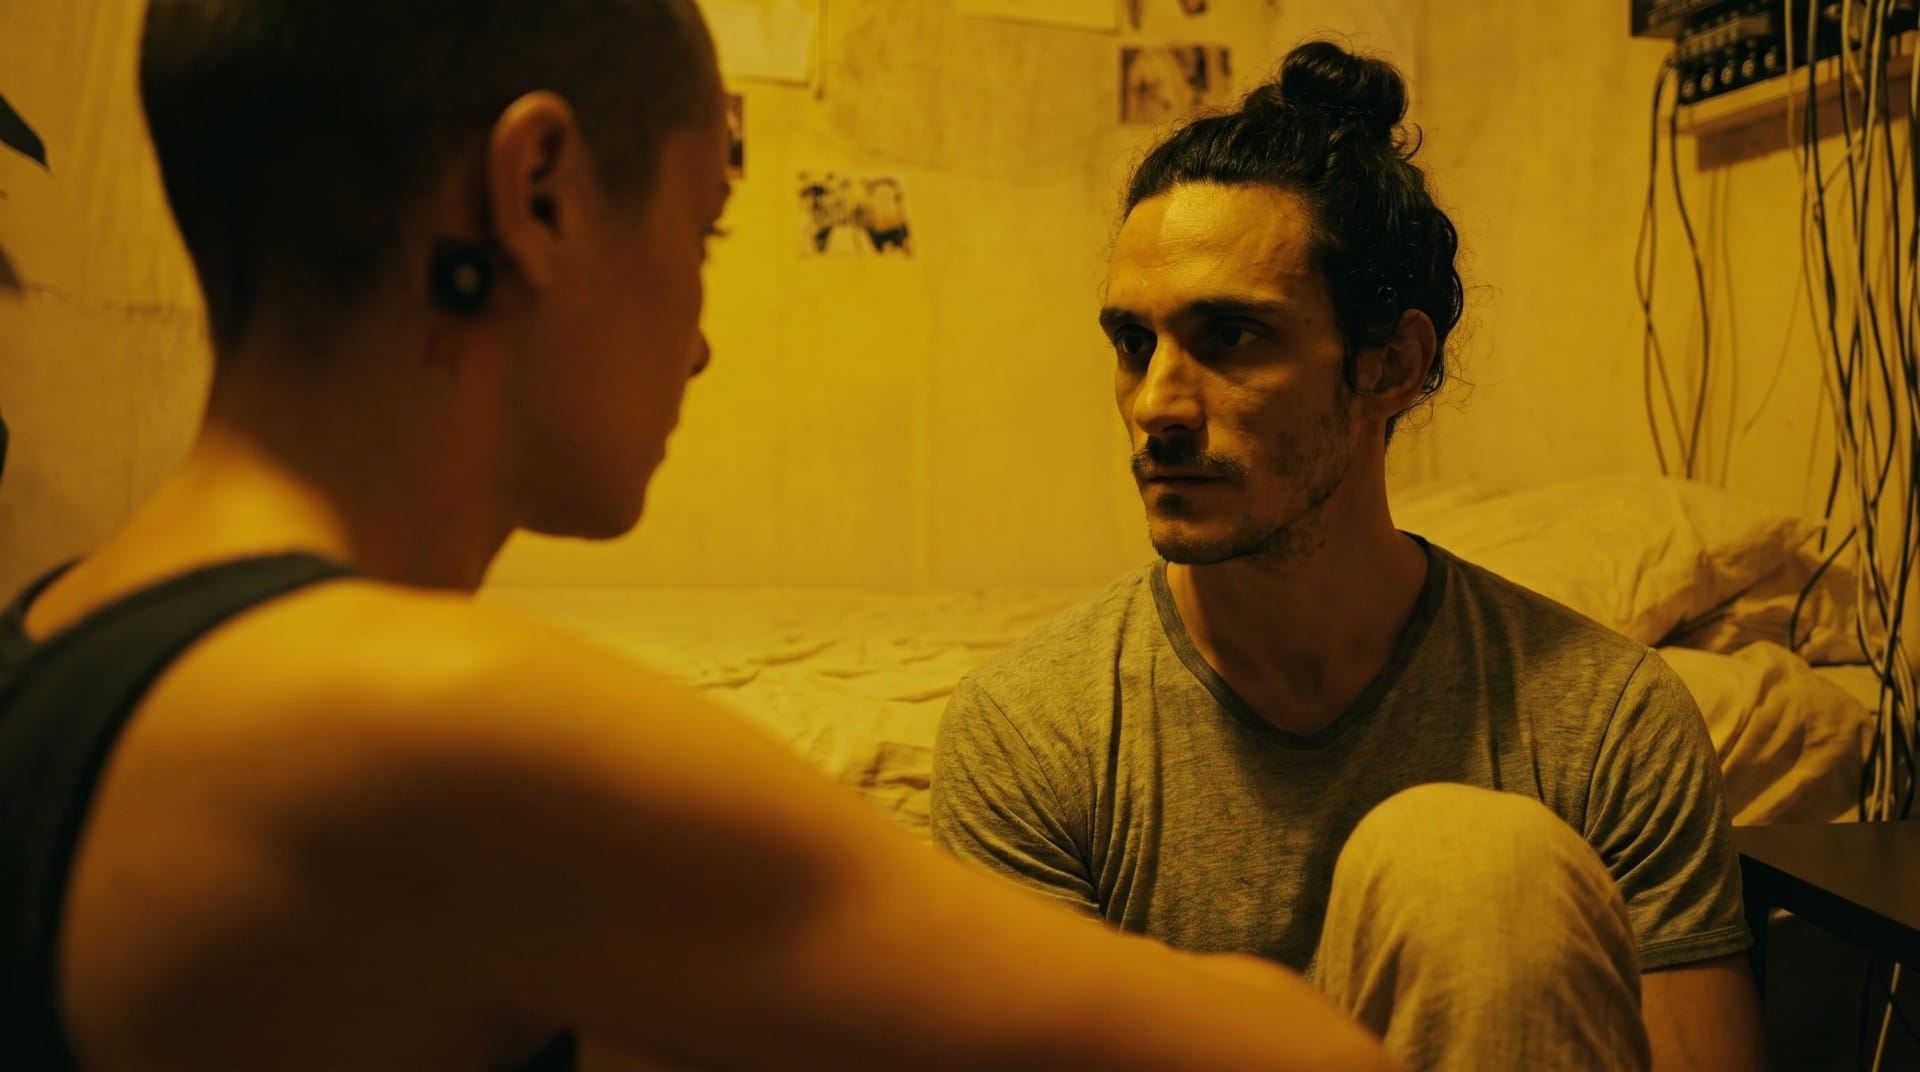
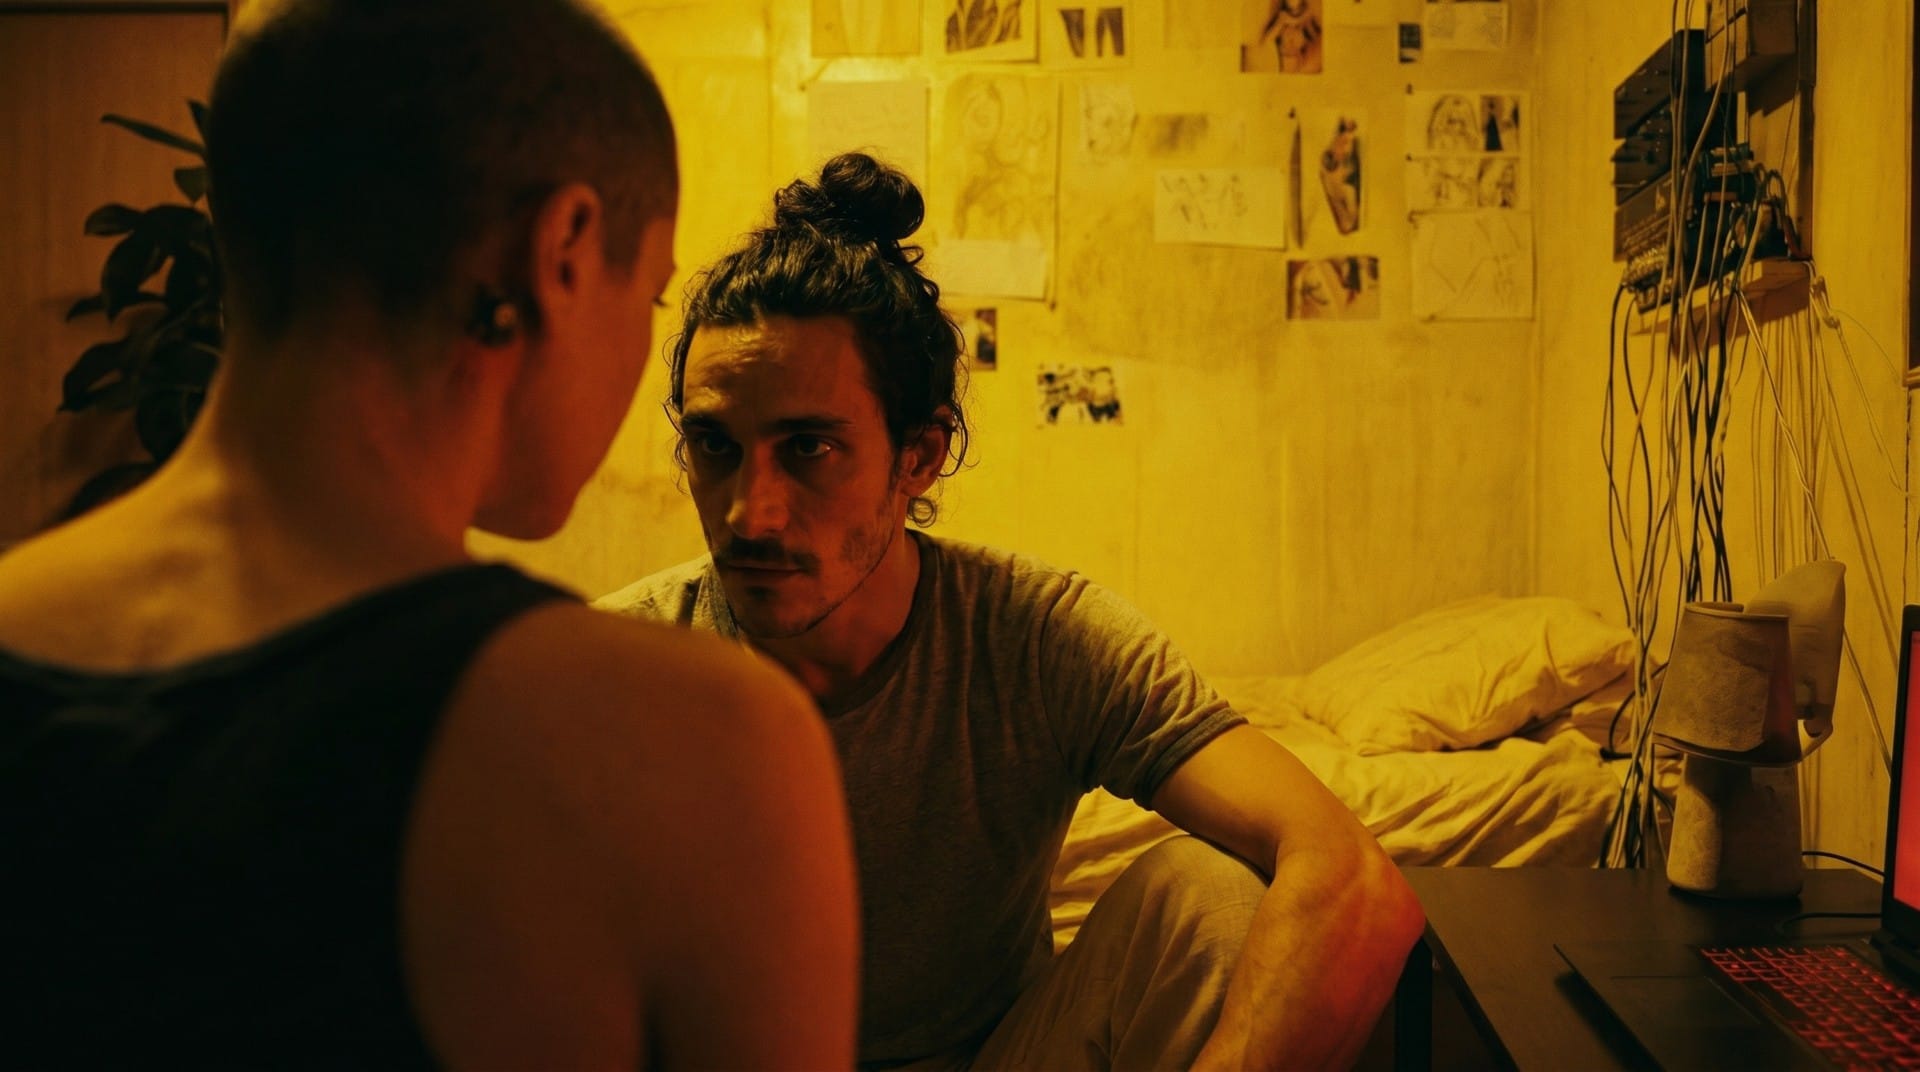
This tactic produced the most consistent results overall, but I still couldn't match the framing in my storyboard. Here are some of the closest:
Scope Reduction
At this point I was discouraged. I couldn't see a way to make this movie if I couldn't get the shots I needed. In hindsight, I was overreacting. Many of the shots above could have worked fine. I can use the storyboards as a loose template and push forward.
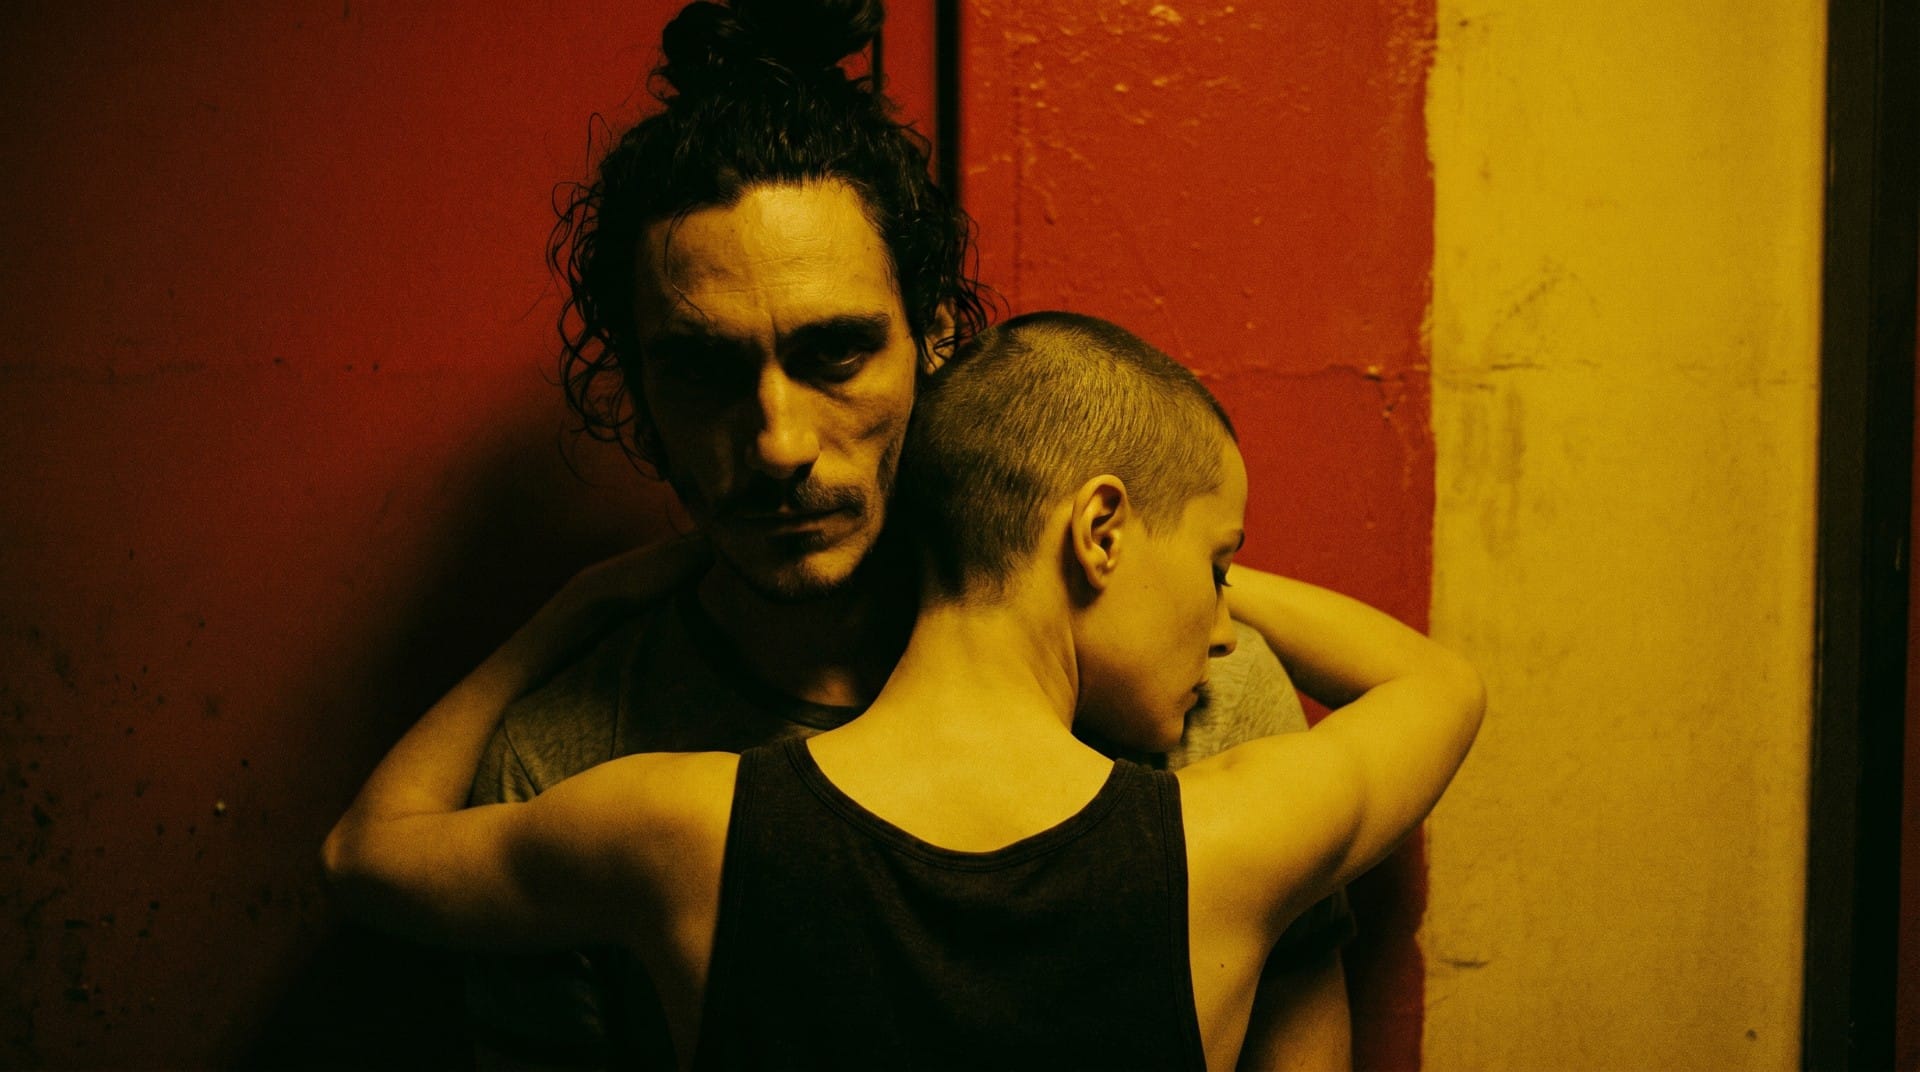
But back when I was being overly picky, I decided to set the movie aside and make a simpler video using whatever images I could coax out of NBP. It would be a montage of Aneta and Anders posing in front of the camera, kind of like a screen test. I gave NBP simple prompts like this:
Add the man in image 1 to the scene in image 2 and relight it in a high-contrast, grainy, cinematic style. Keep the identity of the man and woman exactly the same, and seamlessly composite the man into the scene with the woman in image 2.
These are two actors during a camera test. They are trying a variety of poses, angles, and facial expressions in front of the camera. In this shot, the woman is standing with her back to the man, and she is resting the back of her head on the man's chest. The man is holding her from behind, with both arms around her shoulders.
To get images like this:
Which I used as start frames along with short prompts like this:
Screen test. Handheld camera. The camera stays in place. The actors hold their poses. The man keeps eye contact with the camera.
To get video clips like this:
...and edited them together:
For most of these clips I used Kling, rather than Seedance. Kling is a cheaper but simpler video model. It generally can't handle the complex instructions that Seedance can, but it seems to do fine with short one-offs.
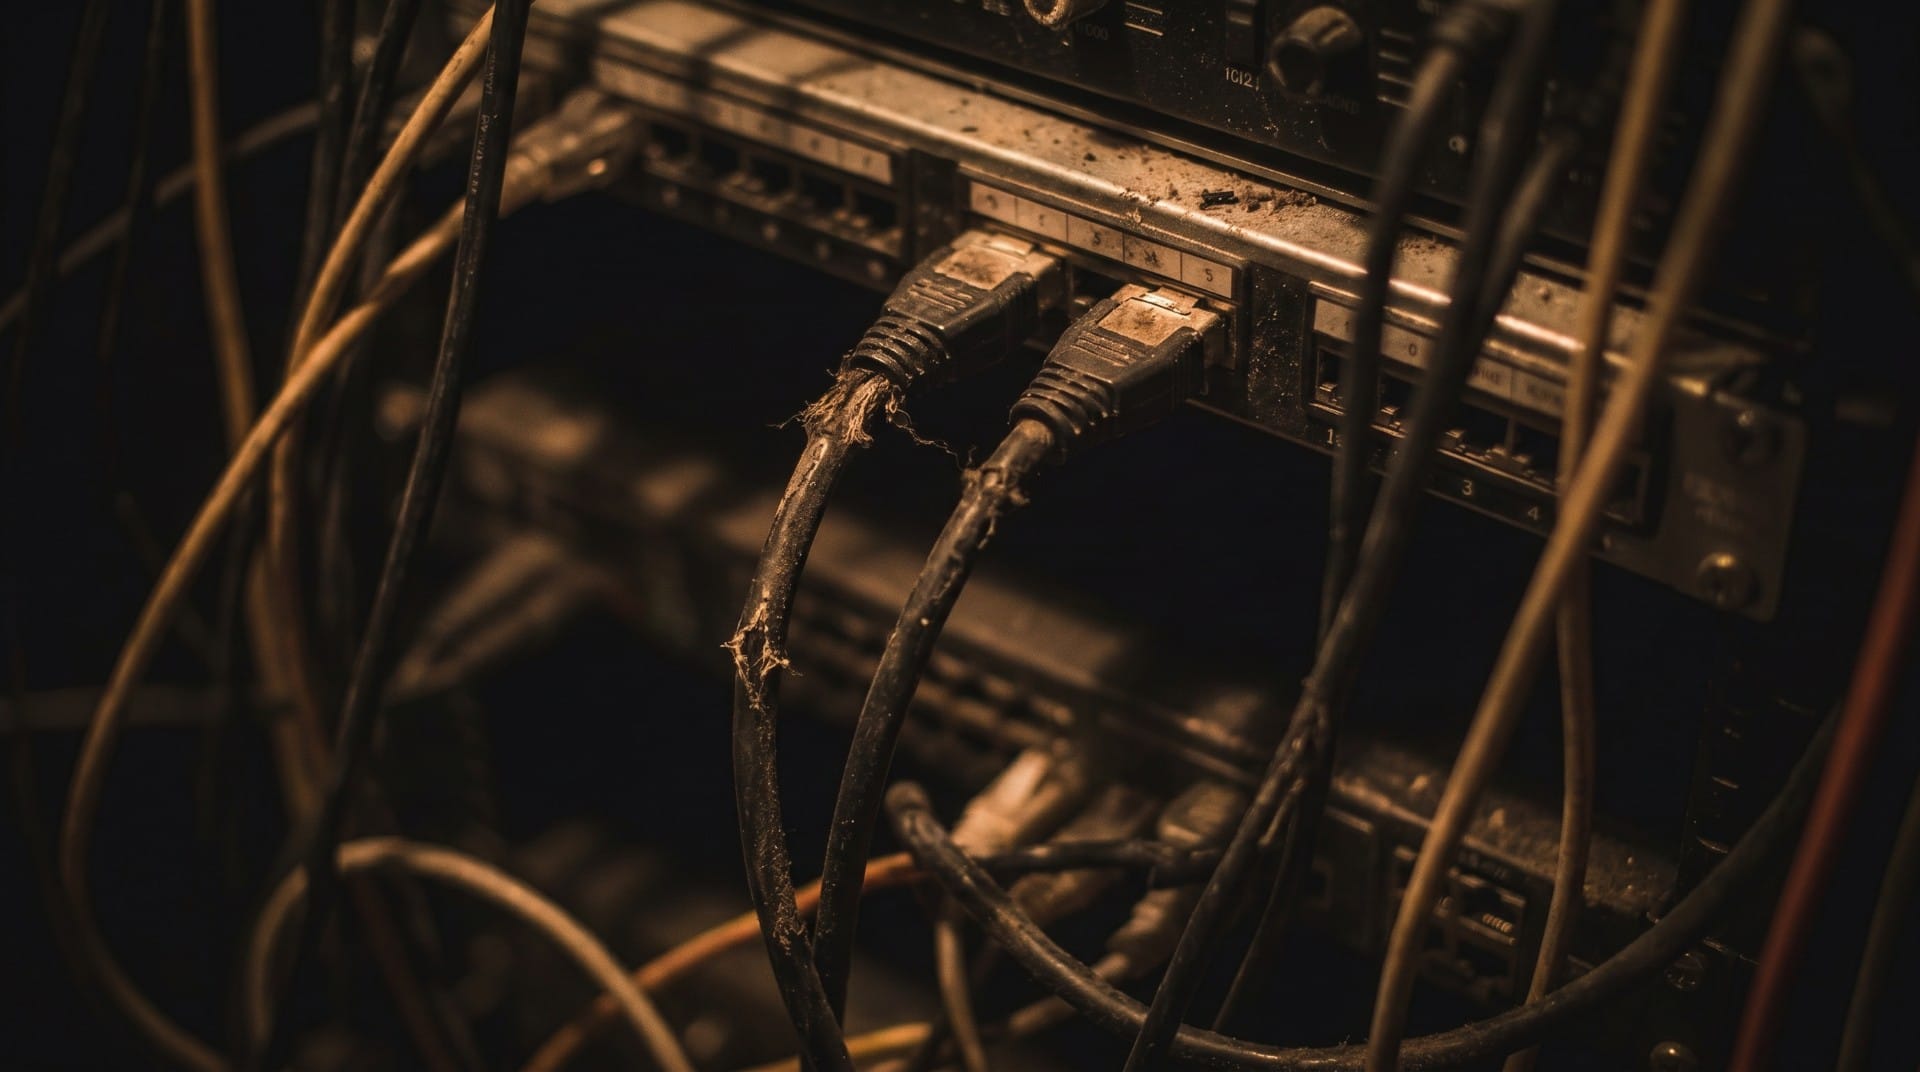
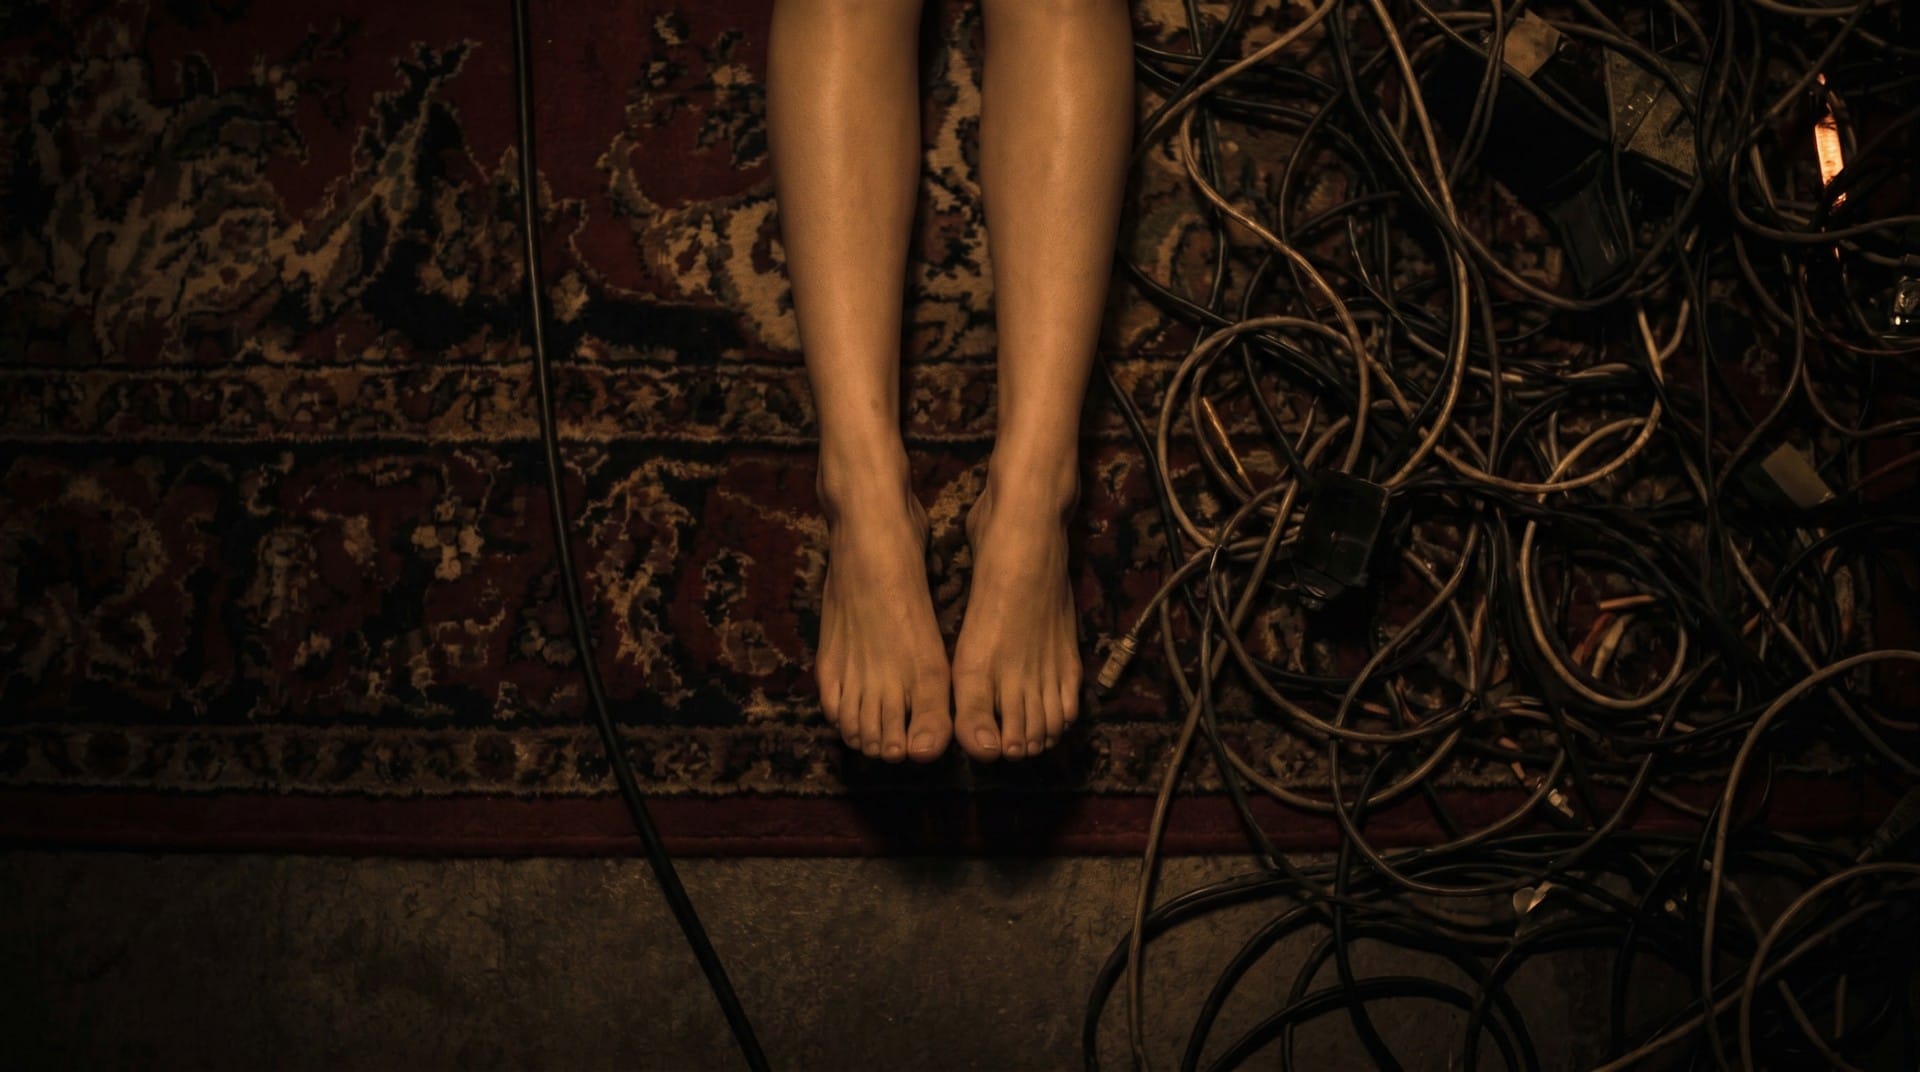
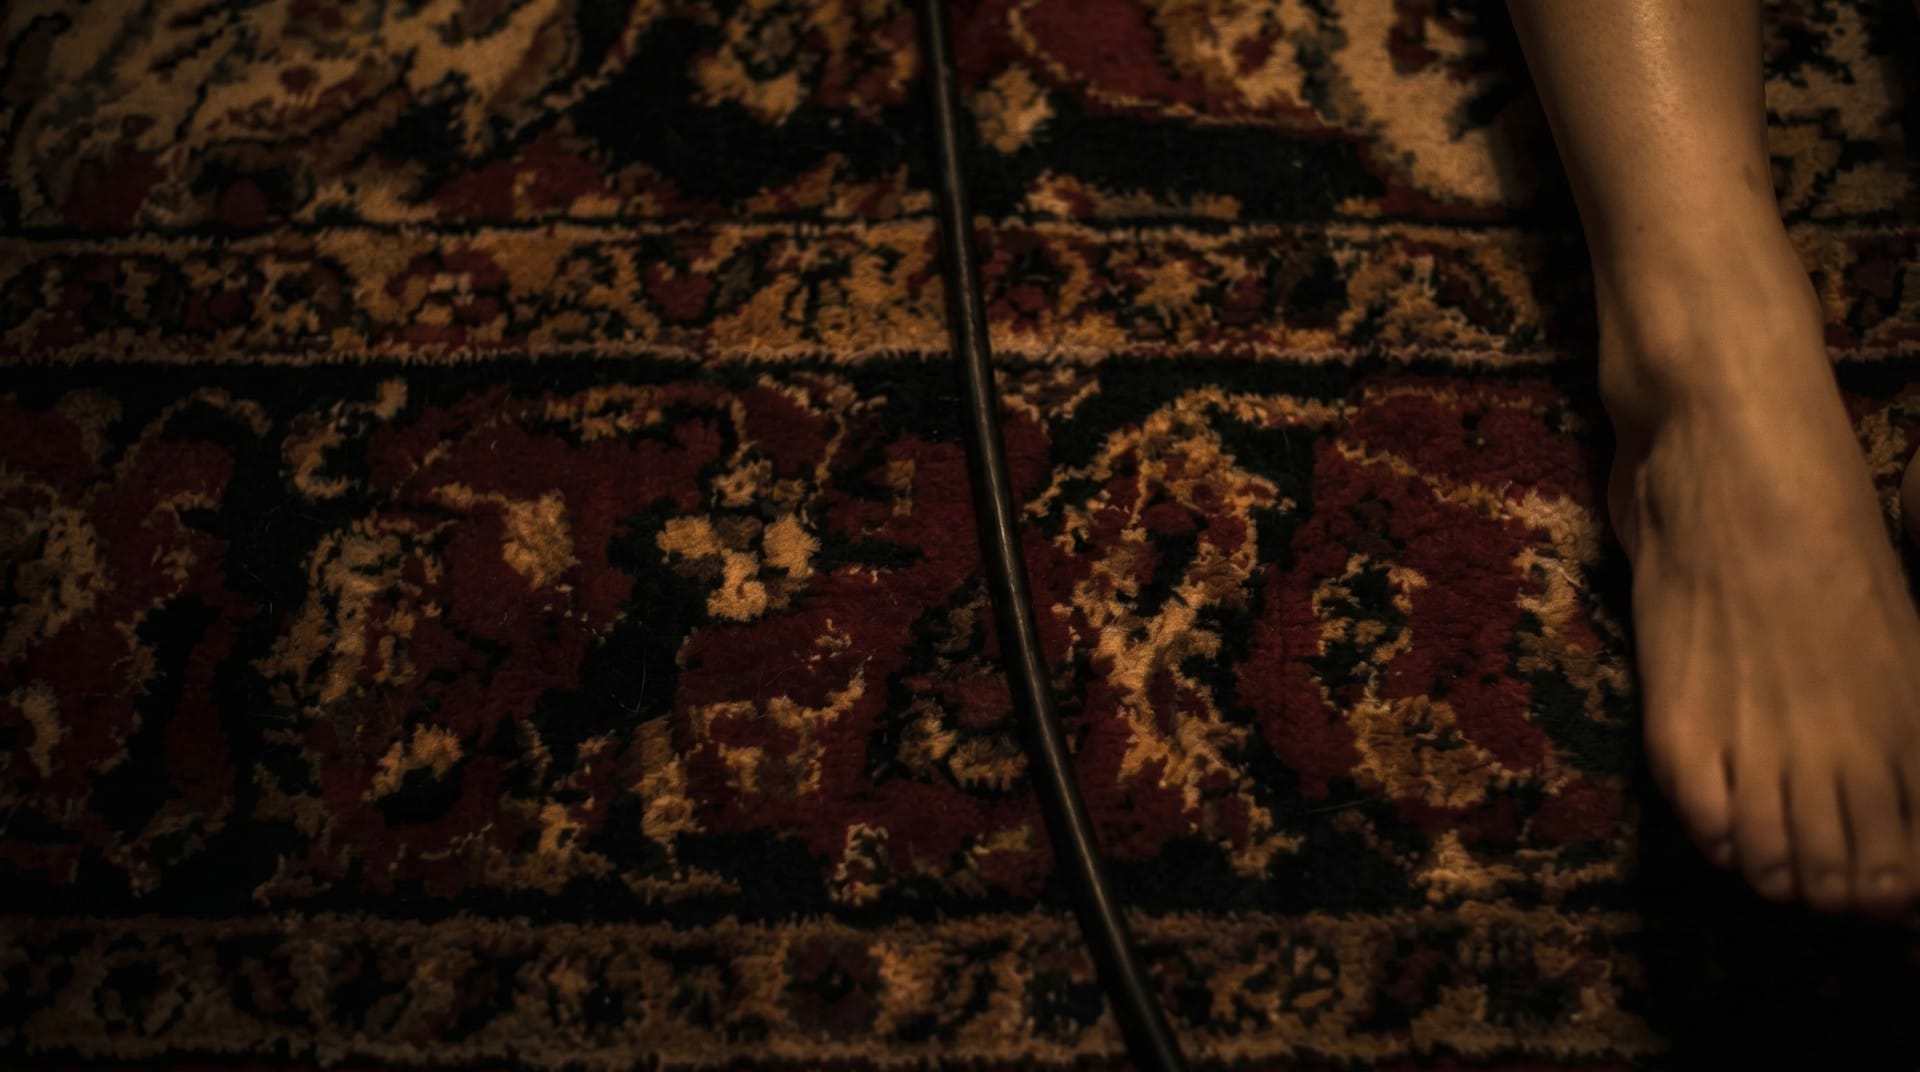
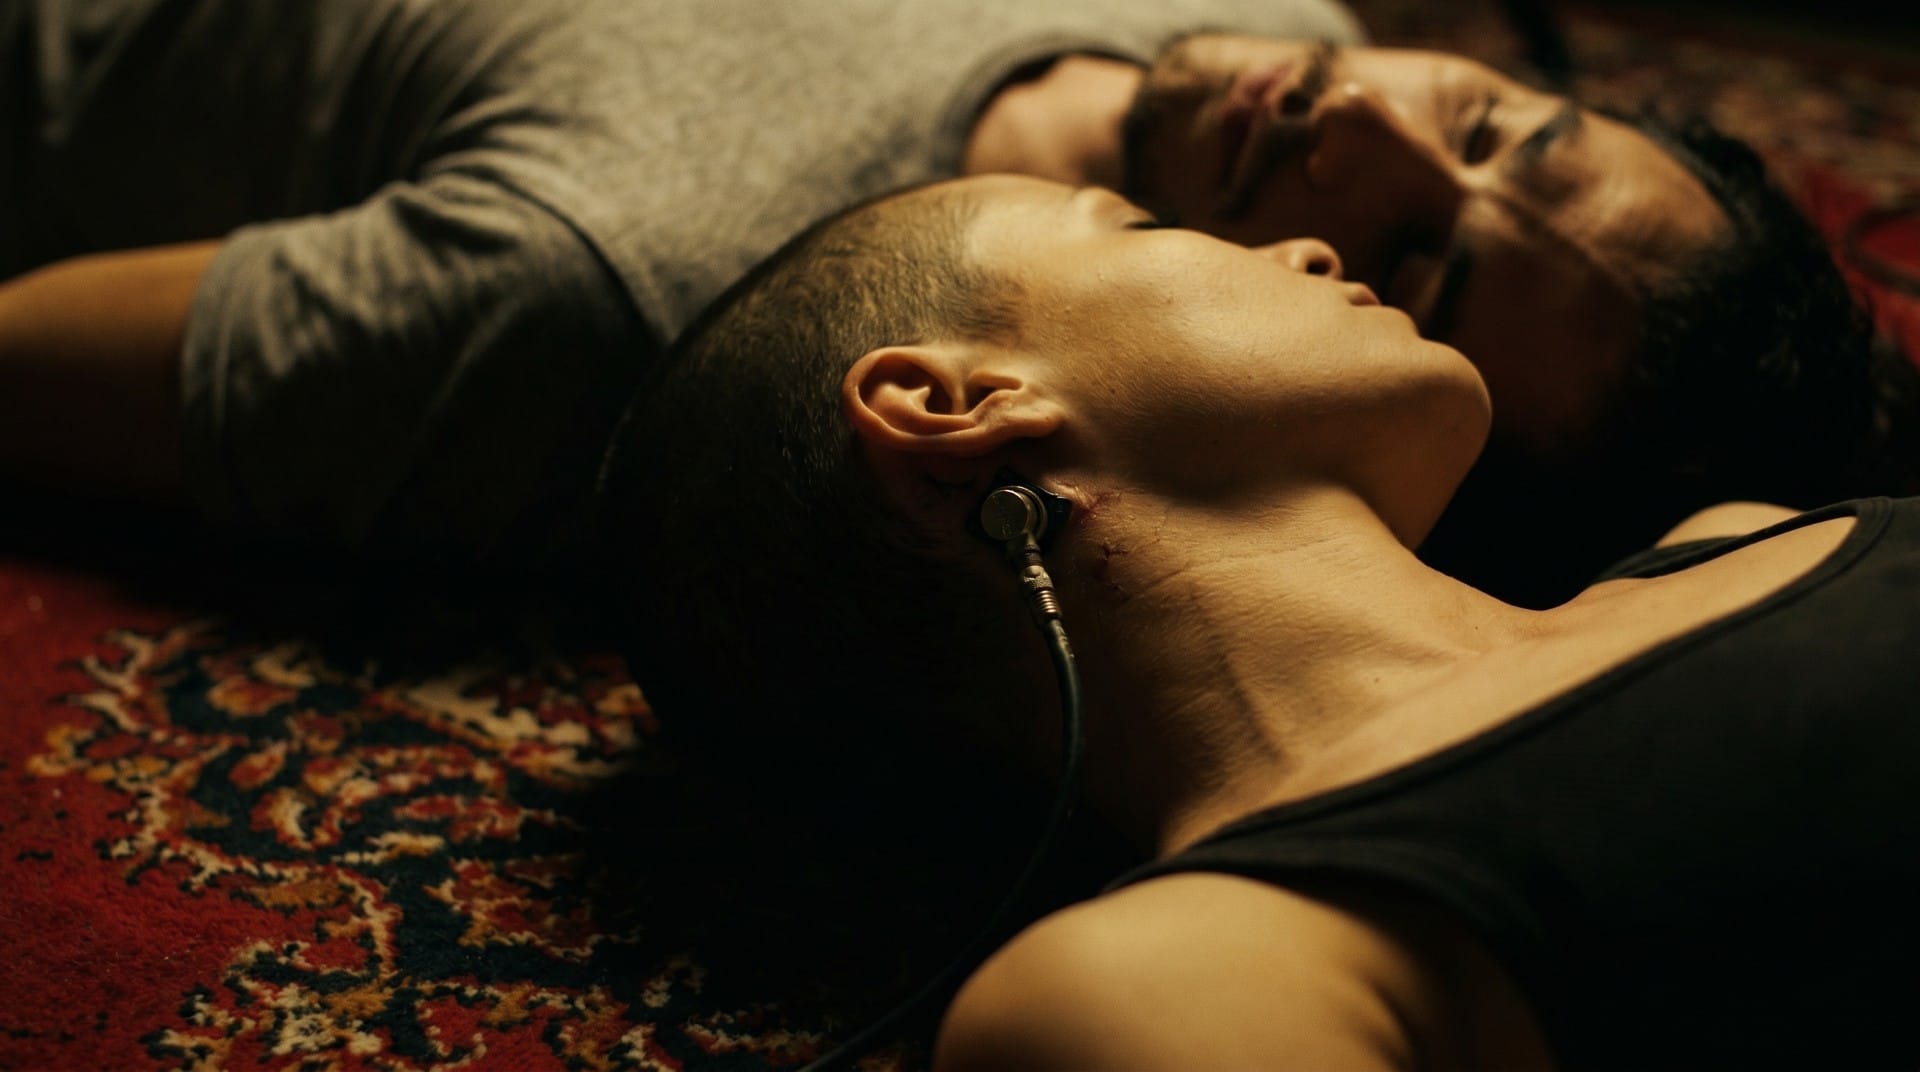
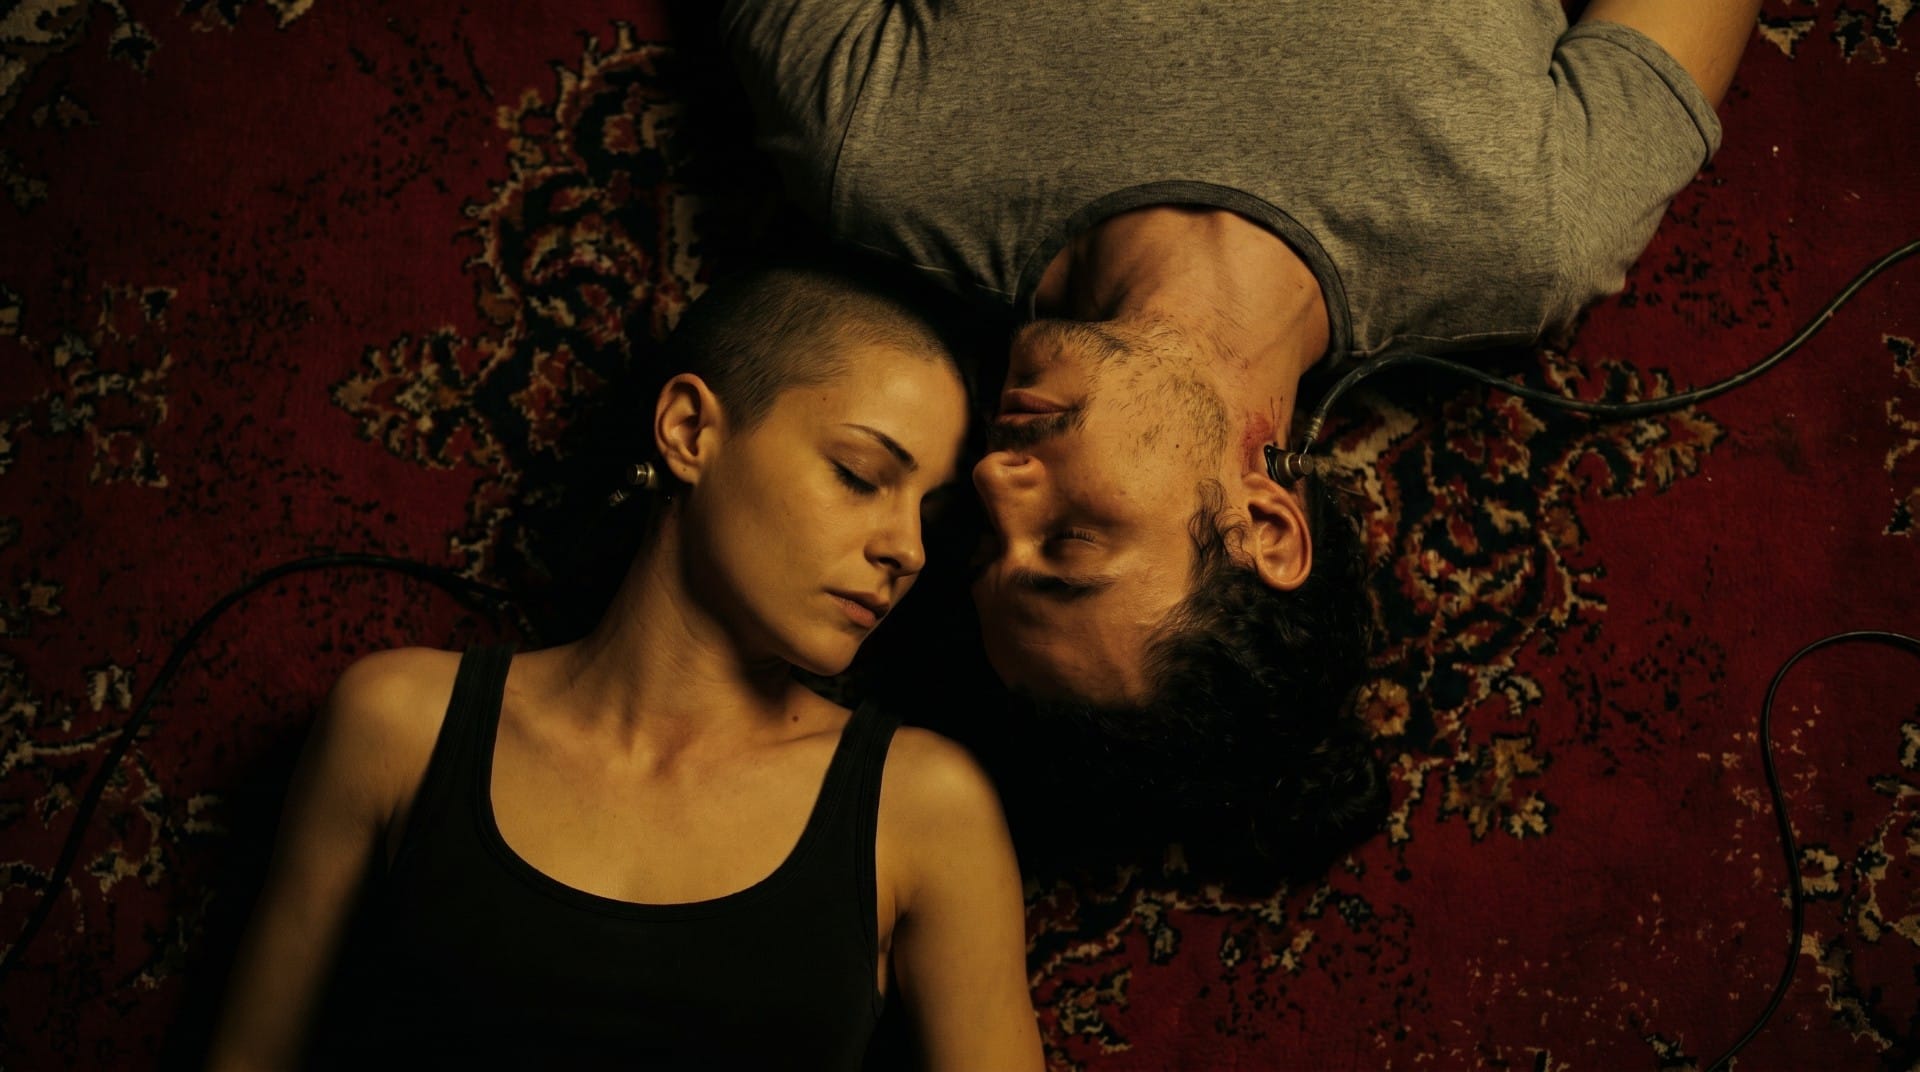
I did end up using Seedance to create the tracking shot that shows Aneta and Anders asleep next to each other (in a new apartment!). I tried to do it as a single shot following one cable from the computer rack, along the floor, and to the connection behind Aneta's ear, but this seemed too complicated, even for Seedance. I had to break it up into a few separate segments using these images as start/end frames to bracket the shots:
When I finished this edit I was over my pessimism. I can get back to making the real movie. I'm confident I can find shots that work, even if they don't exactly match my original vision. Although, I do think I want to change the look of the apartment one last time...